Introduction
The rosette and purfling are two purely visual elements of a guitar — they don't affect the sound. But they define the maker's identity. My approach to marquetry draws directly from Antonio Torres (1817–1892), who used herringbone motifs, alternating dots, diagonal lines, diamonds and chequers — combined with refinement and taste. His rosettes all resemble one another, yet no two were ever identical.
Phase I
Cutting & stacking
the veneers
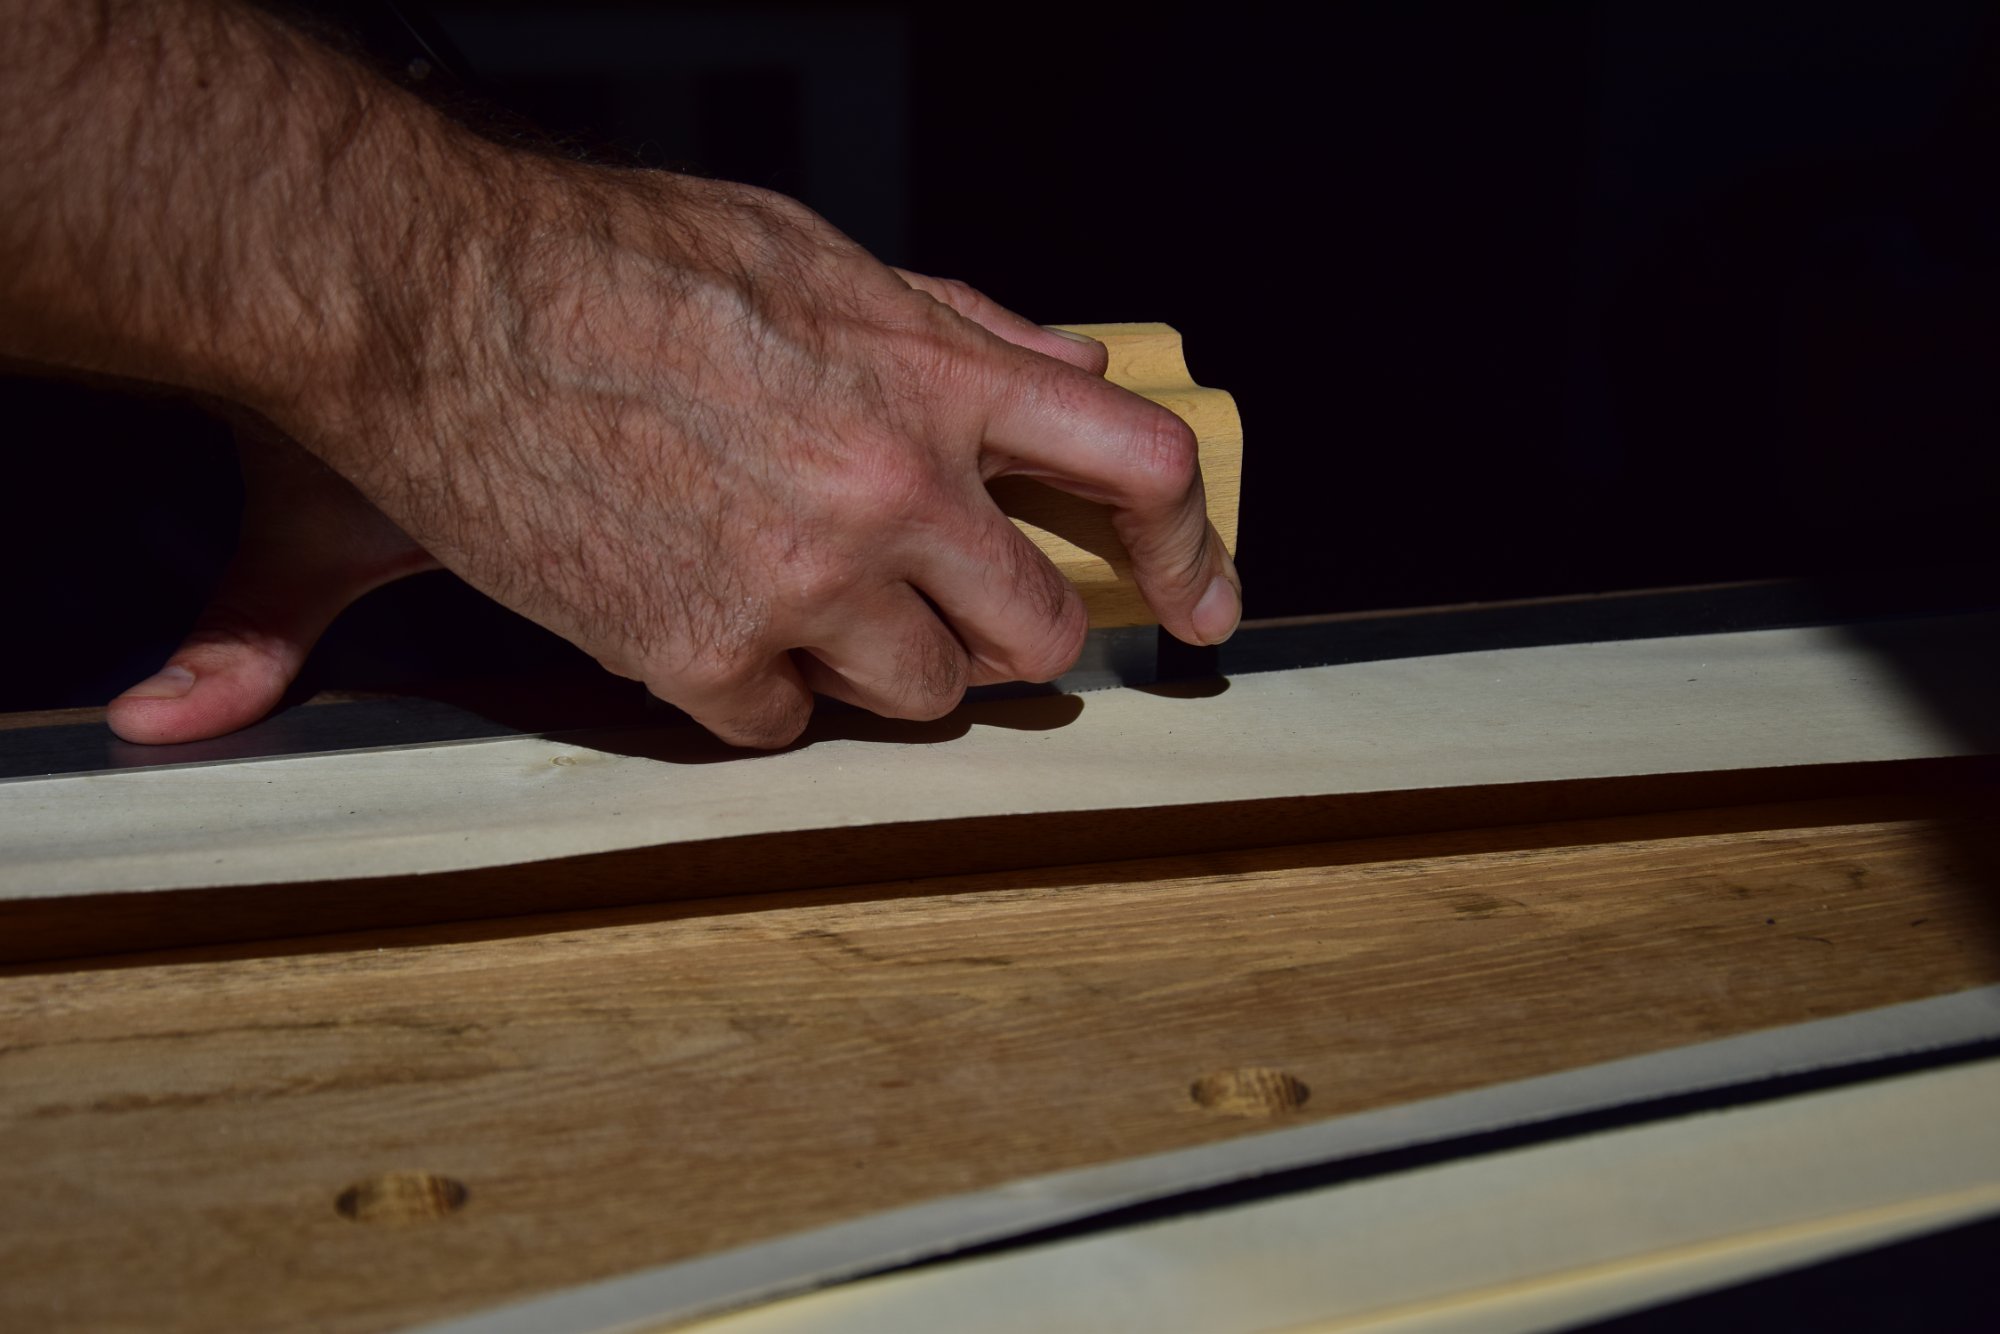
Cutting the veneer
As with most marquetry work, the process begins by cutting the veneer using a special saw. Precision here determines everything that follows — any inaccuracy compounds through each subsequent step.
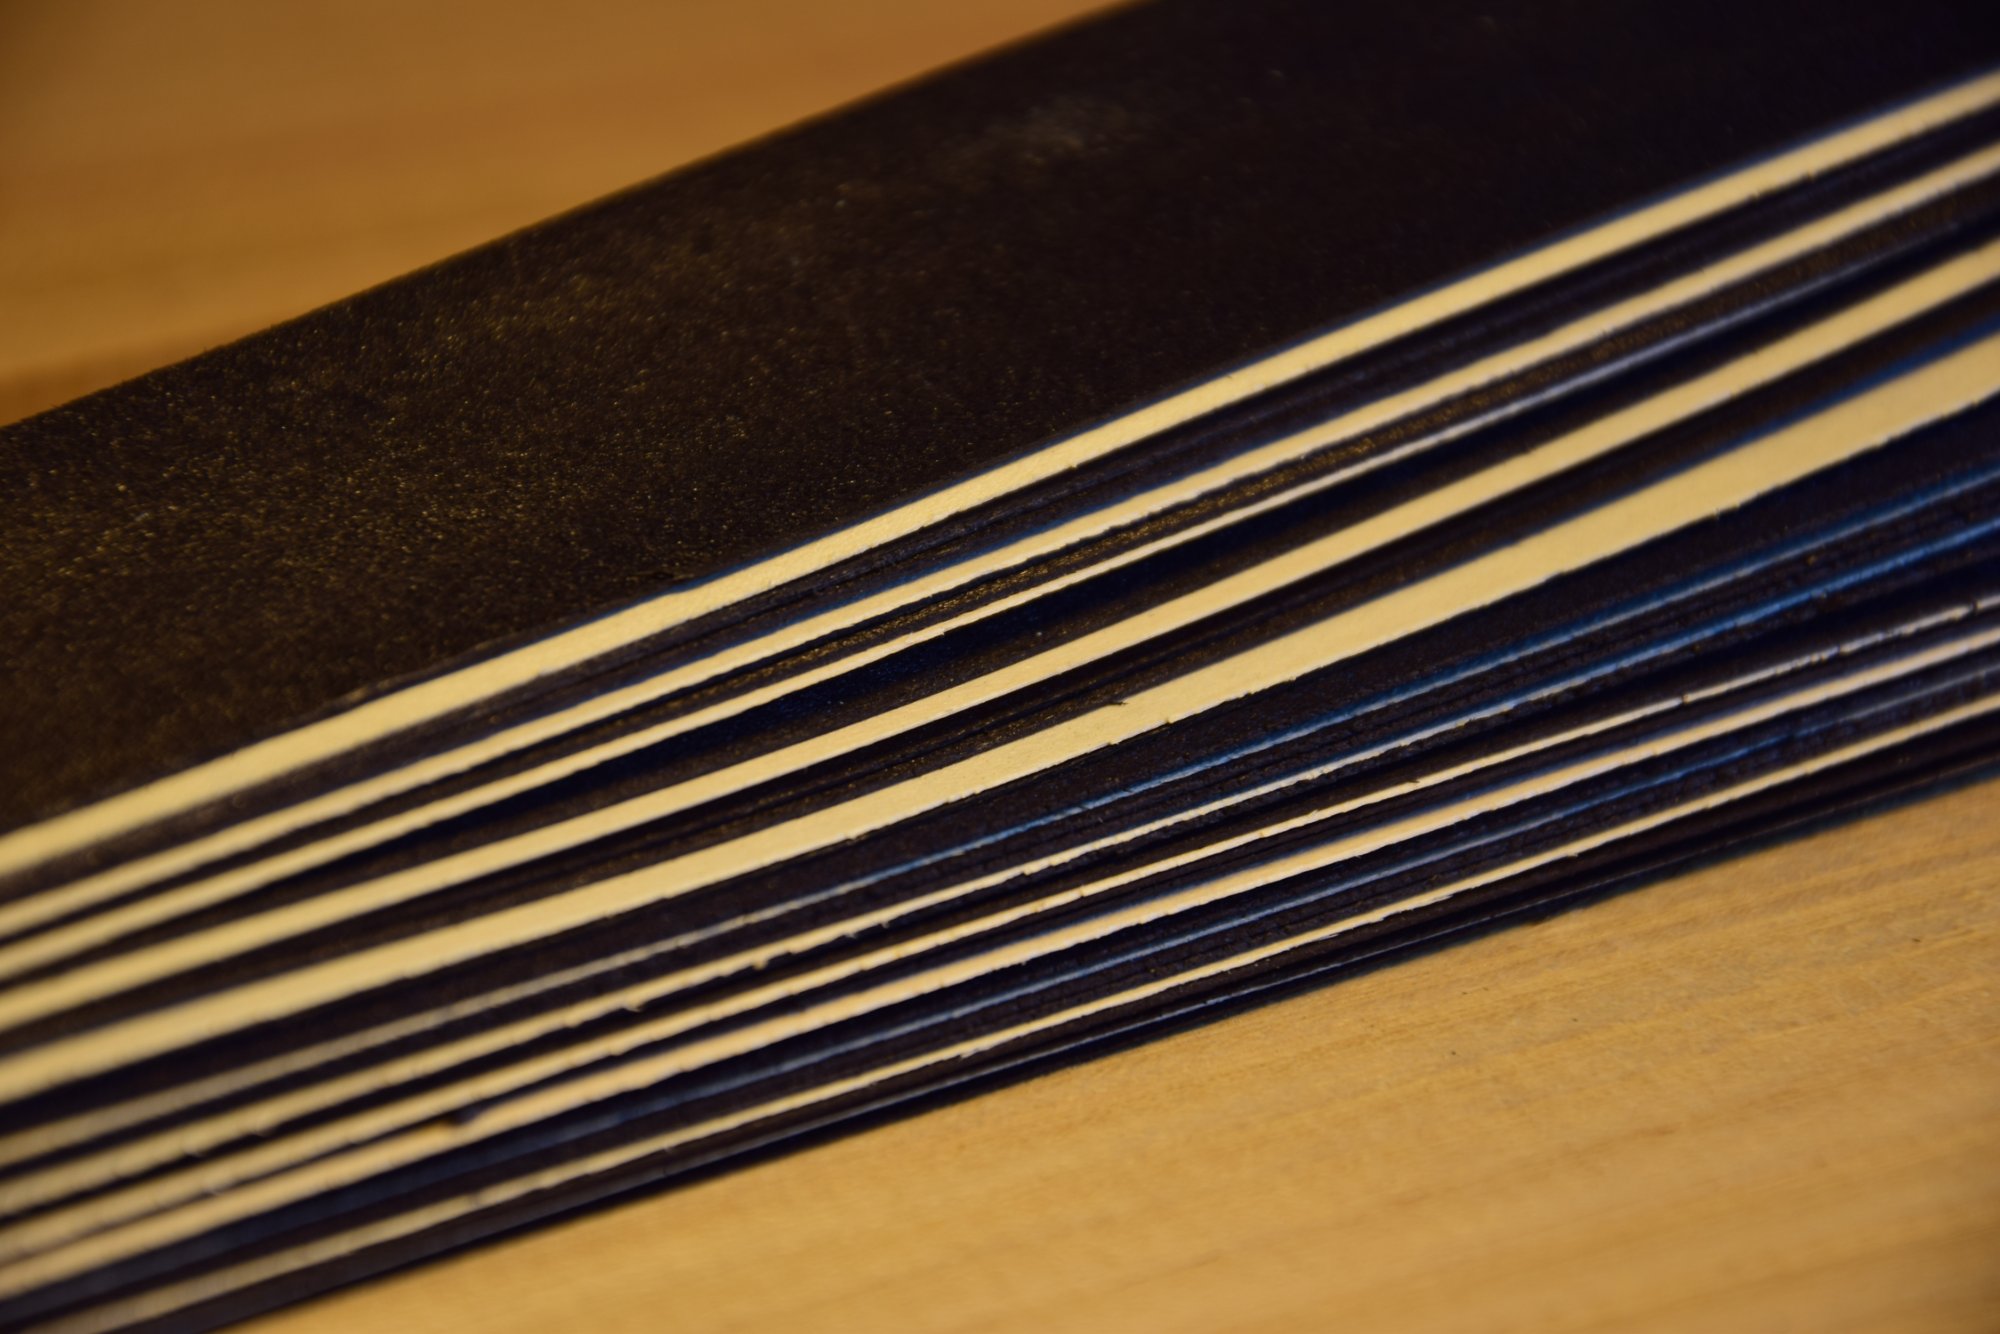
Building the contrasting stack
I build stacks of alternating colours: two black layers at 0.5 mm for the background, and 0.3 mm maple for the herringbone motif itself. The choice between bois de fil (with the grain) and bois de bout (end grain) changes how the light catches the marquetry — grain-cut reflects more, making colours and patterns stand out.
Note on wood orientation
In bois de fil, the cut is longitudinal — parallel to the fibres. In bois de bout, the piece is cut perpendicular, revealing the growth rings. End grain absorbs light; straight grain reflects it, giving brighter contrast.
Phase II
Gluing & clamping

Glue applied with a roller
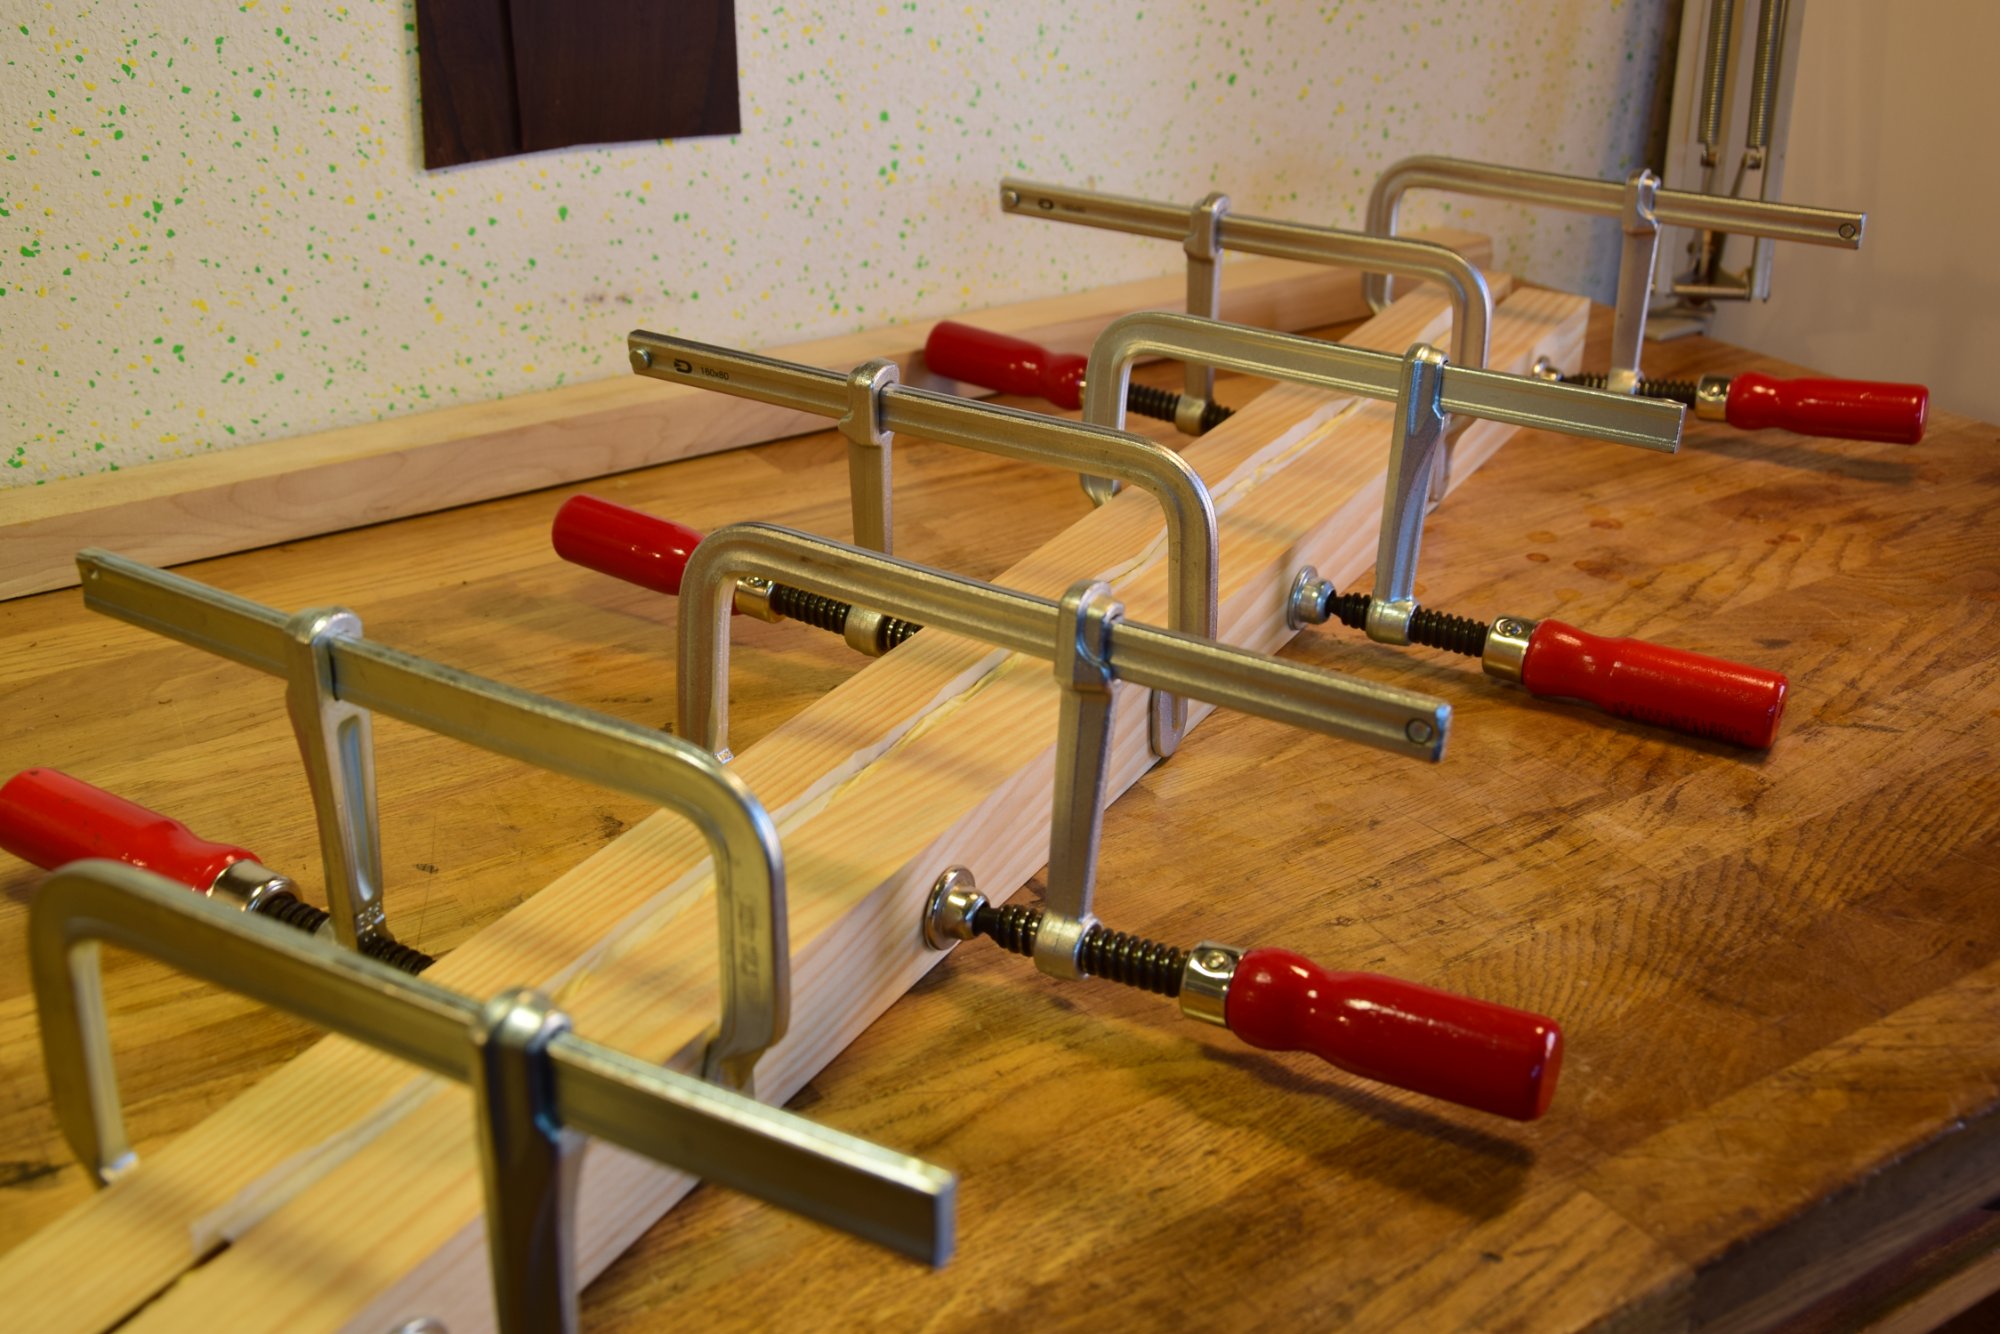
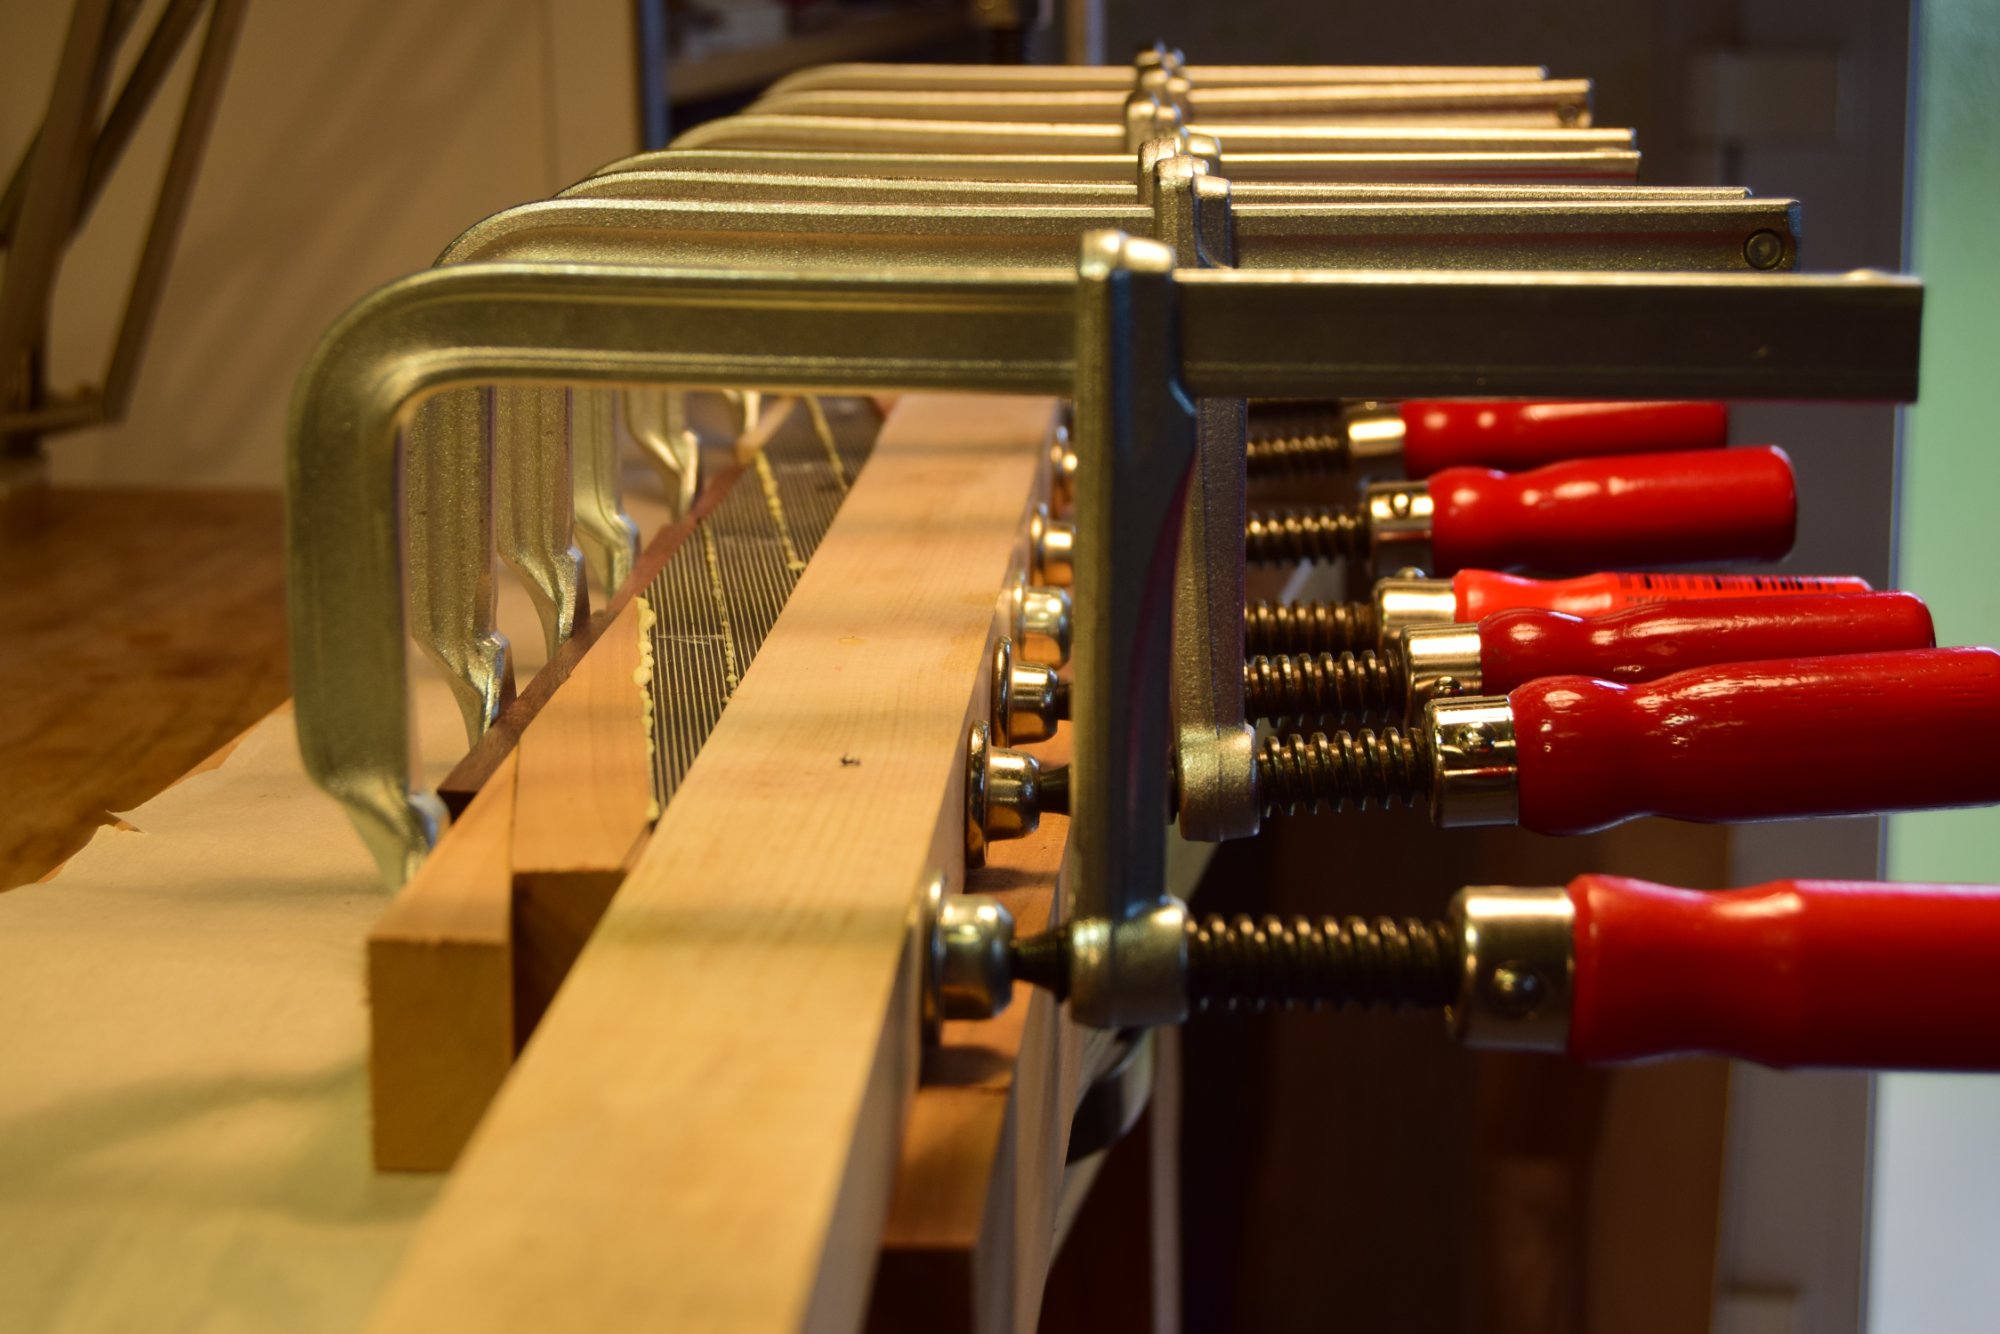
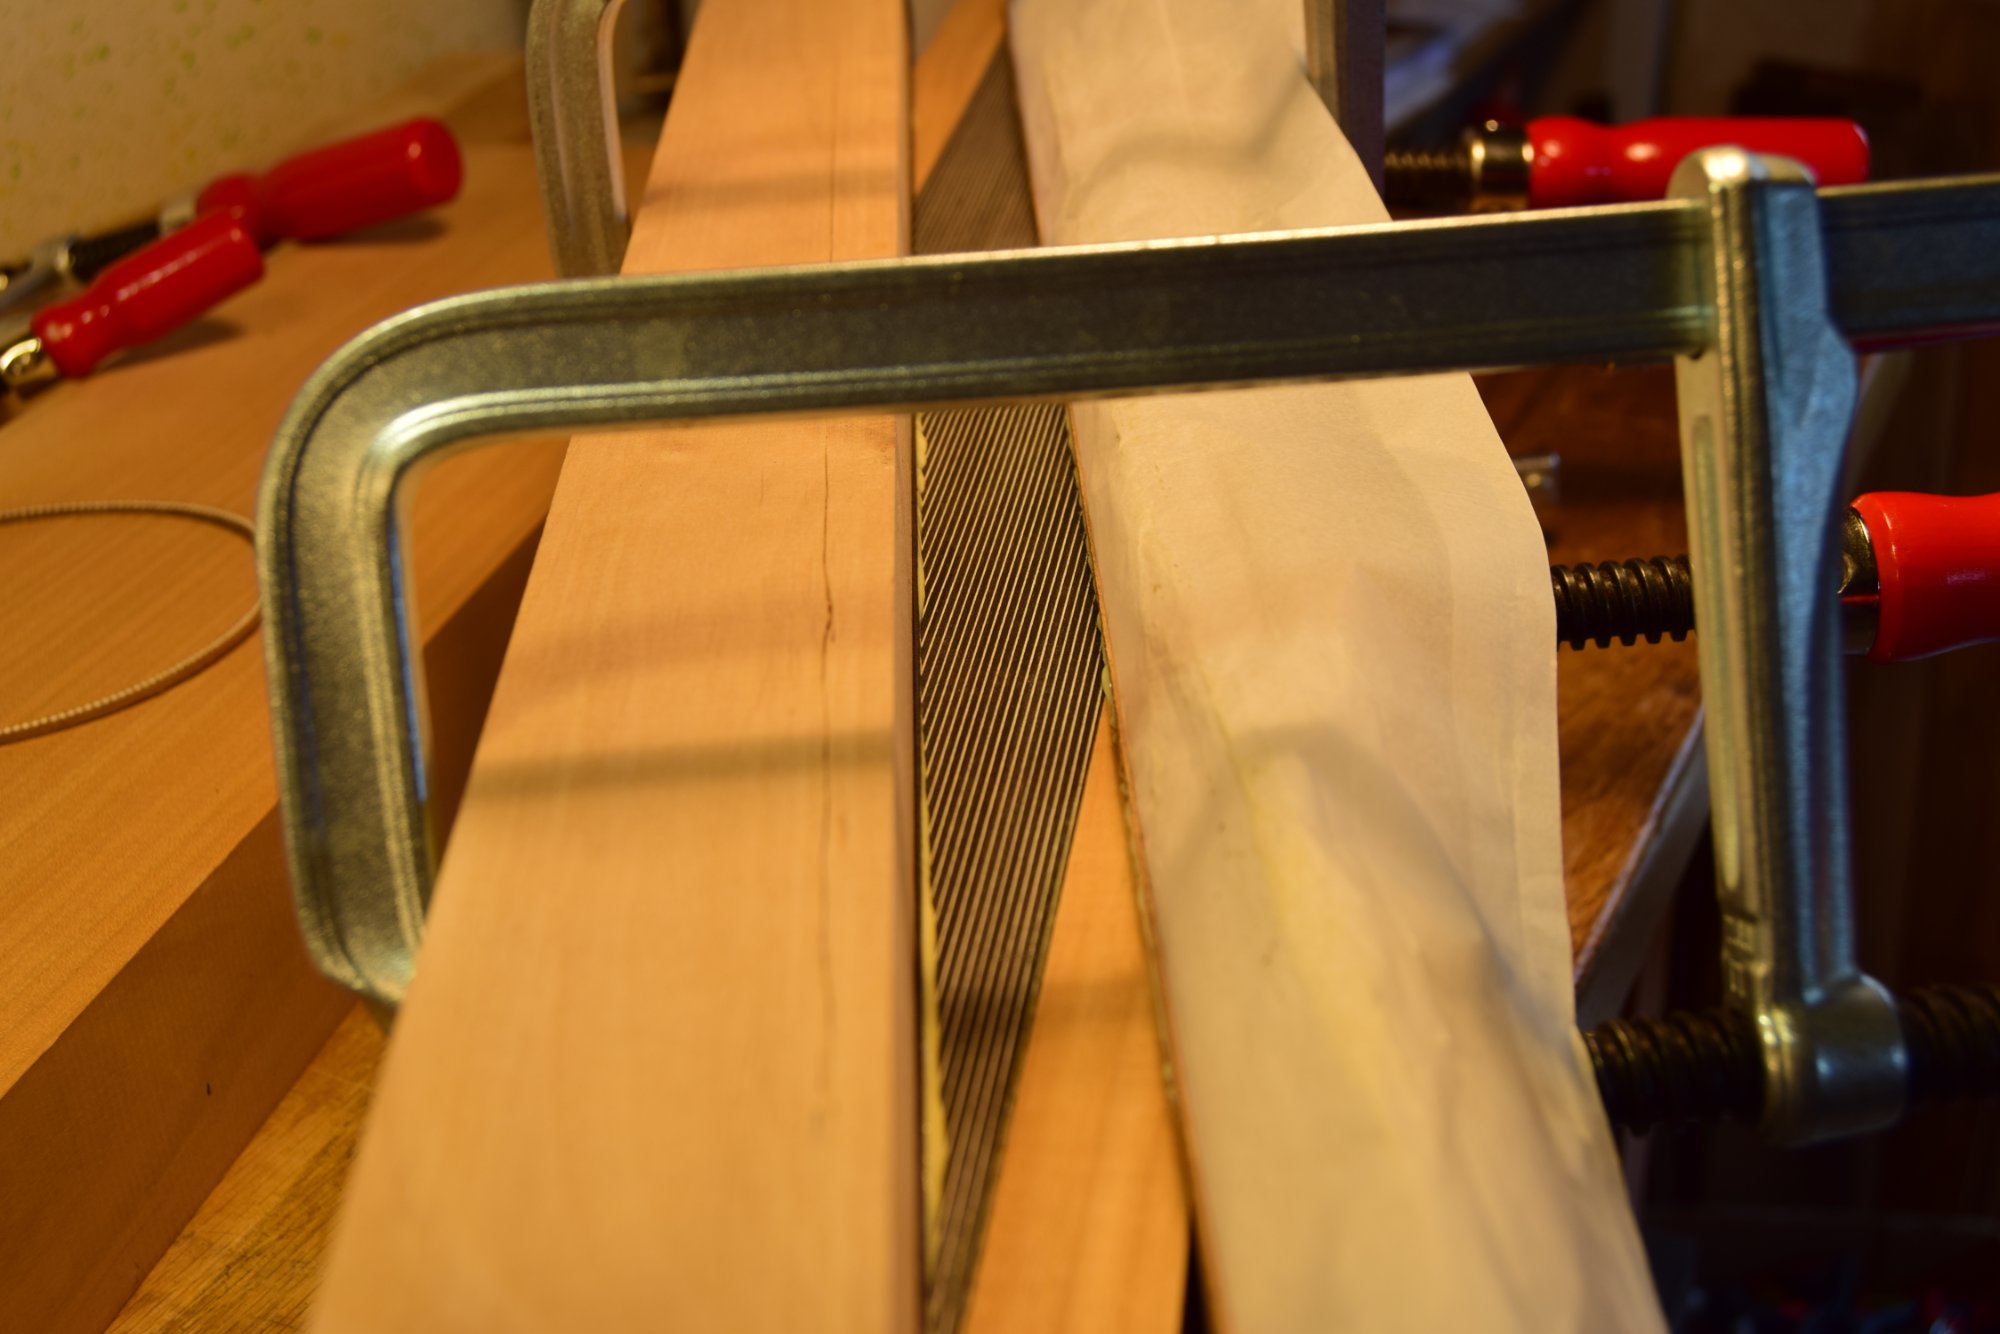
Progressive clamping prevents slippage
Black veneer stabilises the block
Applying the glue
Glue is applied with a roller. It's wise not to laminate too many layers at once — the more layers, the greater the risk of misalignment during clamping.
Clamping
To prevent the veneers from sliding and shifting, the clamps must be tightened very gradually — any sudden pressure will displace the layers before the glue sets.
Phase III
Cutting the
herringbone angle
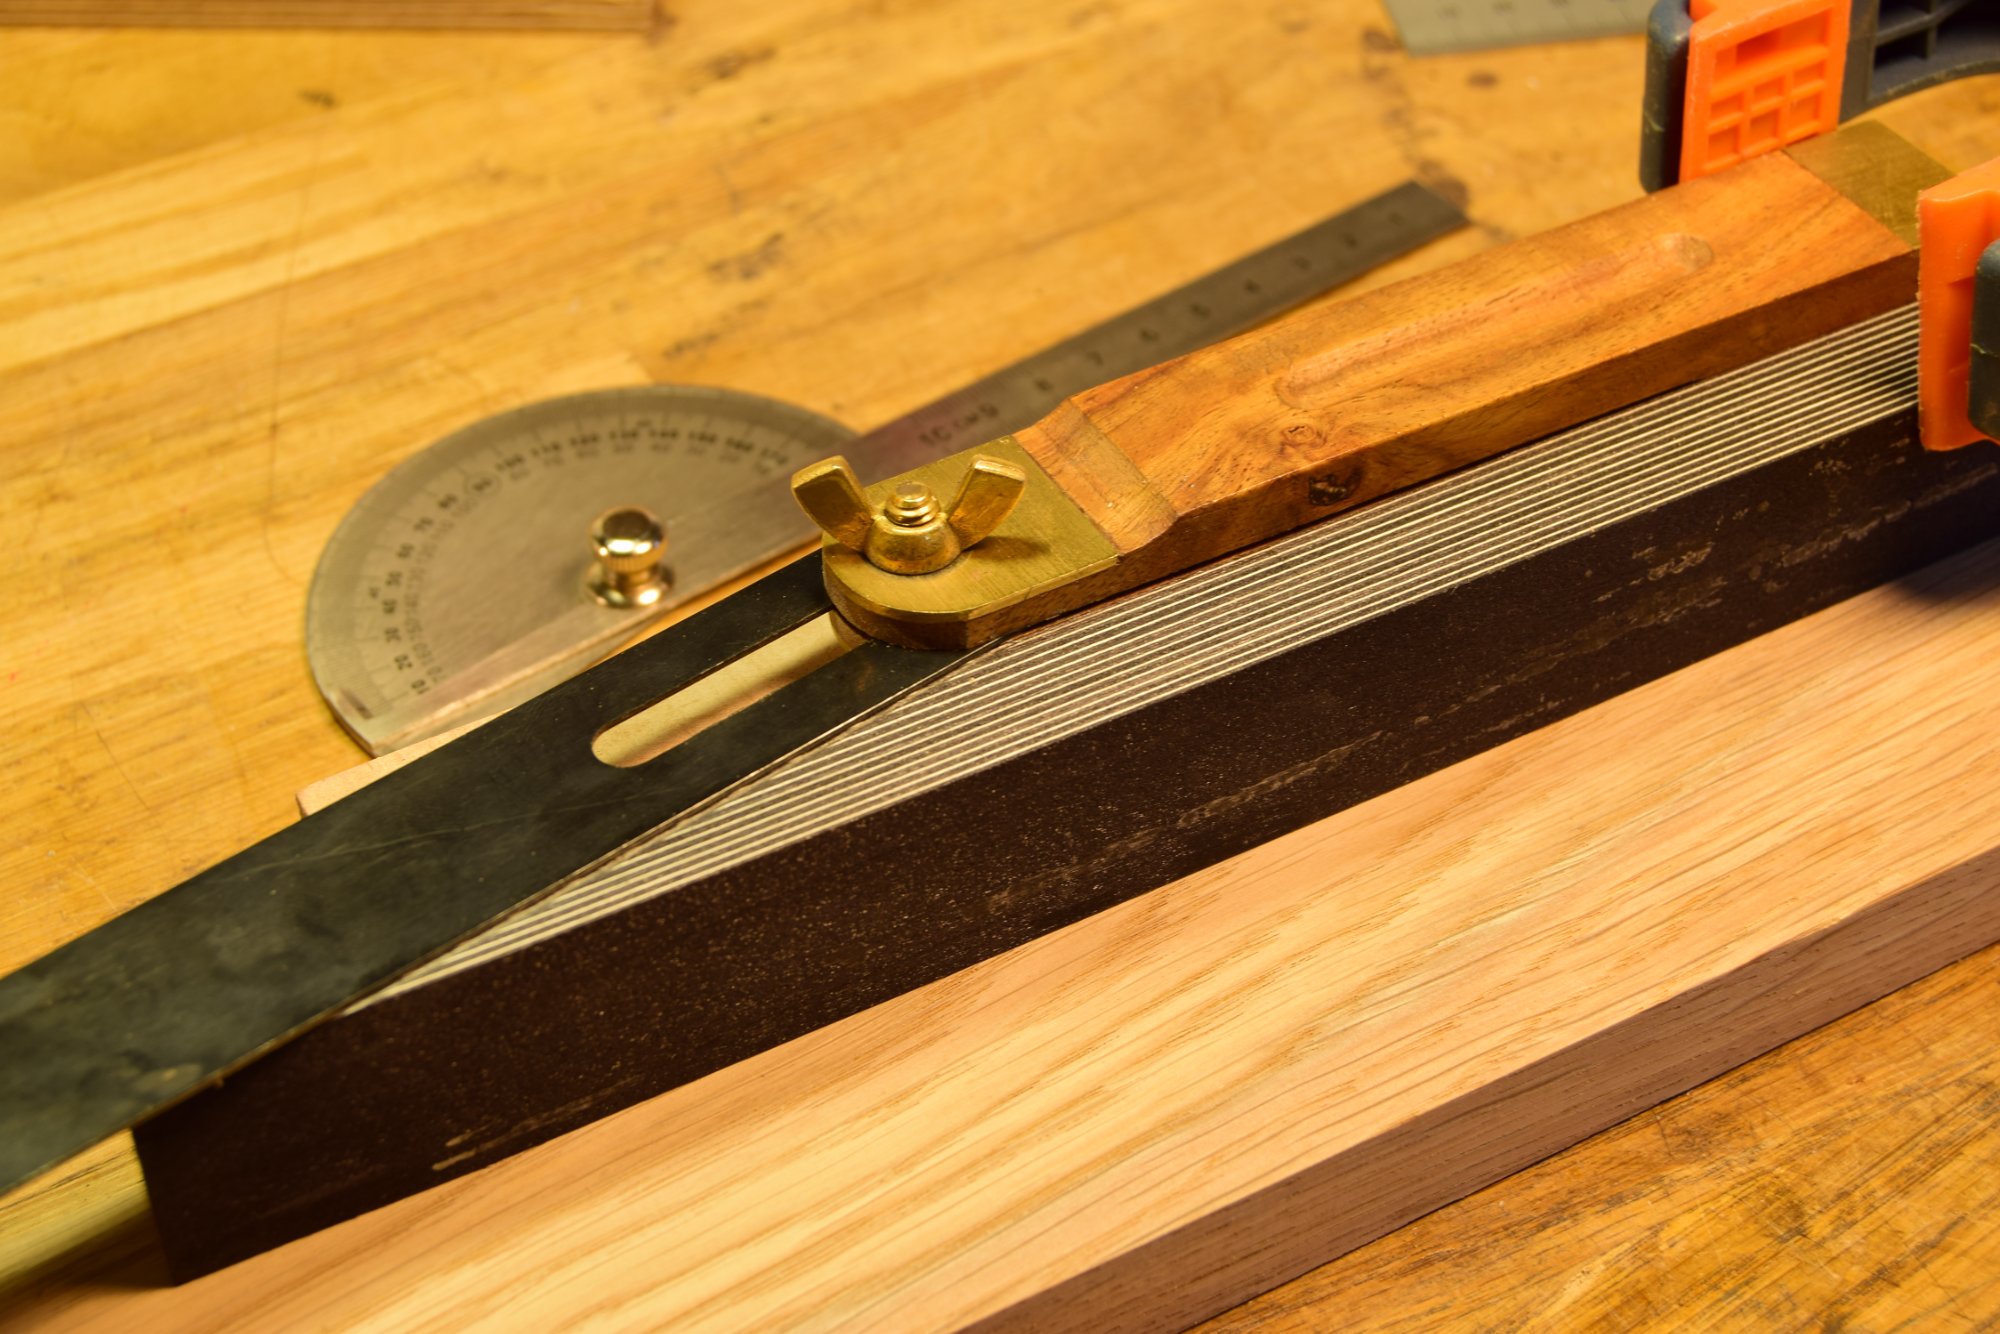
The herringbone has an inclination angle of 10 degrees — this is what gives it its characteristic chevron motion.
Wedge blocks maintain the angle during cutting
Planing to ensure faces are square
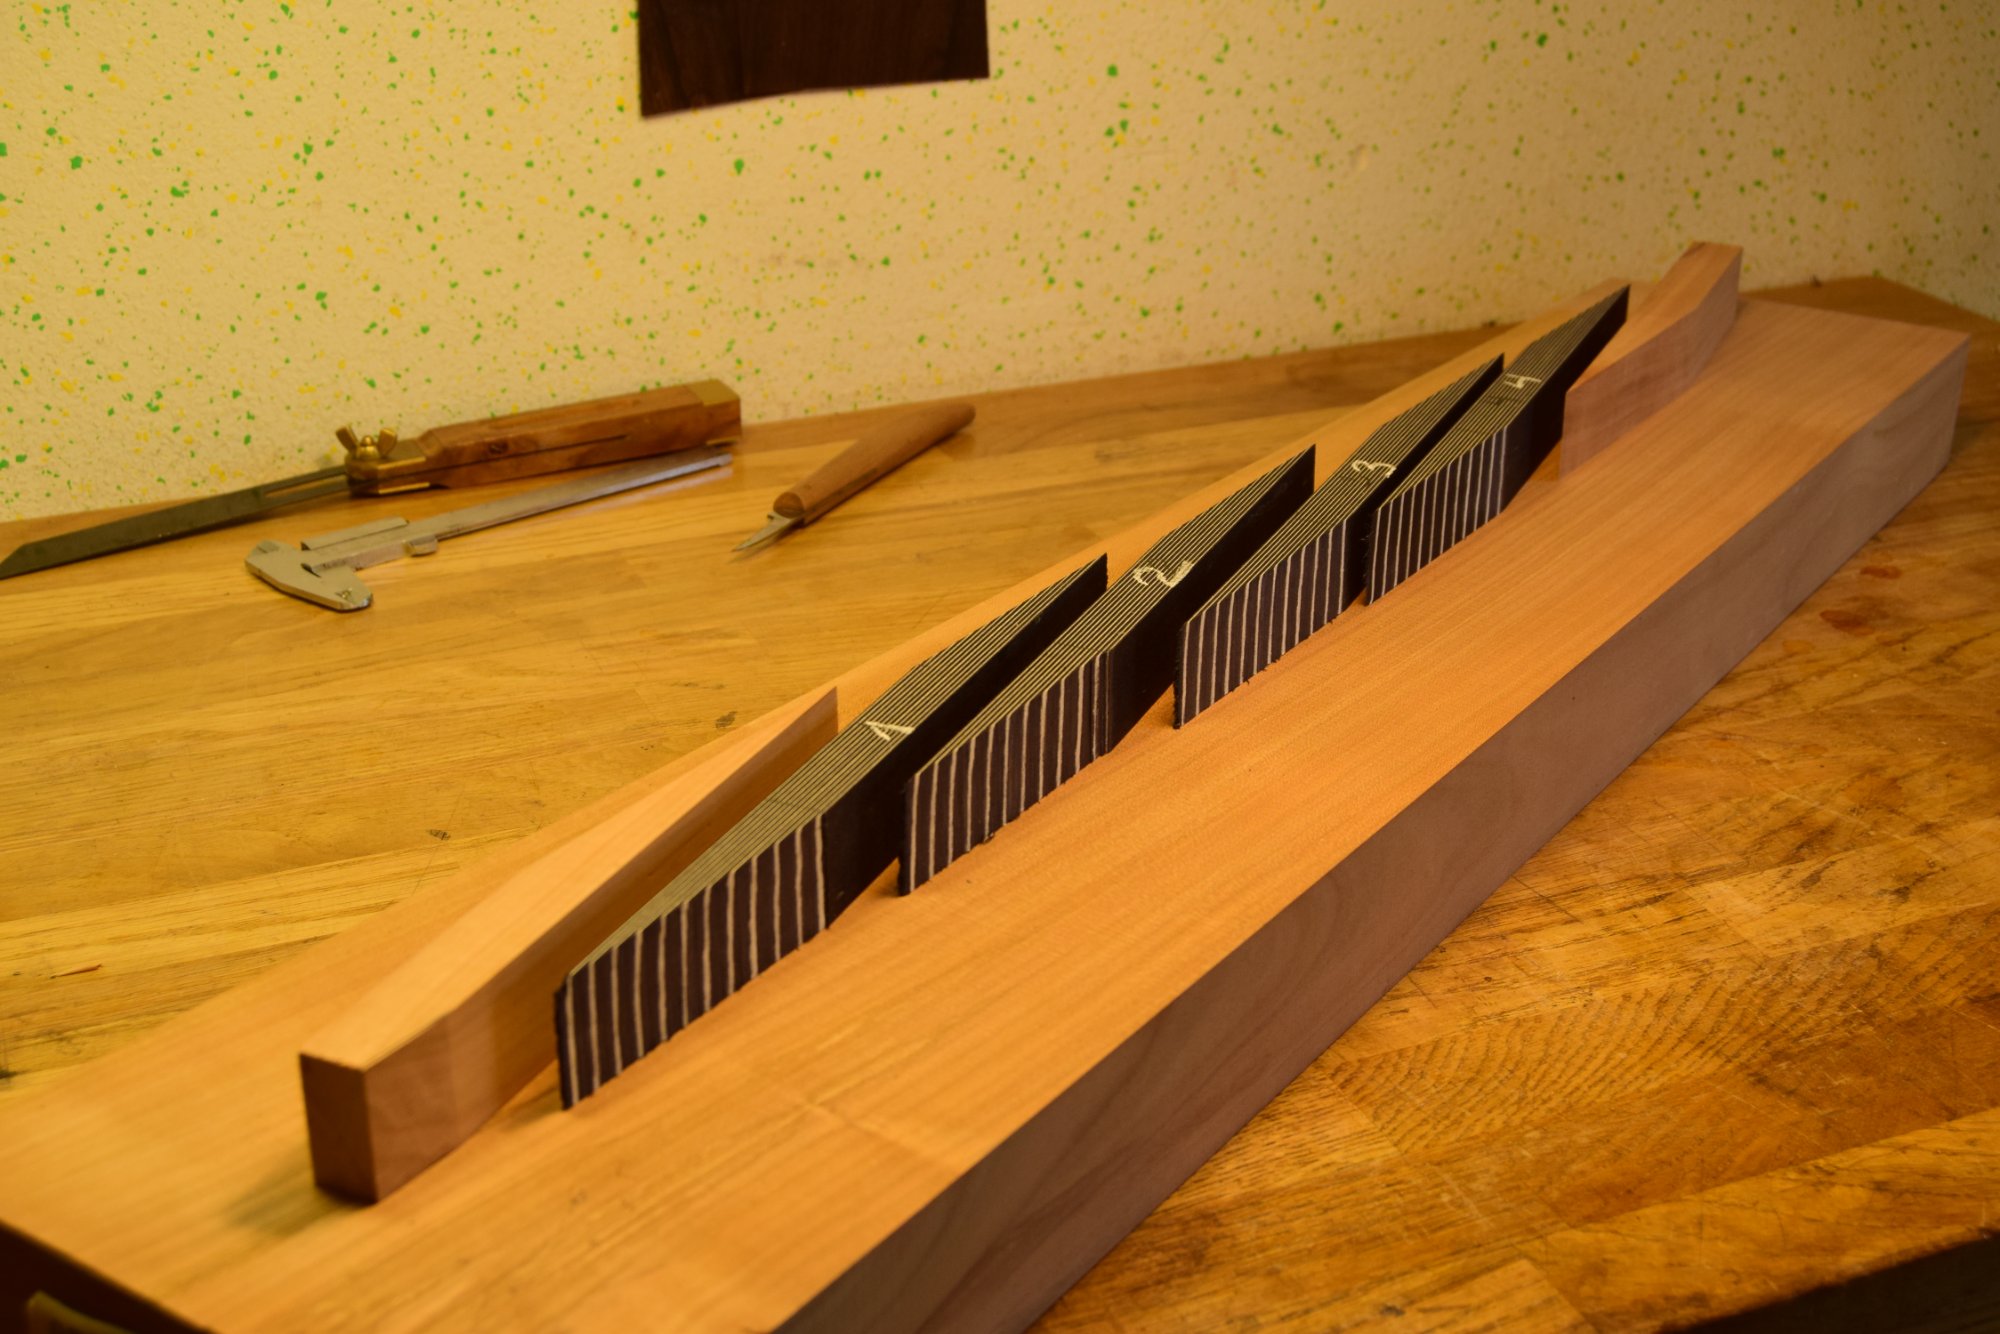
Pieces numbered to preserve order after cutting
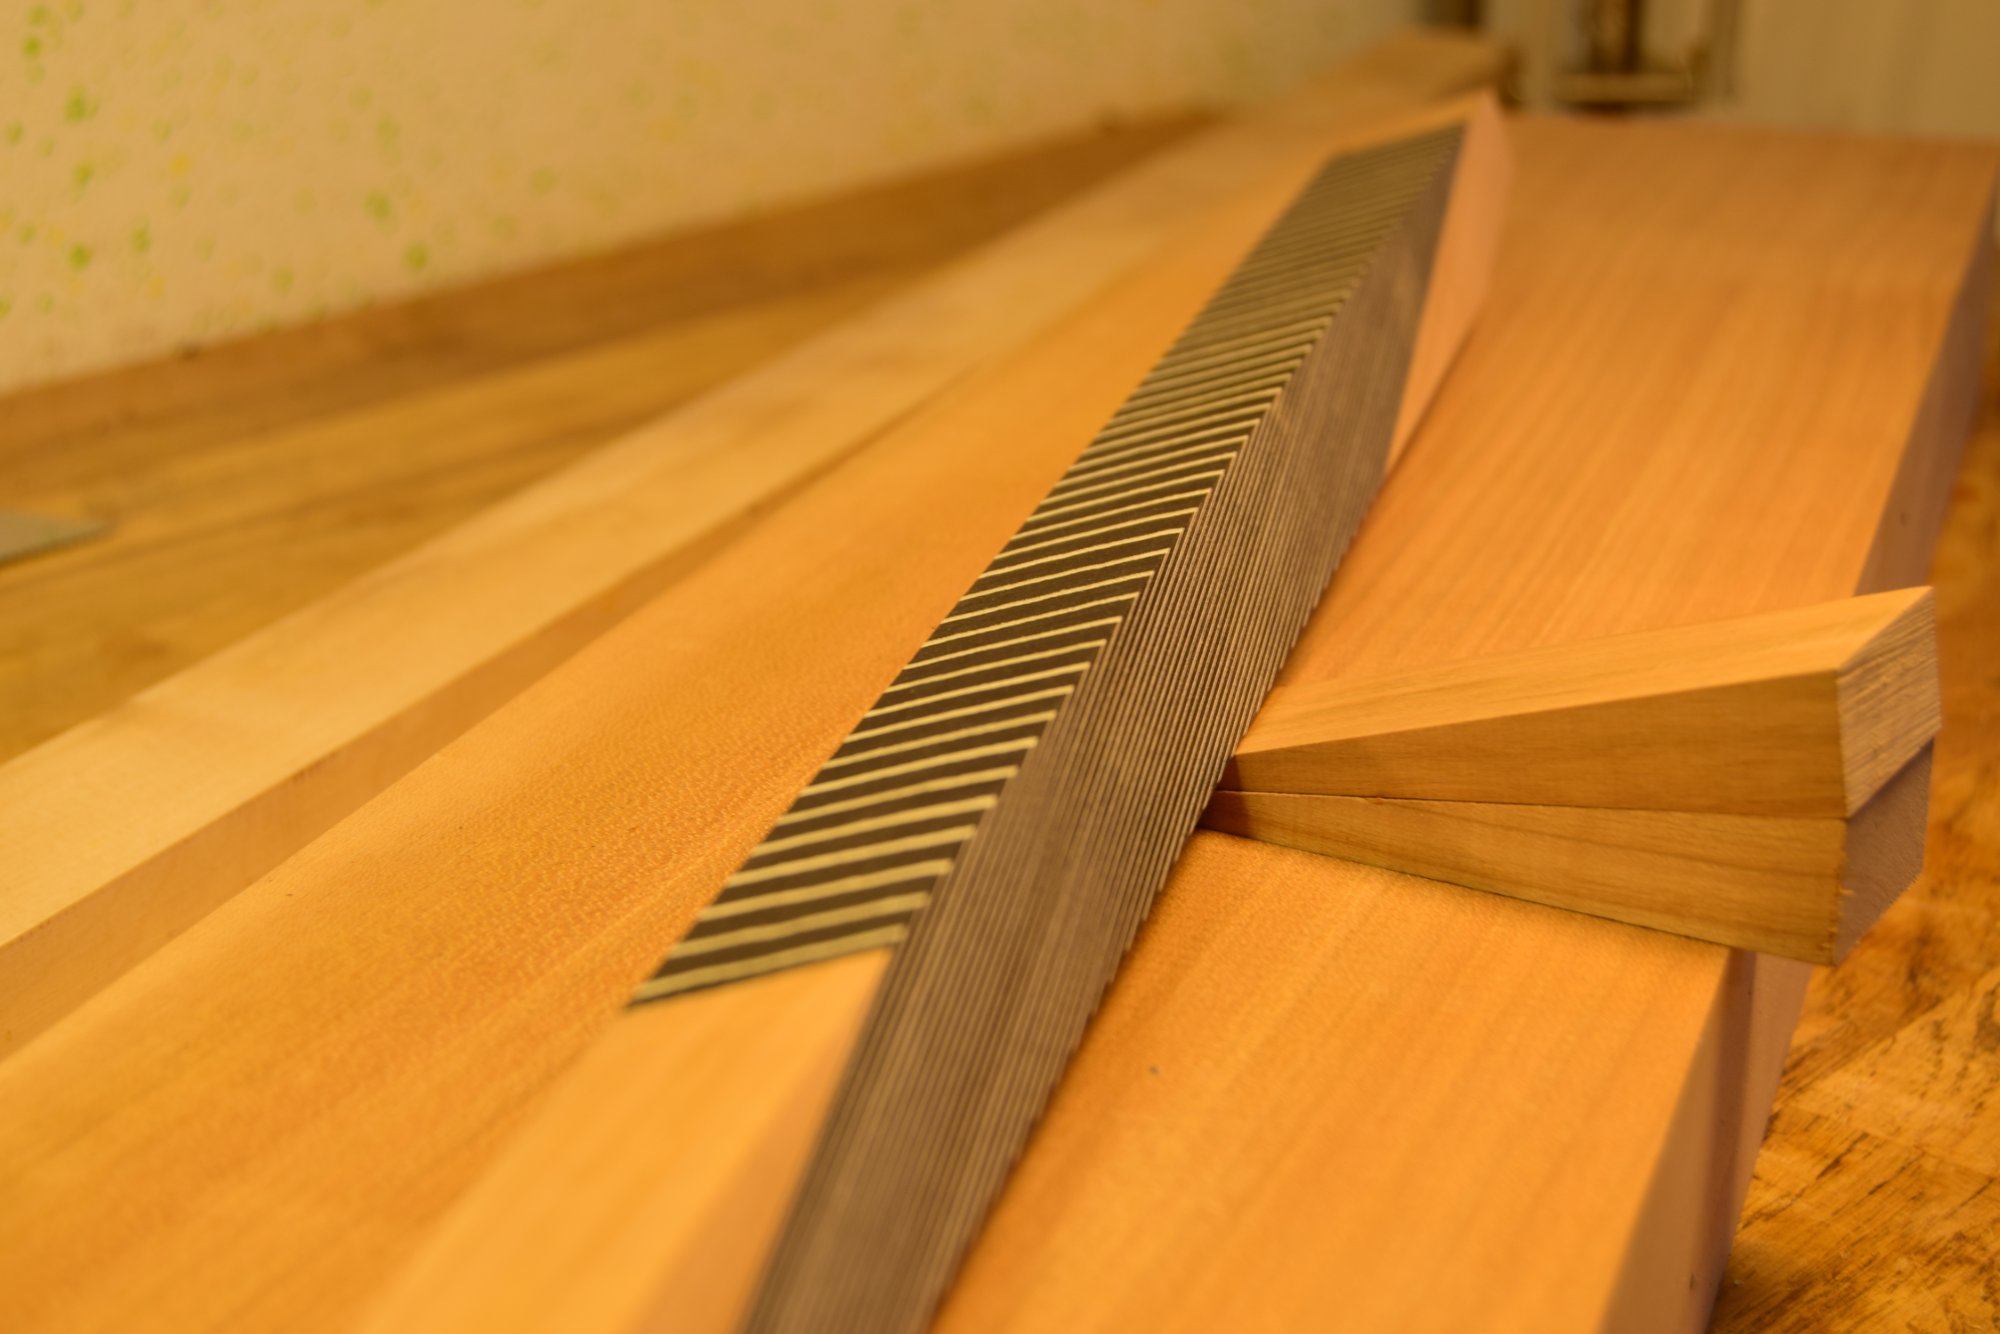
The assembled herringbone motif
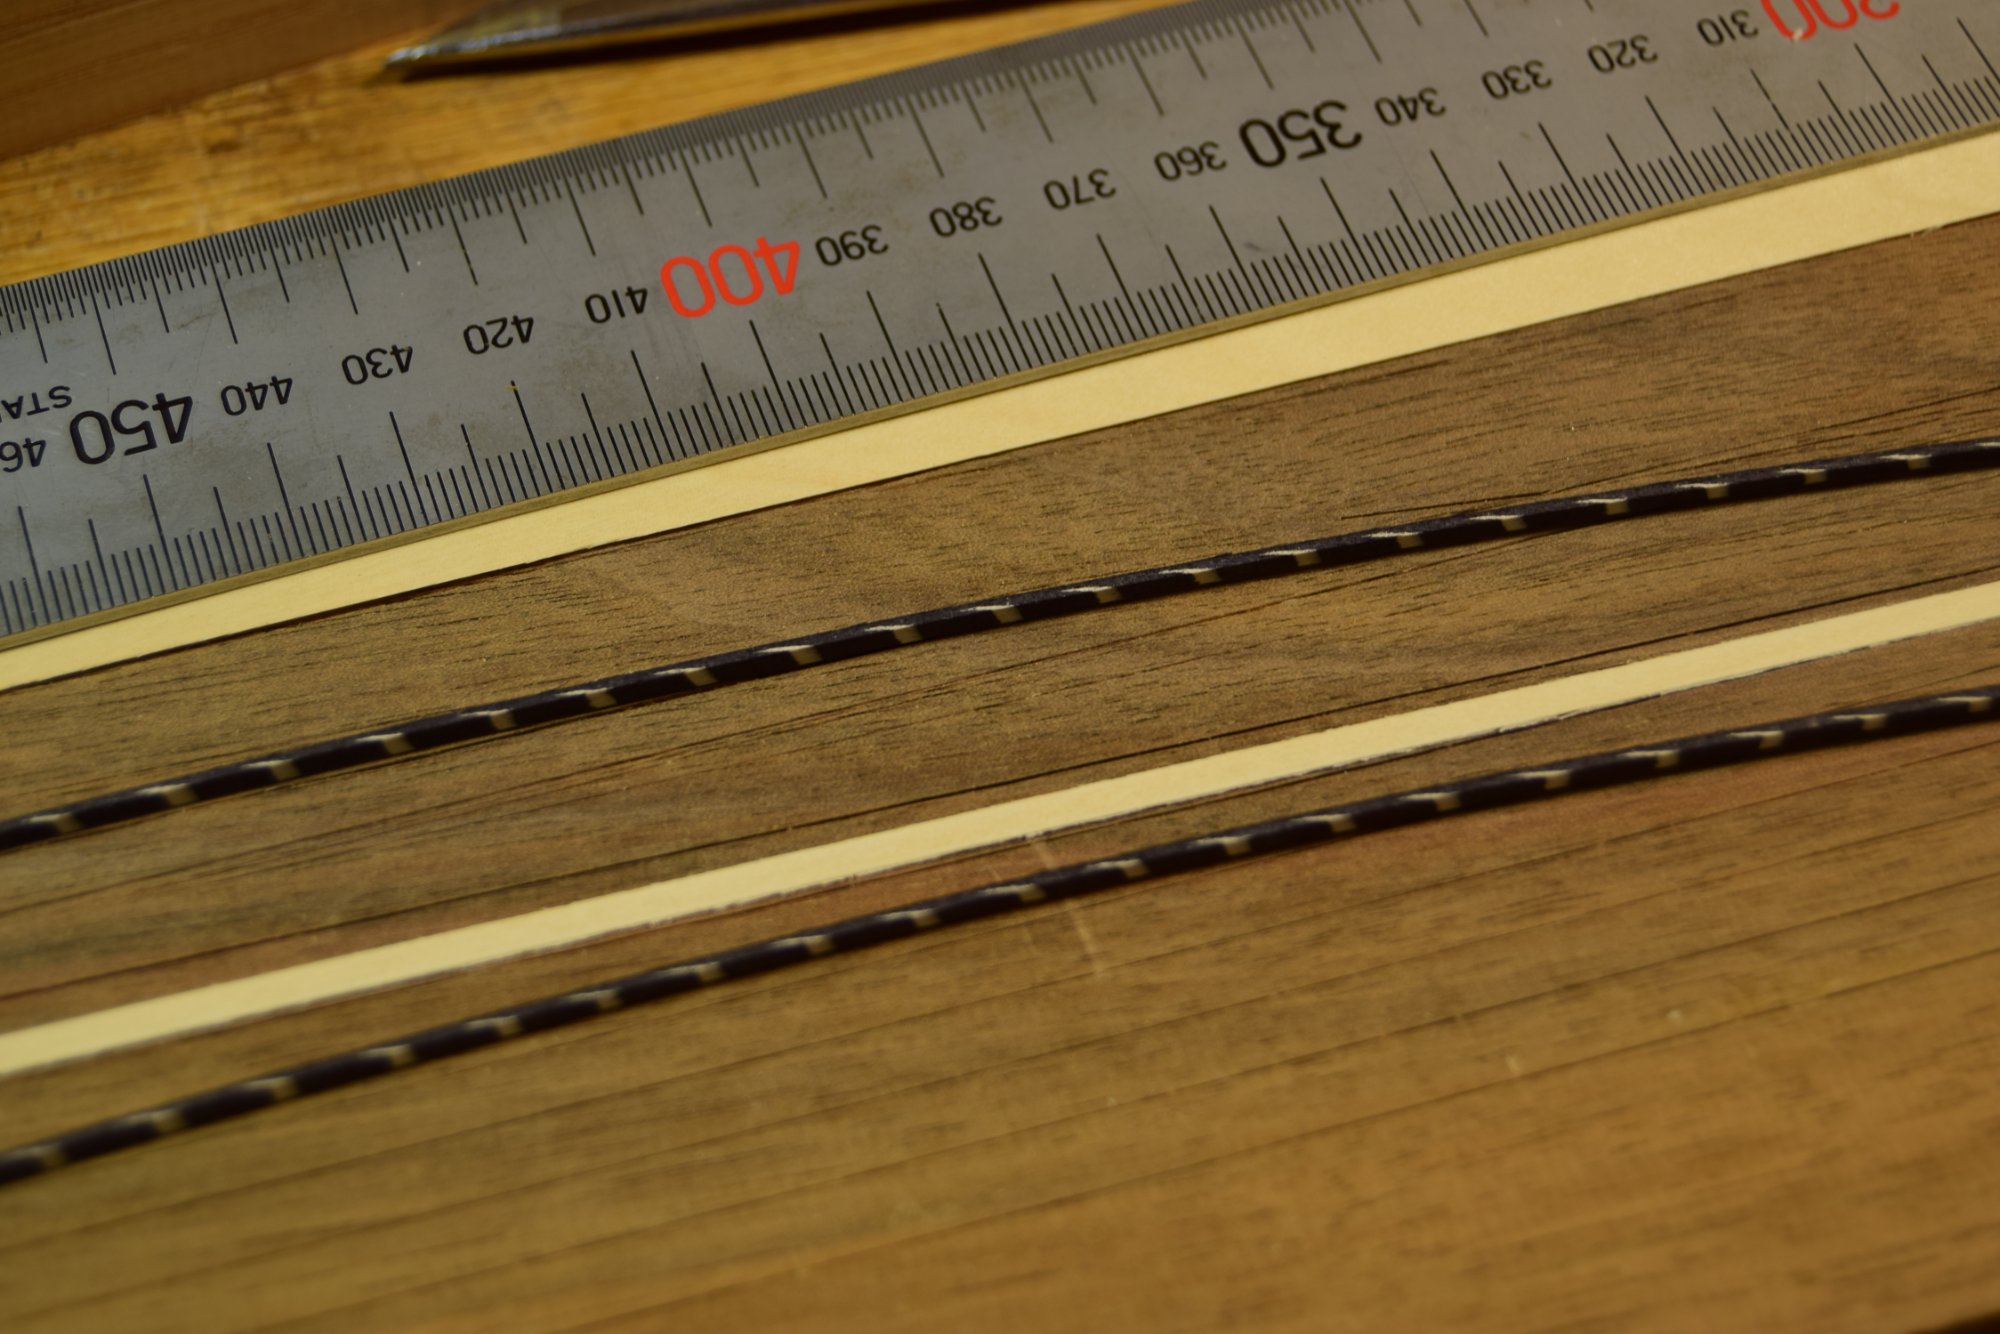
Cutting at 10°
Once glued, the block is cut at a 10-degree angle using a bevel gauge to mark the number of cuts needed. The required length varies: 35 cm for a central rosette motif, up to 75 cm if you also need material for the purfling.
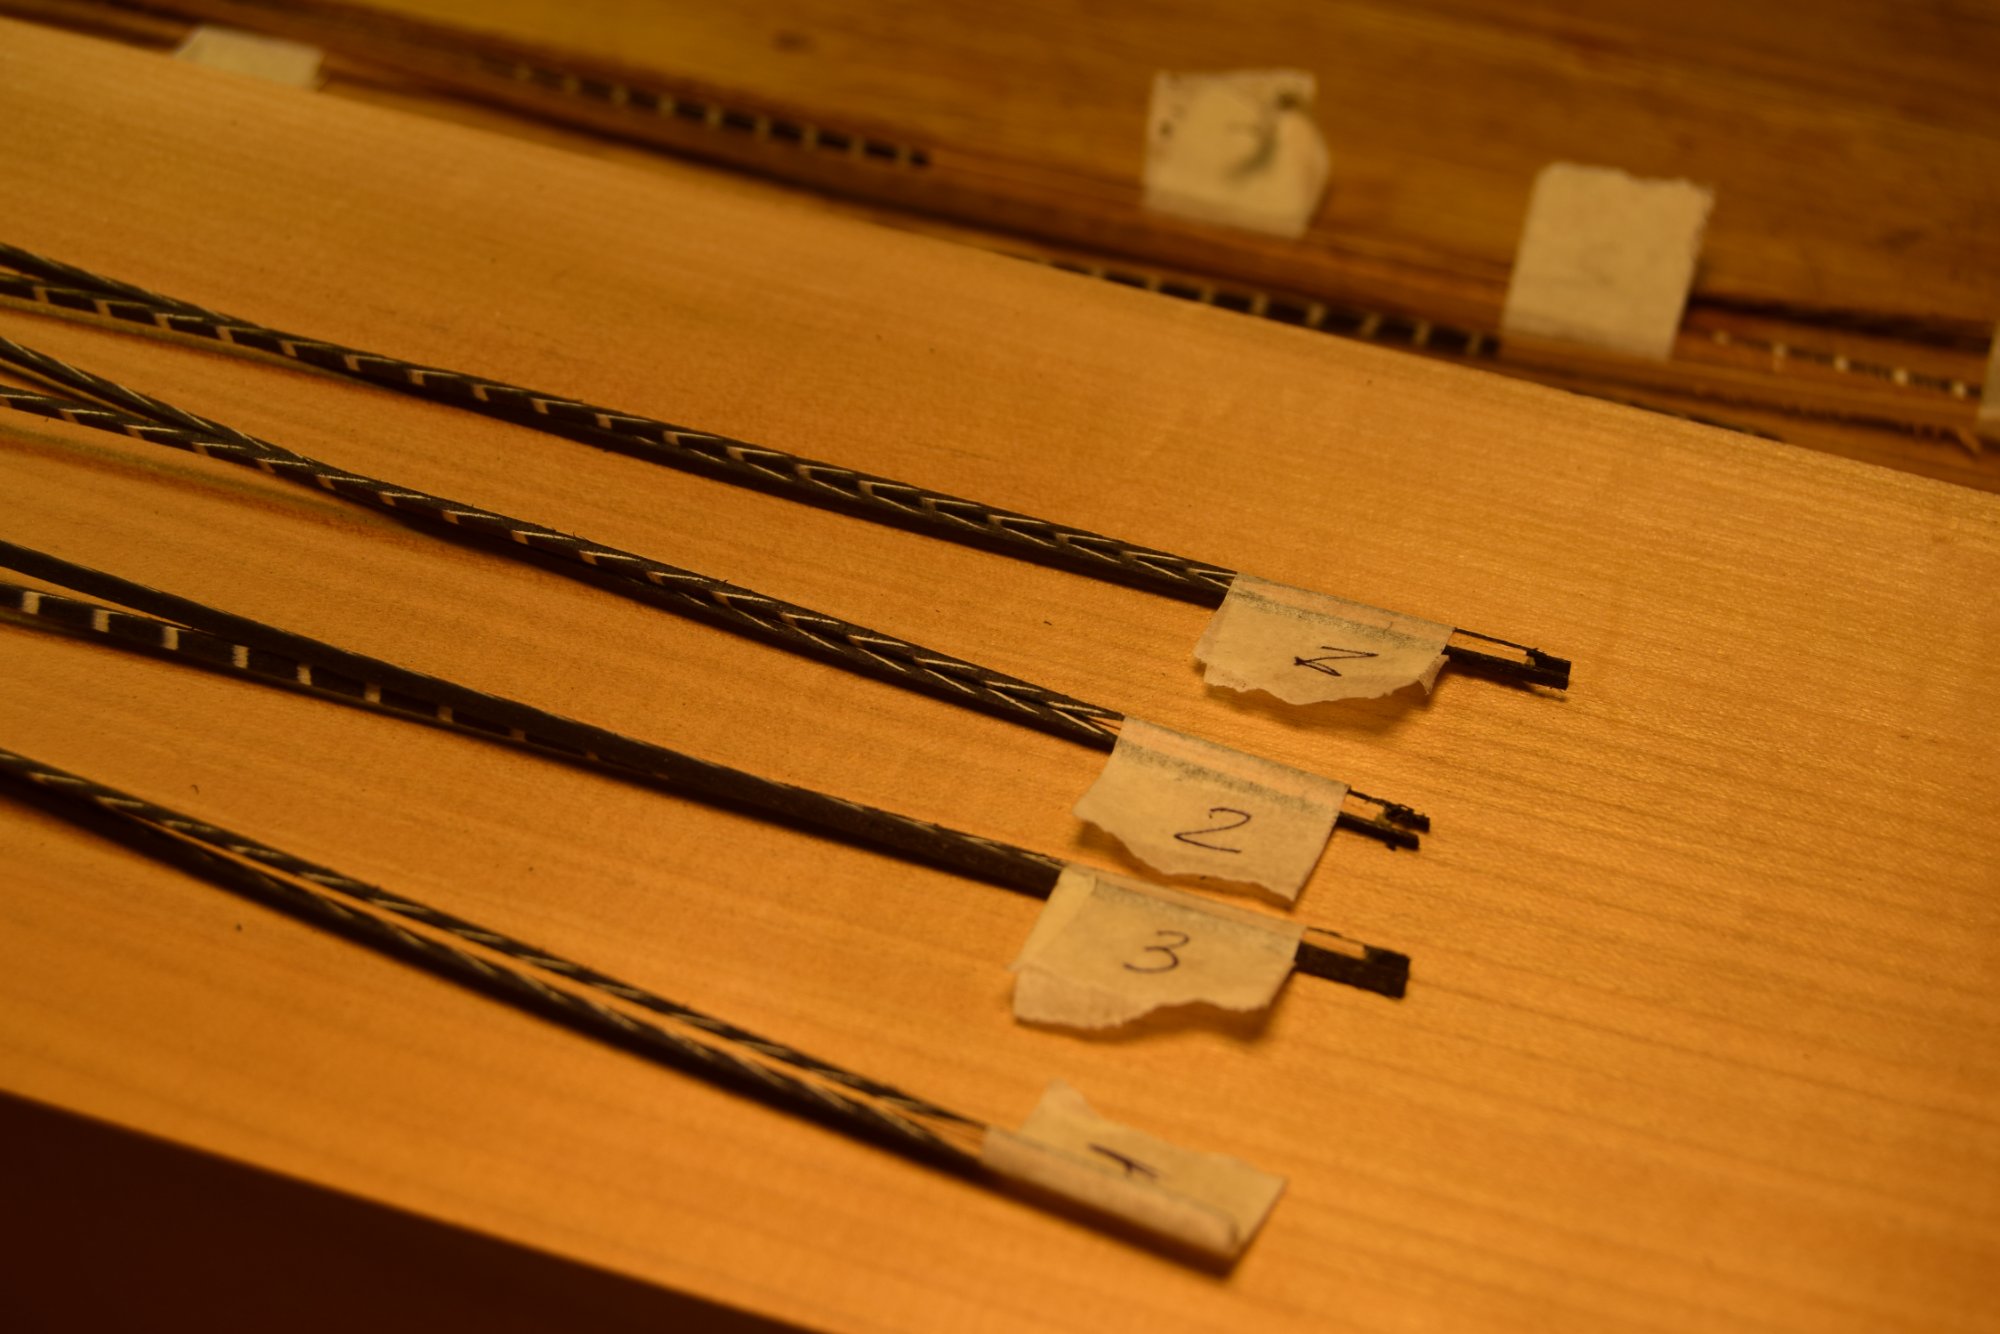
Numbering the pieces
Each piece is numbered immediately after cutting to preserve the correct sequence. Veneer thickness is never perfectly uniform across its length — maintaining the order keeps the pattern consistent and prevents visible irregularities in the finished rosette.
Phase IV
Thinning to
final thickness
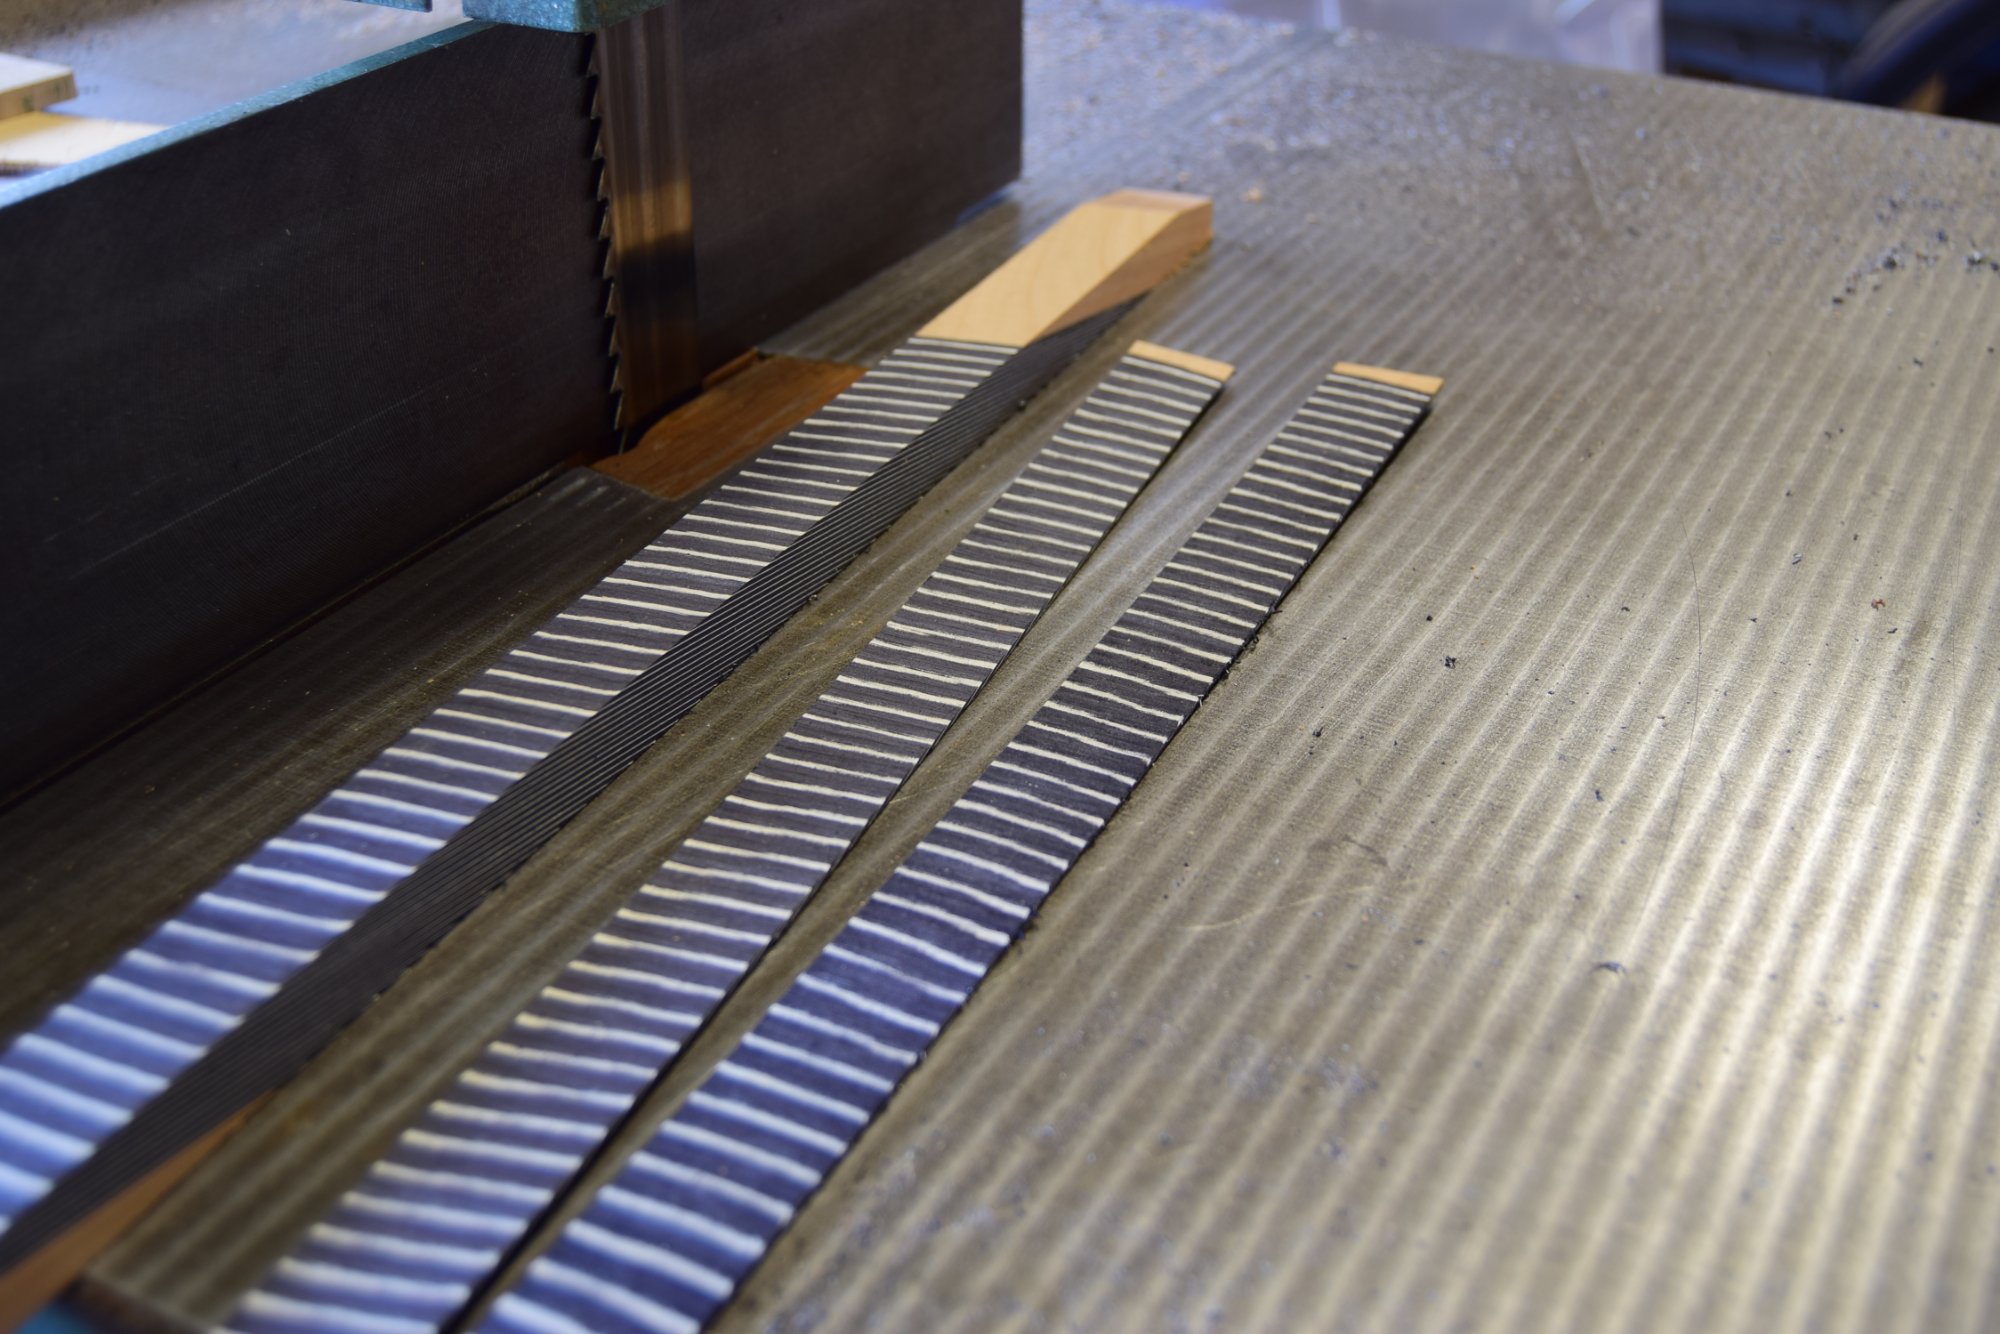
Strips cut under 1 mm on the band saw
Plane and MDF groove for precise thinning
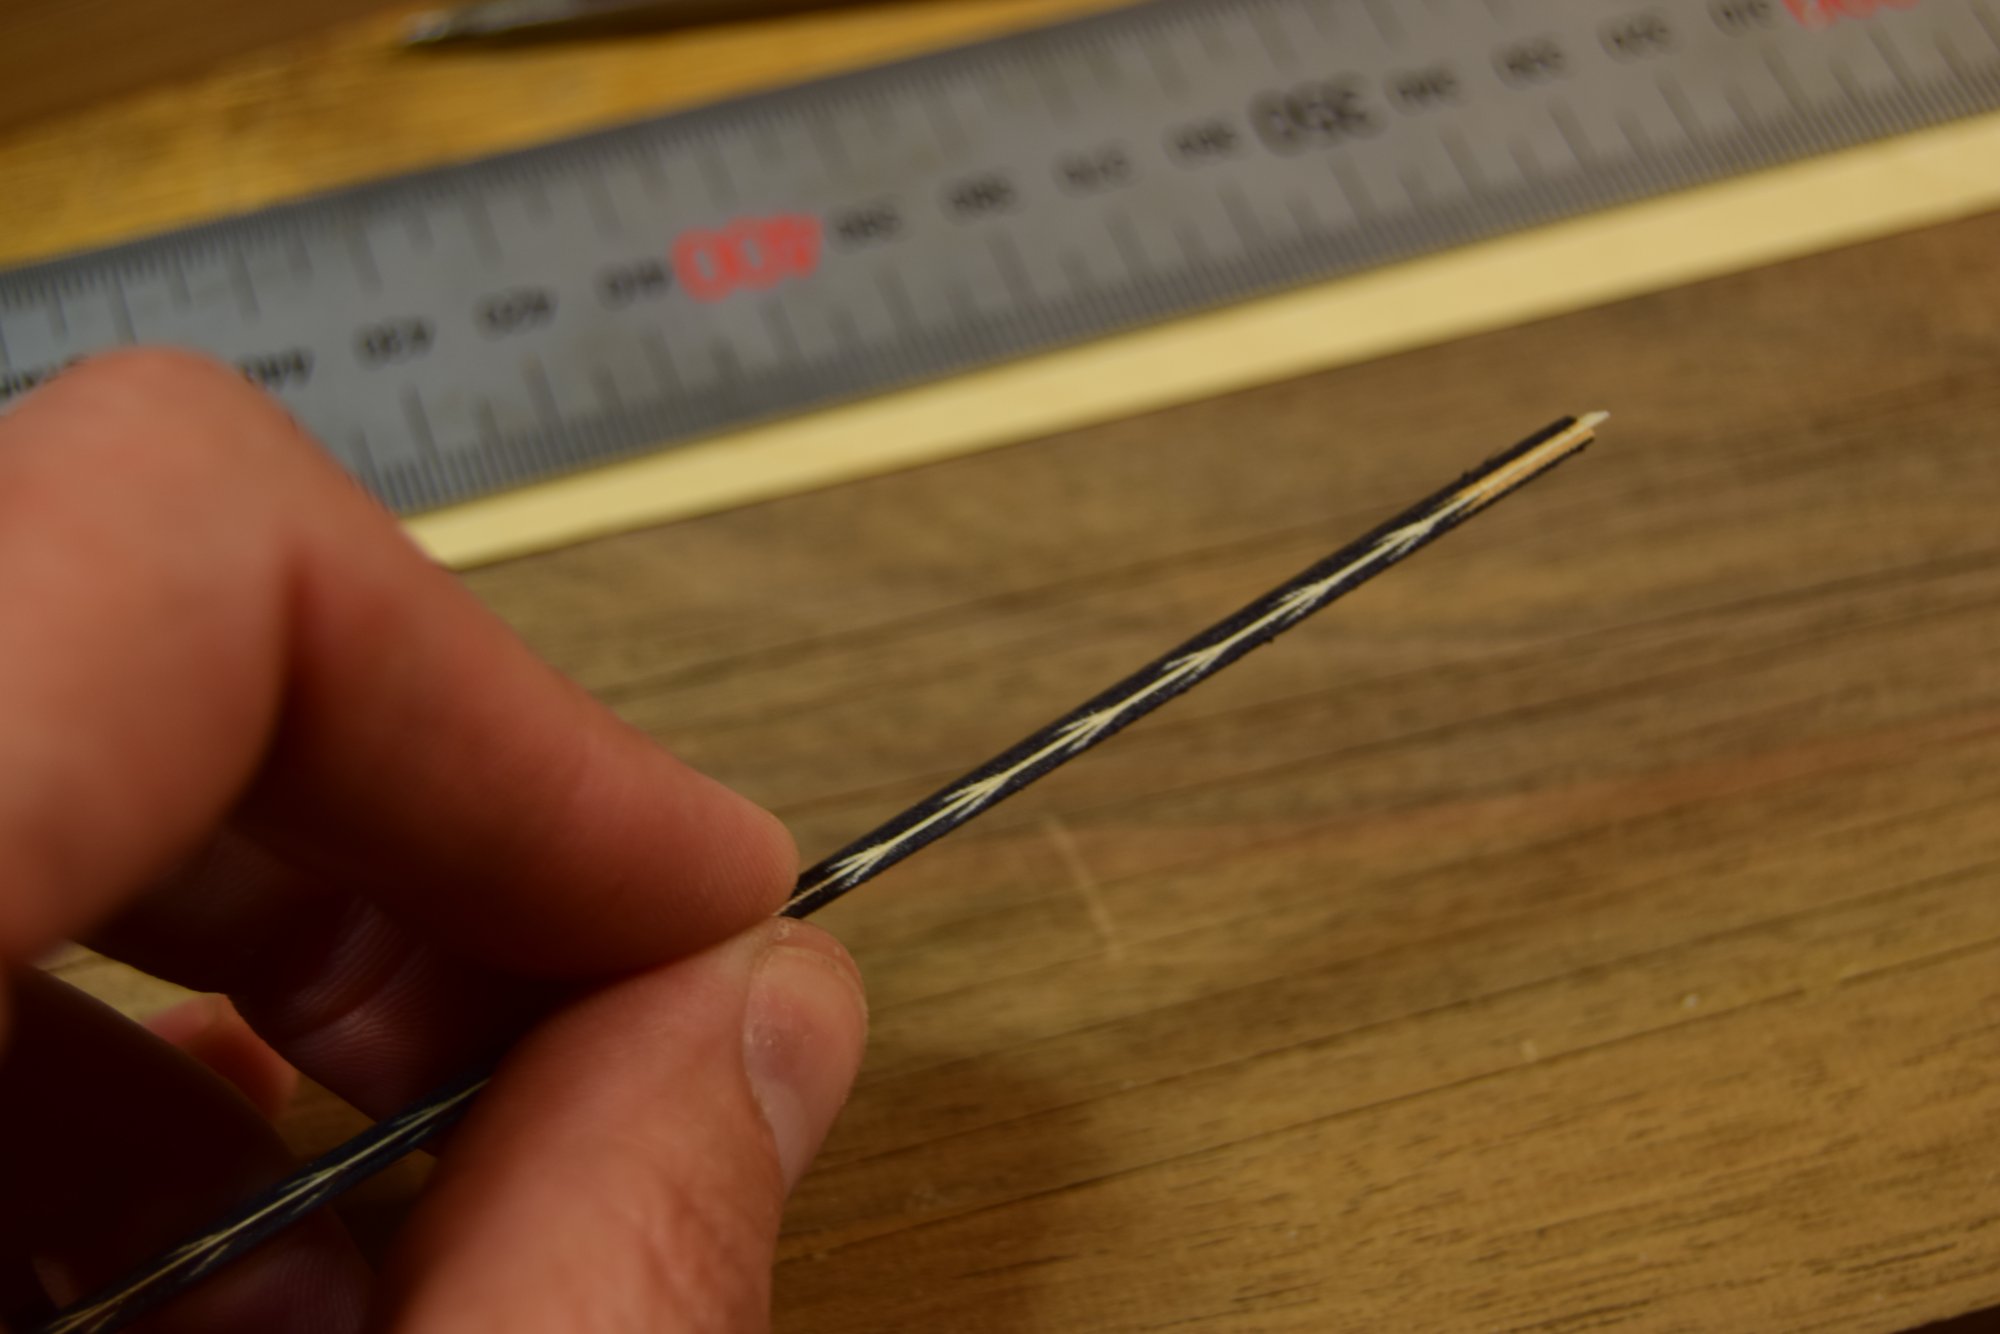
Central veneer — just 0.2 mm thick
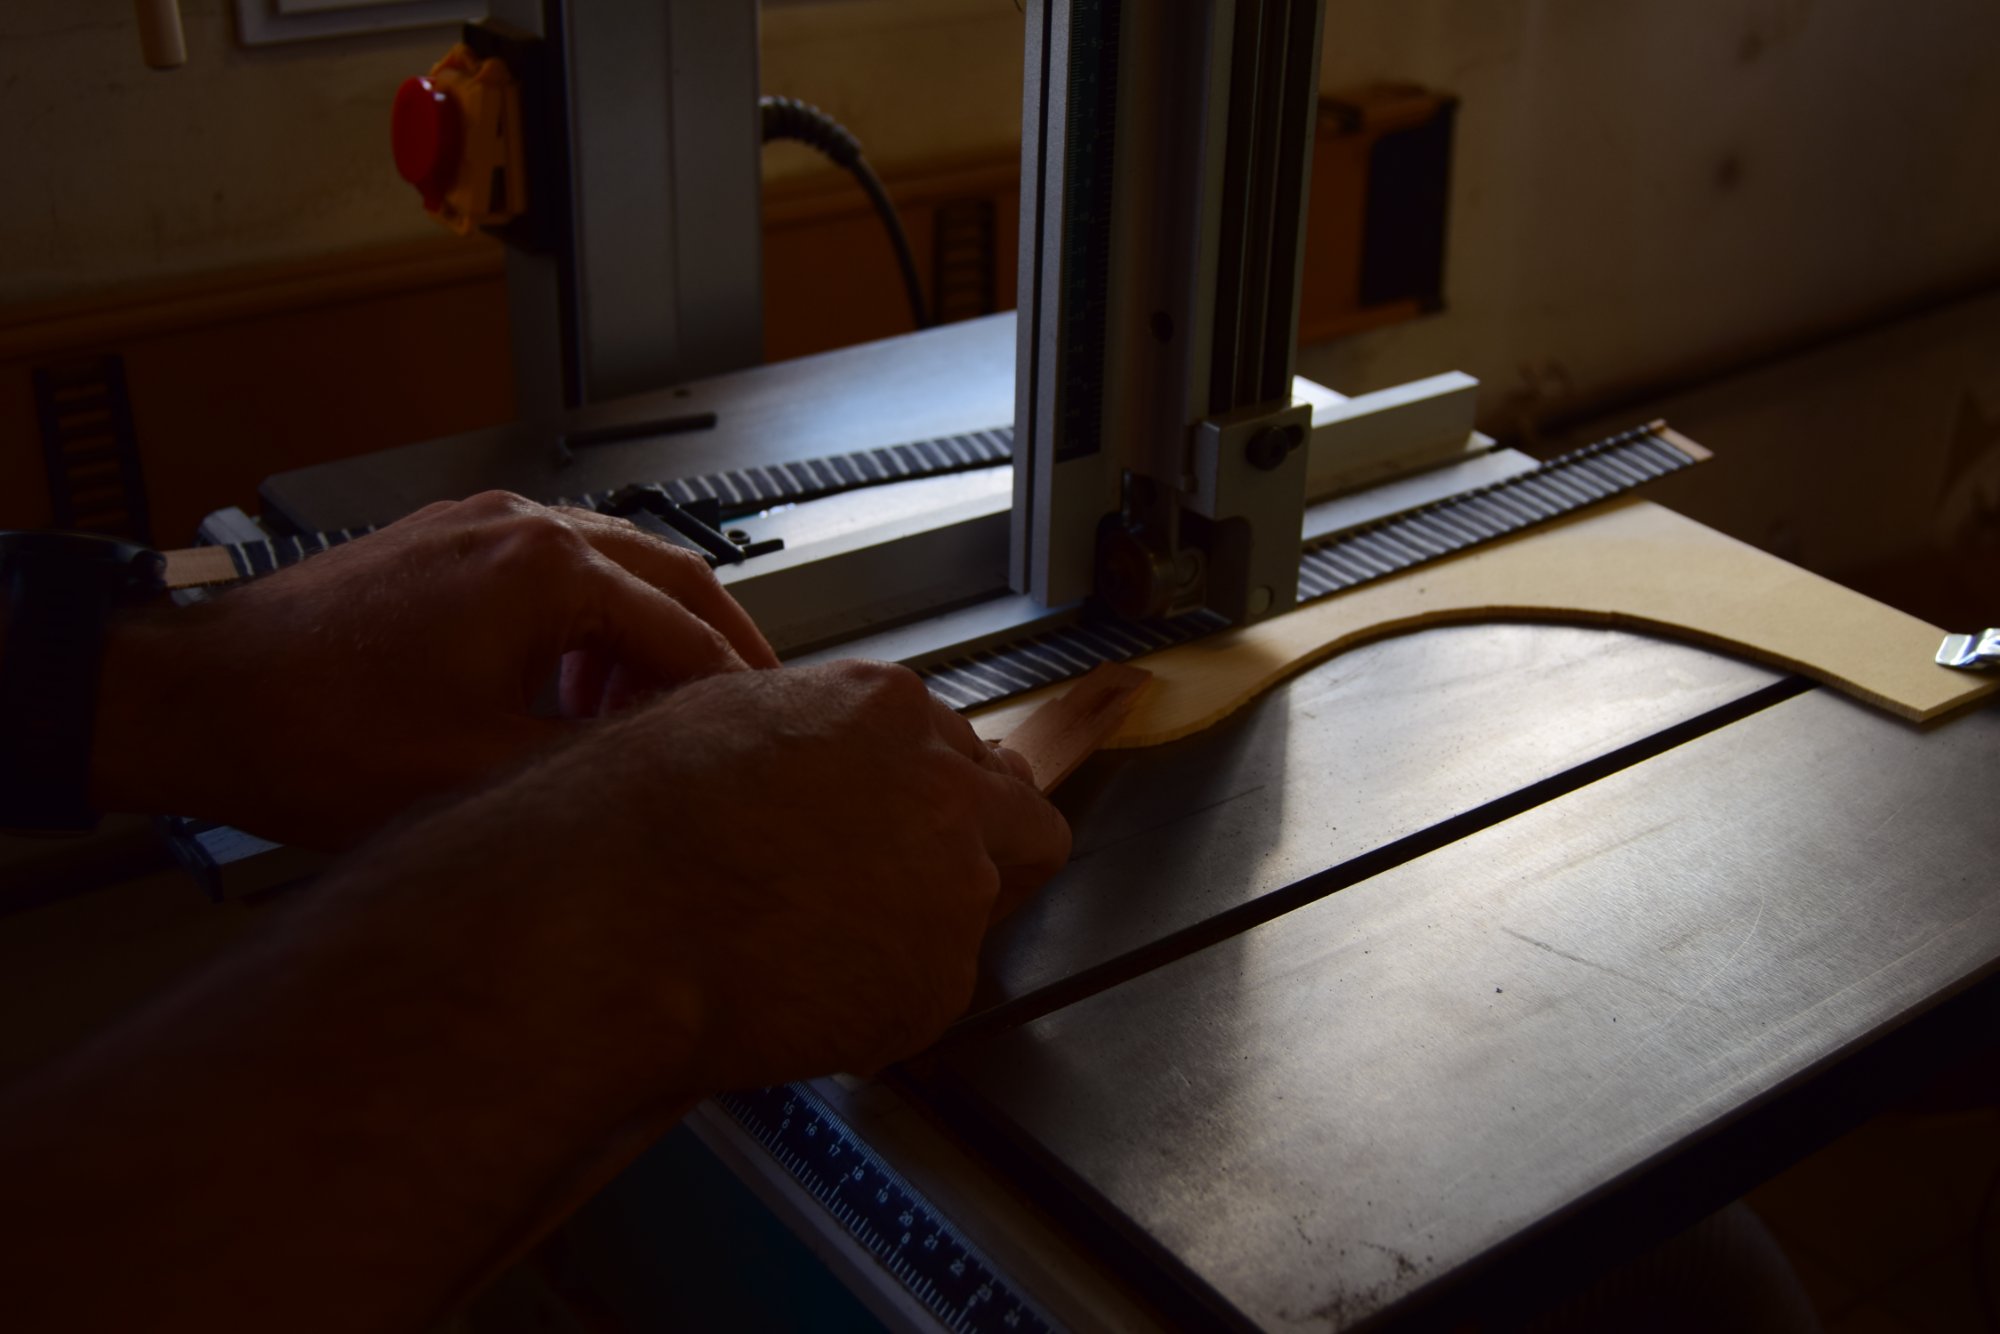
Cutting the strips
Strips are cut to just over 1 mm on the band saw. A piece of spruce placed under the blade gives a cleaner, chip-free cut and helps guide the hand. The strips are then cut into narrower slices, or lanières.
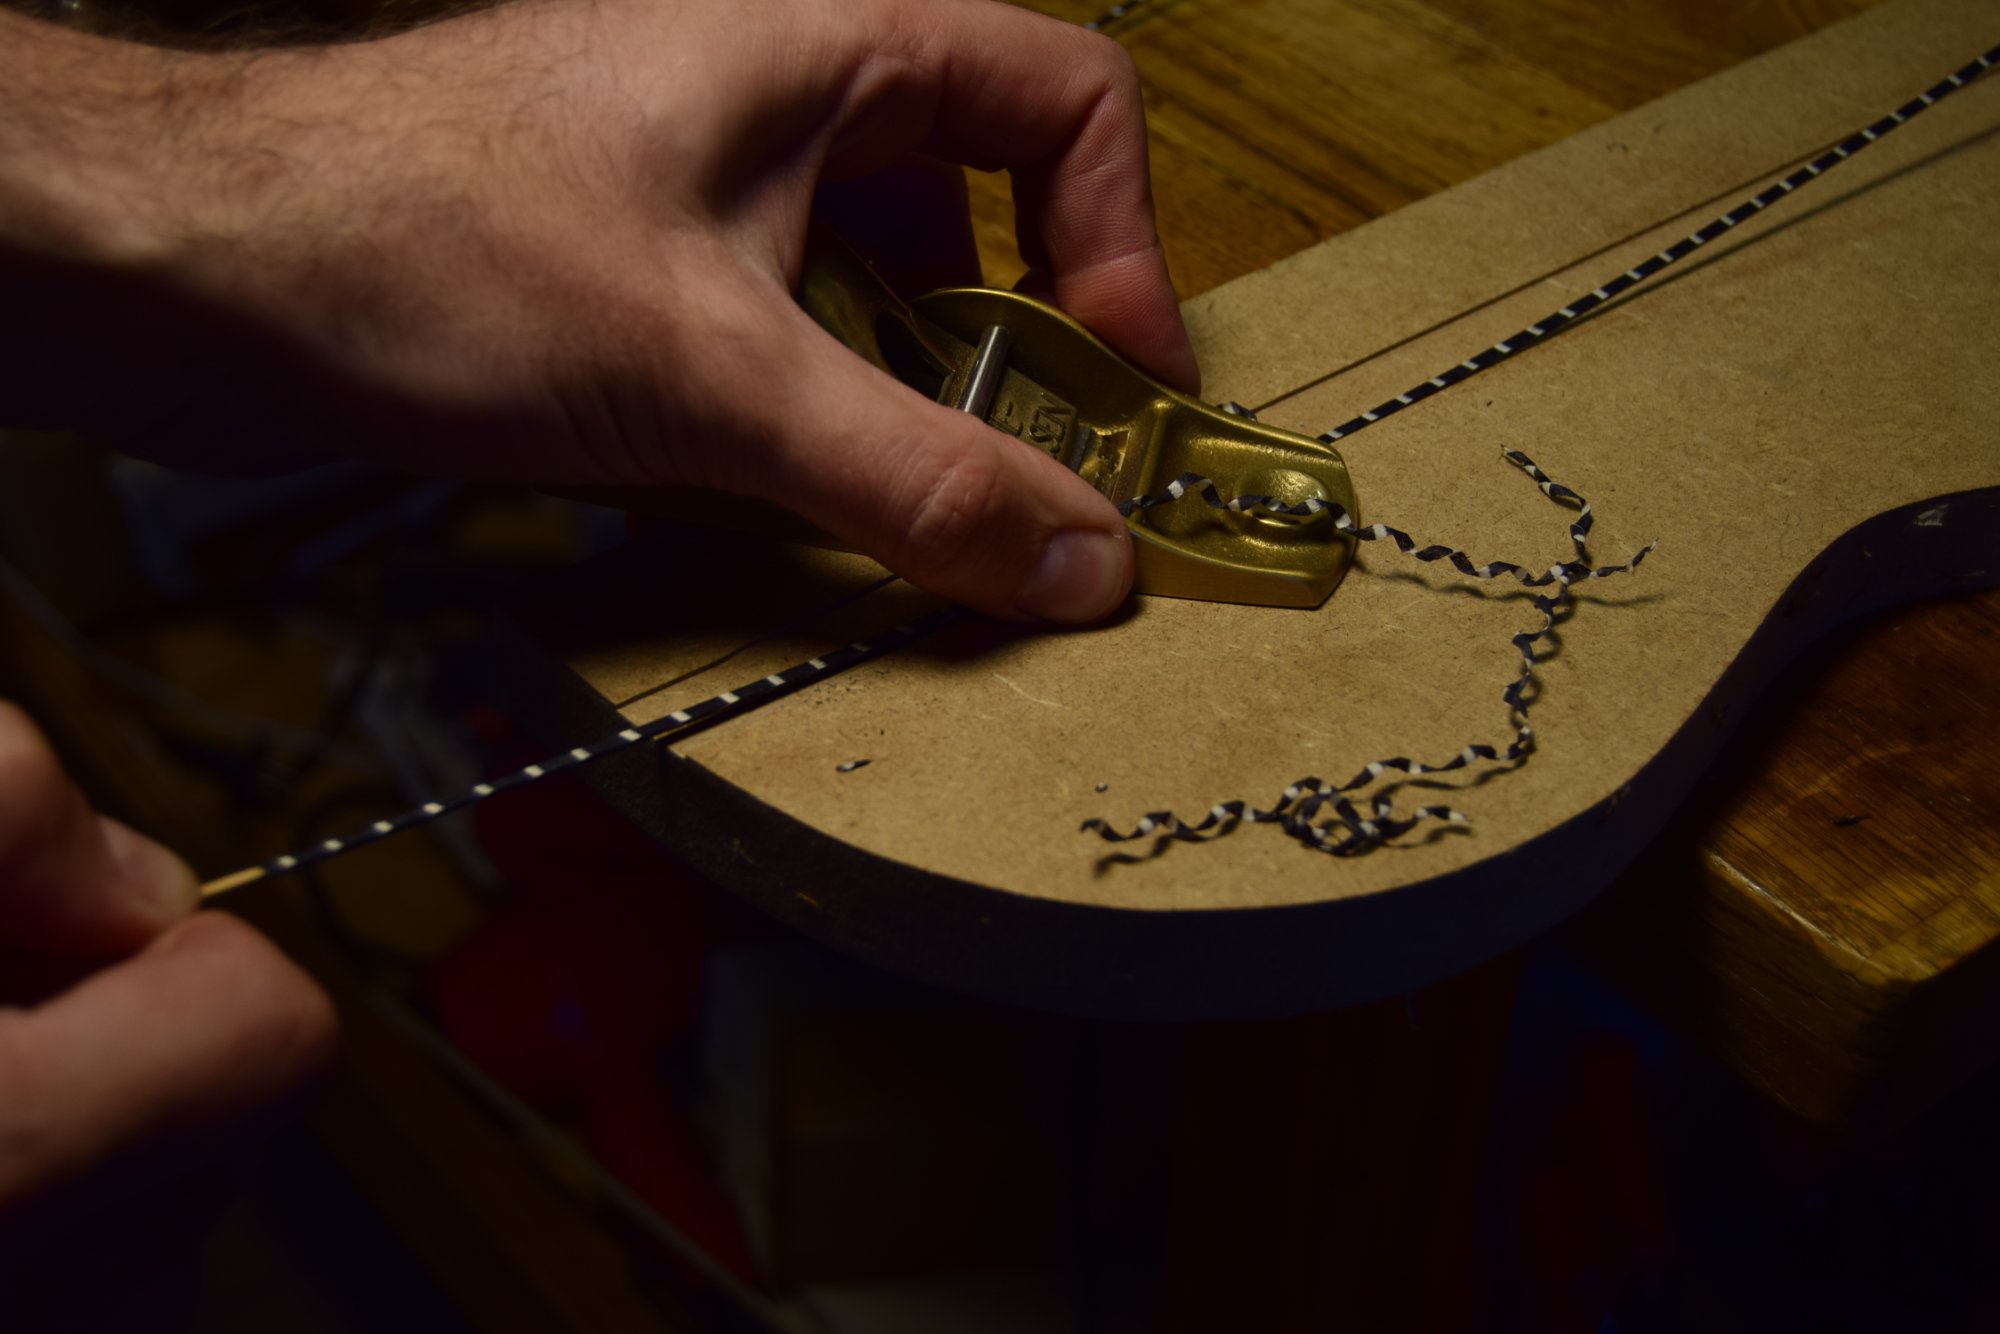
Thinning with a plane
A groove of the desired thickness is cut in a piece of MDF. The plane stays fixed; the hand pulls the strip through. When no more shavings appear, the target thickness has been reached. For the central accent strip, this means just 0.2 mm.
Phase V
Assembling, bending
& inlaying
Heat-bending — moisture would destroy the pattern
Glued into the routed channel
Routing the rosette channel
The finished rosette, flush with the soundboard
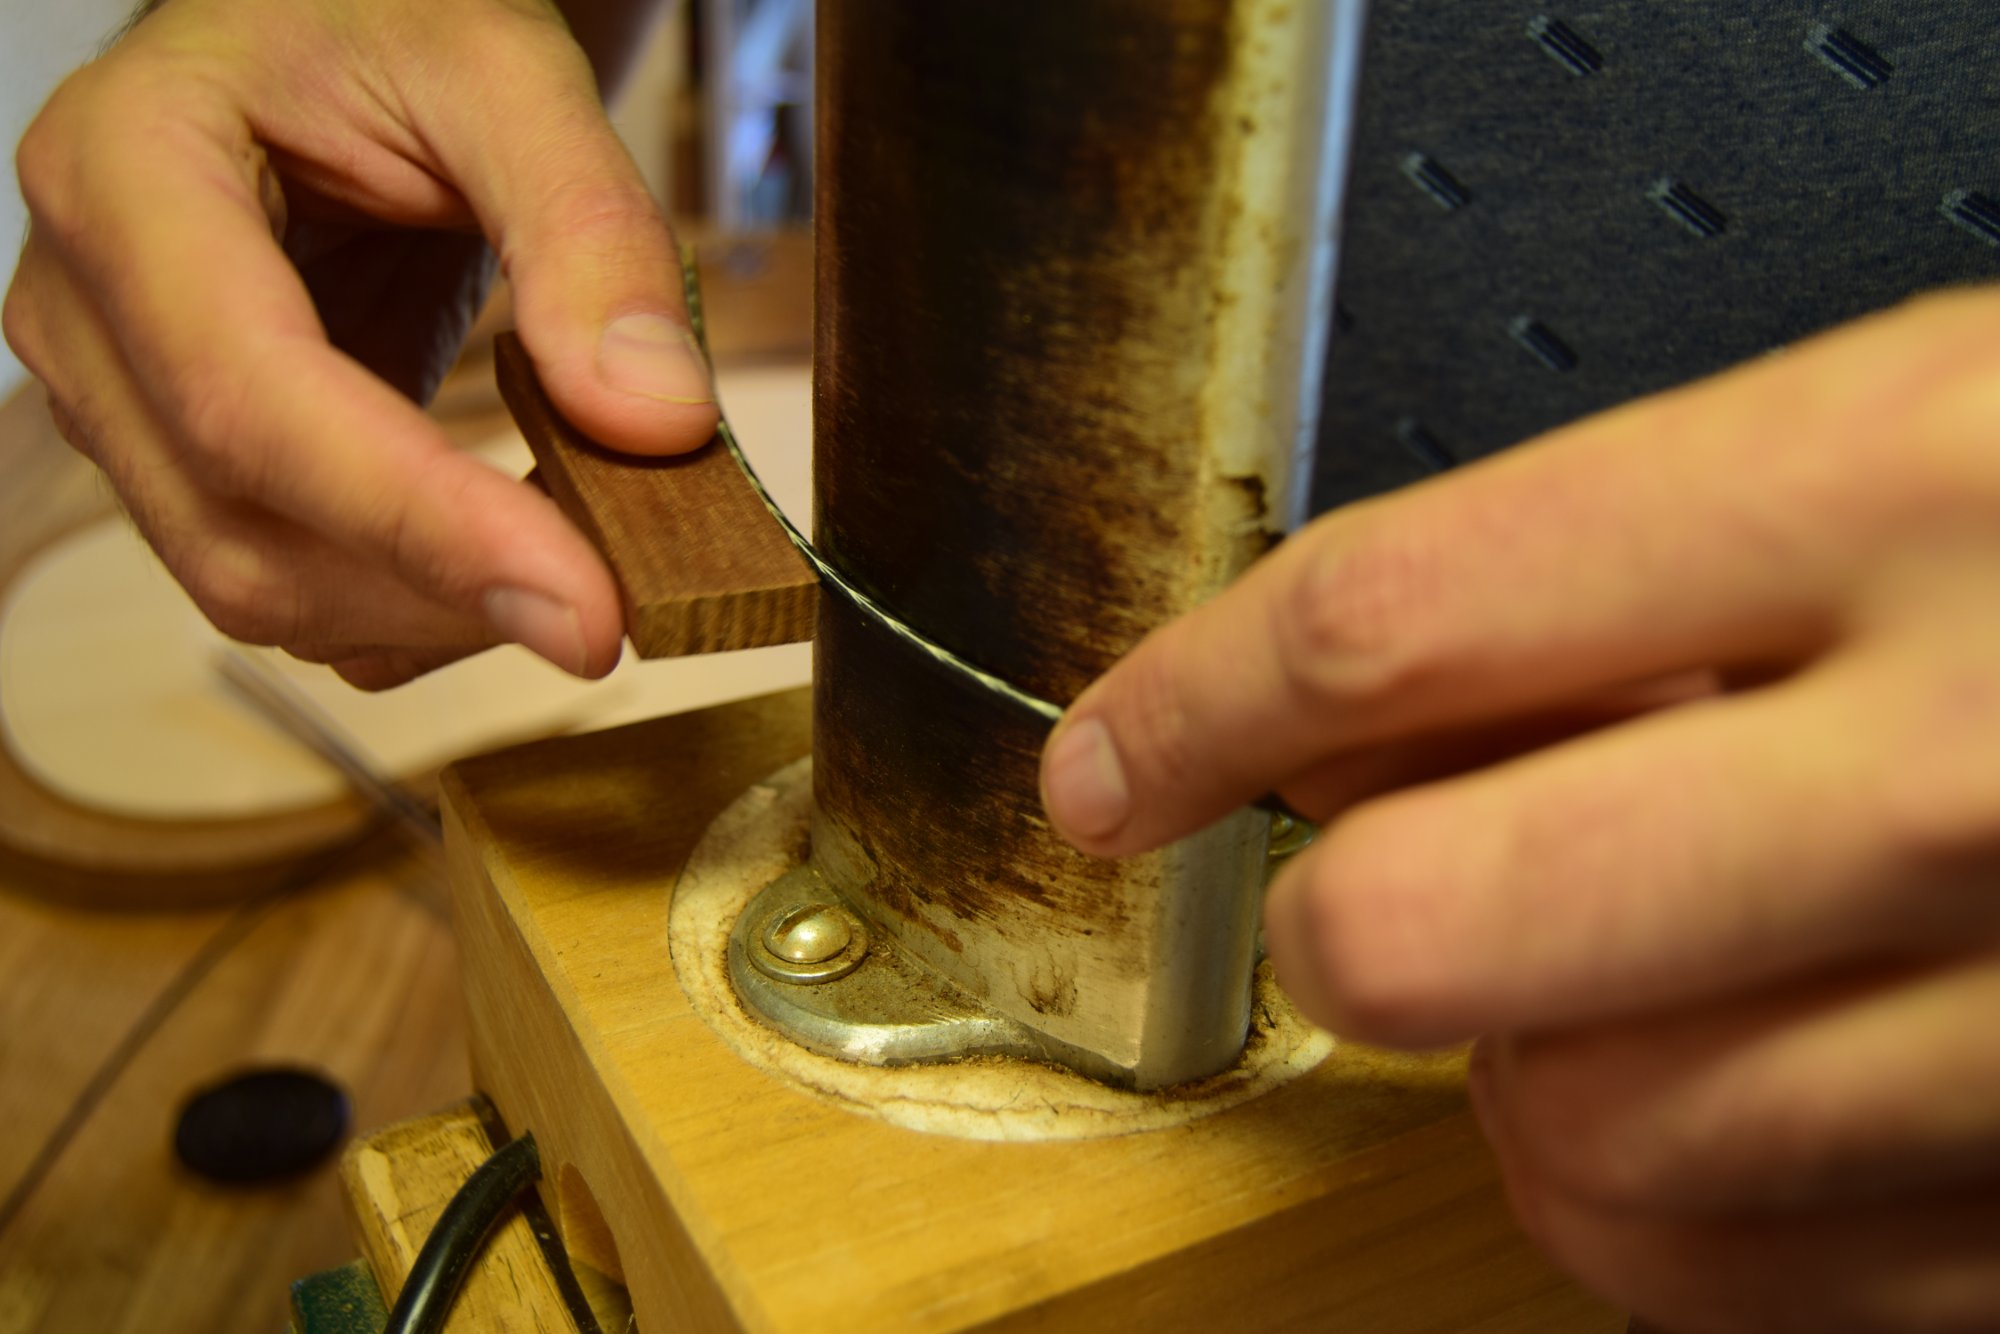
Bending with heat
To bend the strip into a circle for the rosette, it is bent over a heat source. Moisture must be avoided at this stage — it would cause the delicate laminated structure to delaminate and fall apart.
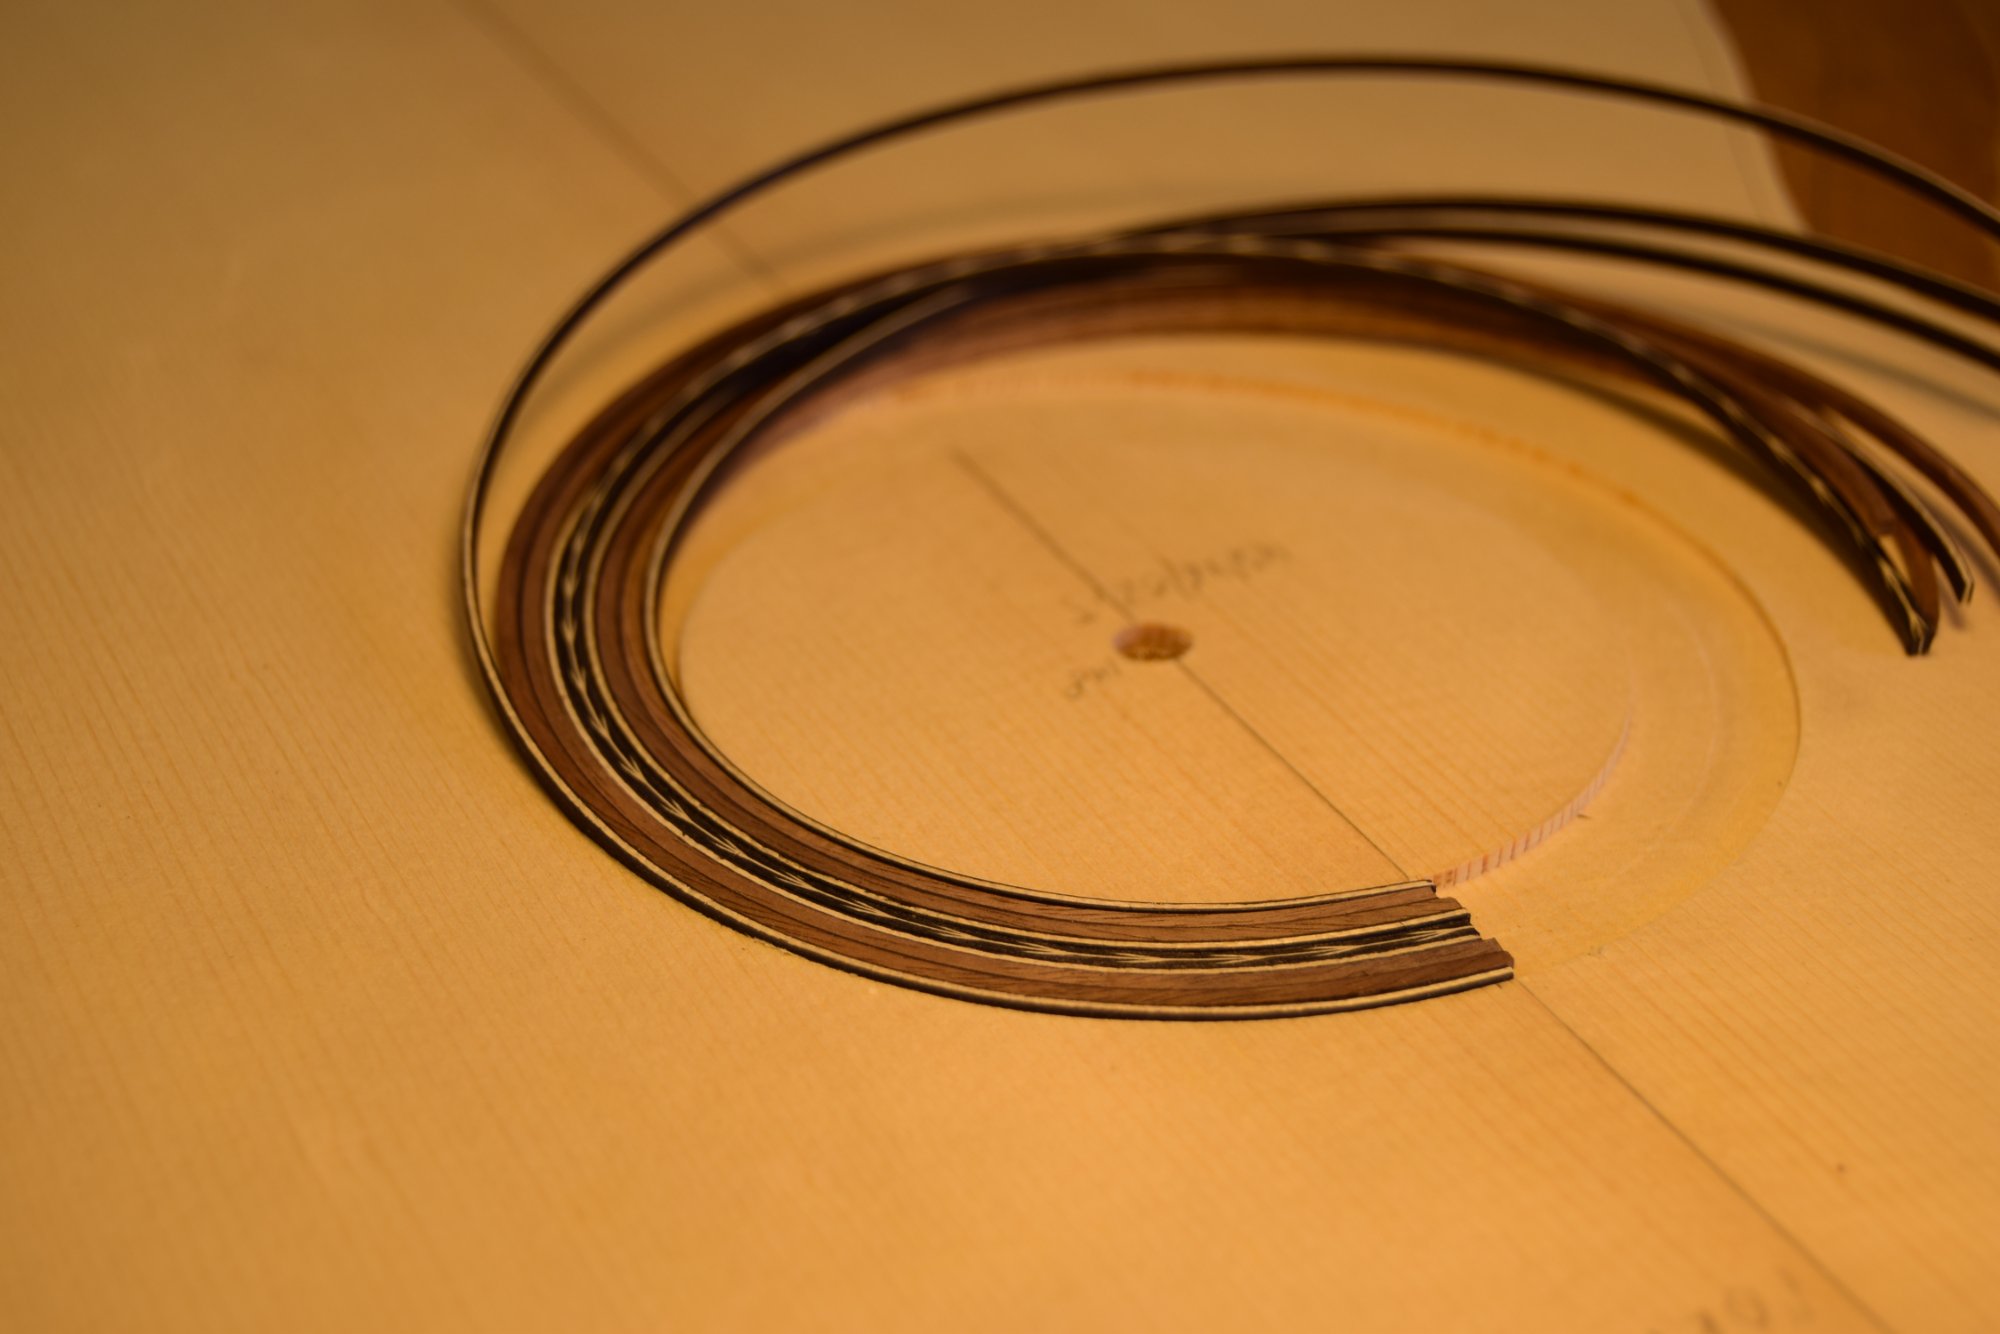
Gluing into the channel
The assembly is glued with a simple approach: a routed groove in the soundboard, a waxed rod to maintain the shape, and a few clamps. Once set, the motif is flush-trimmed and the soundboard is ready for the next stage of construction.
The completed herringbone rosette, inlaid and flush with the spruce soundboard.