Introduction
Antonio de Torres (1817–1892) brought together all the innovations of his time and created the modern classical guitar. His sense of proportion, beauty of curves, infallible taste, deep knowledge of wood and tactile sensitivity produced instruments that have entered into legend. His output is estimated at 320 guitars, of which only about a hundred survive.
A second essential source for me has been "Cahier d'Atelier, la construction d'une guitare classique" by Robert Bouchet (1898–1986) — a construction journal with valuable commentary by Daniel Friederich, which helped me understand how to use old methods probably employed by Torres. Work of Torres has been a huge influence since my first steps in guitar making: I was instantly attracted by the aesthetics and sound of his guitars. In this article I describe some of the construction methods specific to Torres and early Spanish makers — methods I also apply on my own instruments, and of course on my model in homage to him, called "Torres".
I
Rosettes &
decorations
Assembled directly in the soundboard
The beauty and simplicity of Torres's rosettes are an inexhaustible source of inspiration. As Torres did, I assemble my rosettes directly in the soundboard, making it easy to vary them from guitar to guitar. His rosettes all resemble one another, yet no two were ever identical.
II
Animal glue
Traditional glues throughout
I use traditional animal glues throughout construction as period makers did. I mix hide glue and bone glue in different proportions for different operations. For the top bracing I use mostly bone glue with about 20% hide glue — hide glue retracts more and creates tension, which can distort a thin spruce plate. But that retraction becomes an advantage when gluing bindings: the glue draws them snugly into place as it dries. For most neck and body assemblies I use one part hide glue to three parts bone glue.
III
Solera &
free assembly
Building the solera
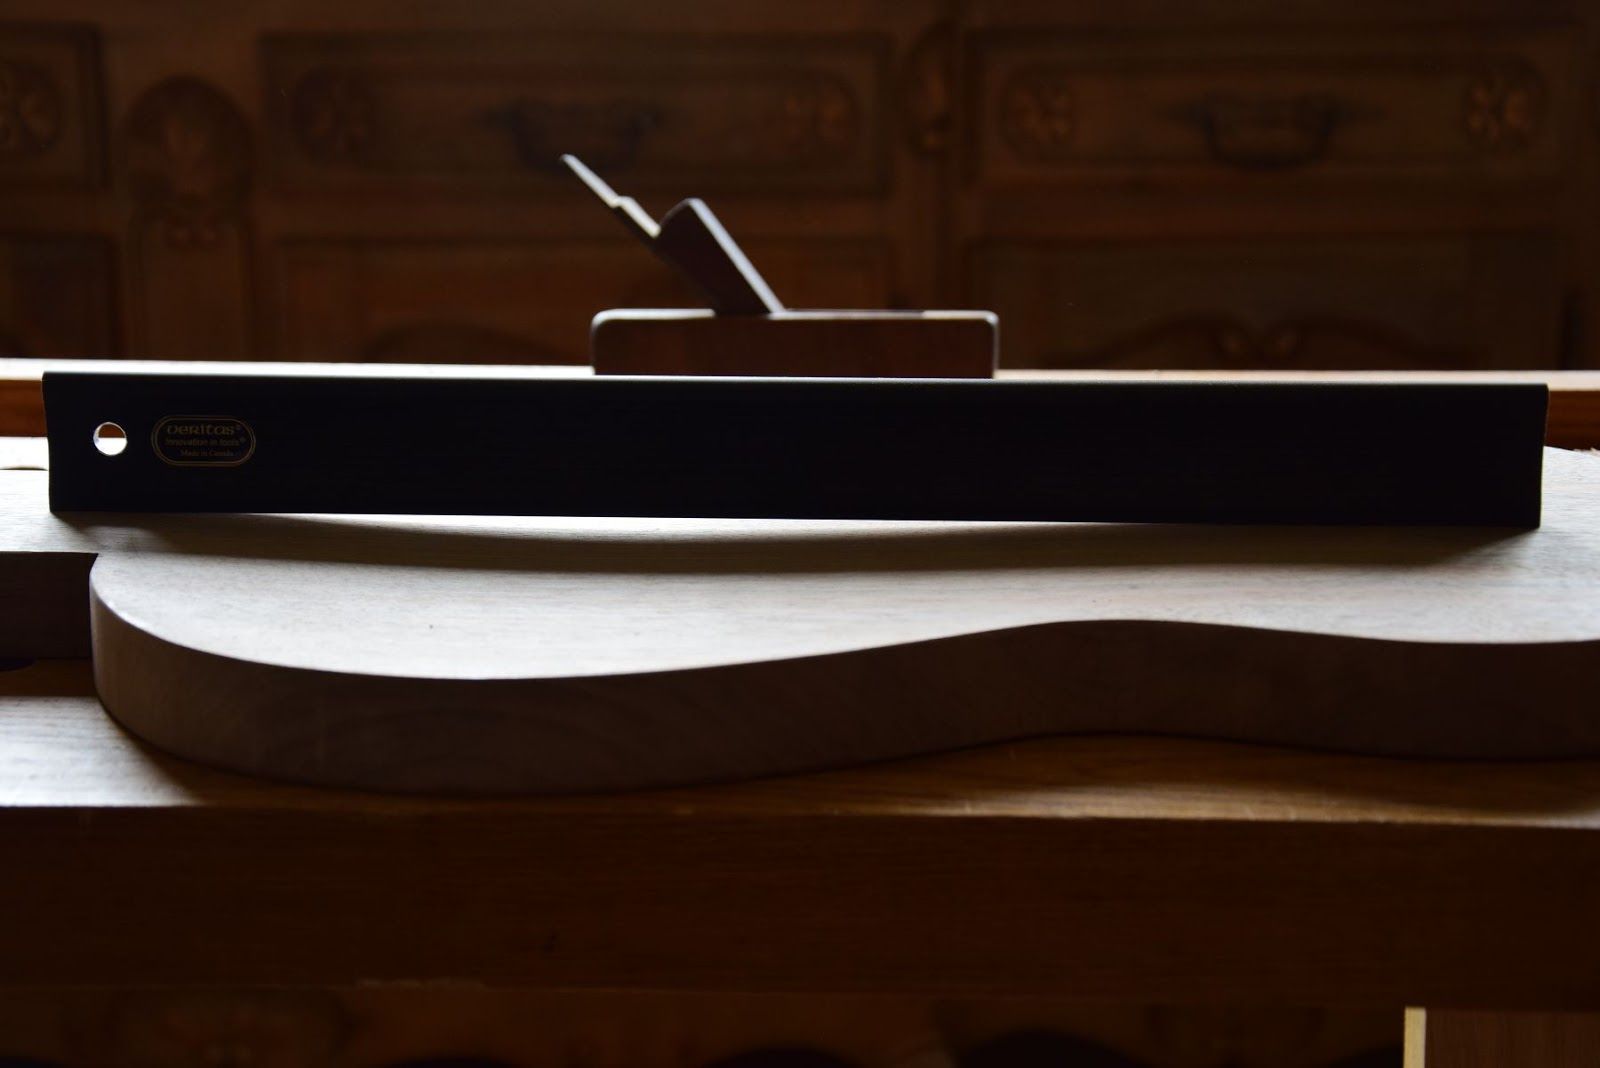
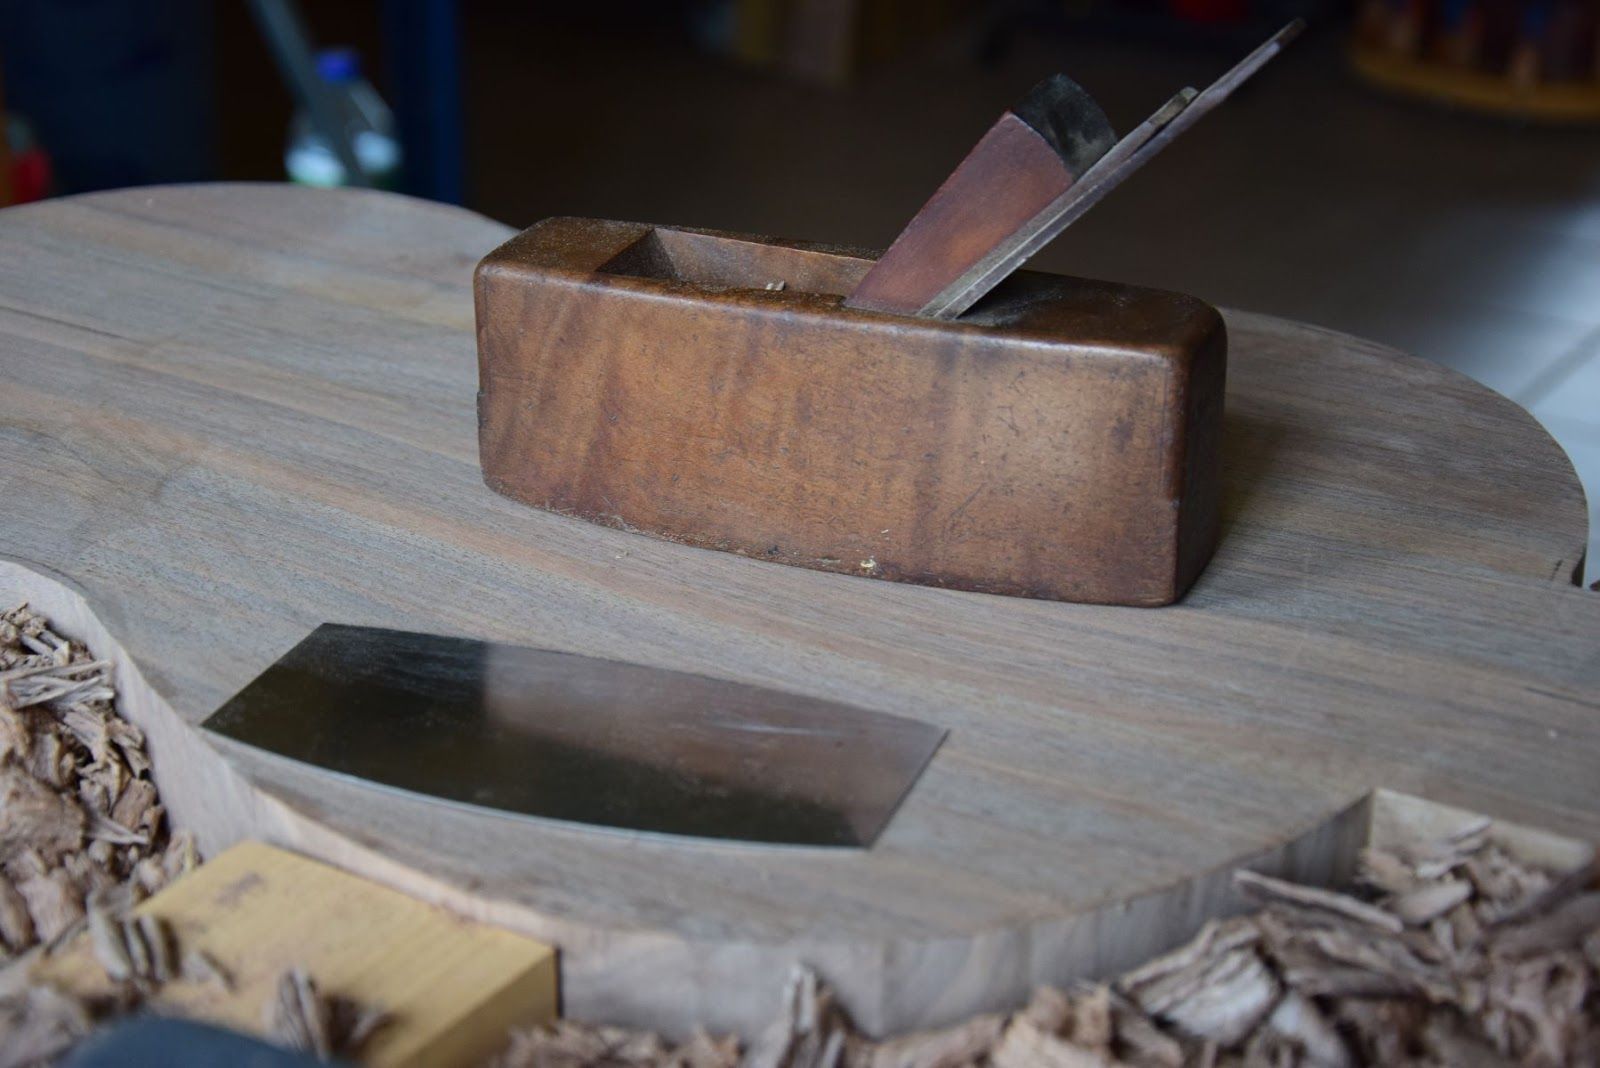
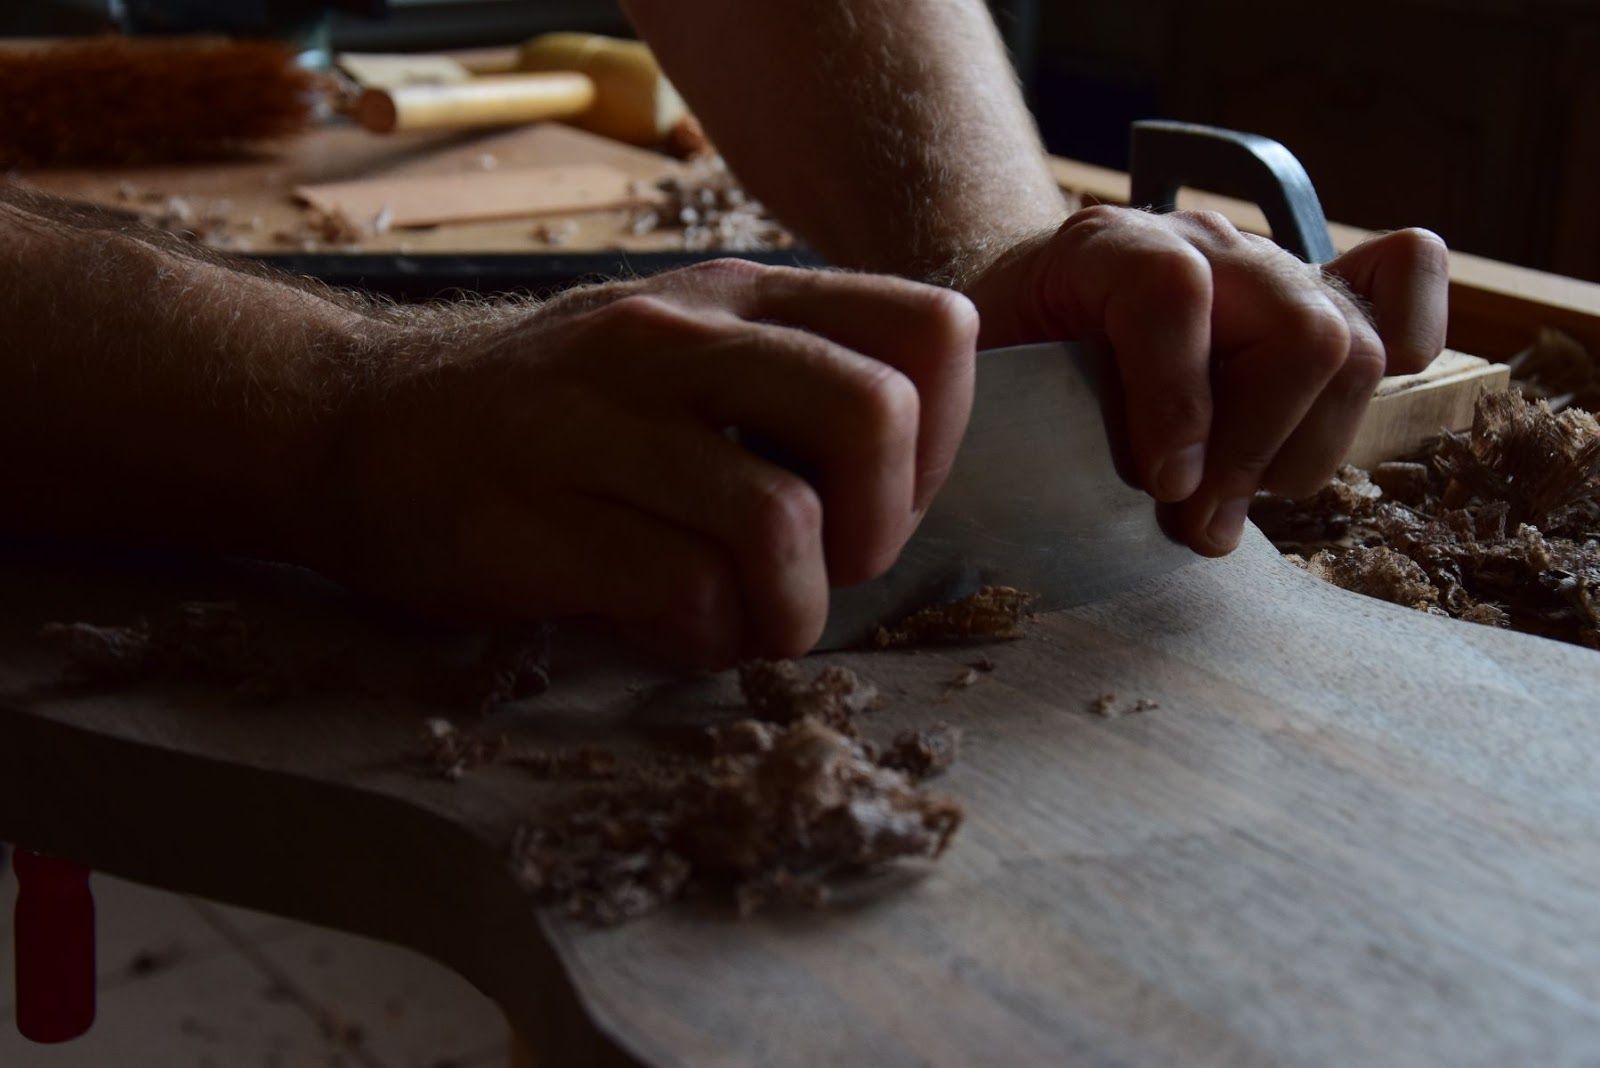
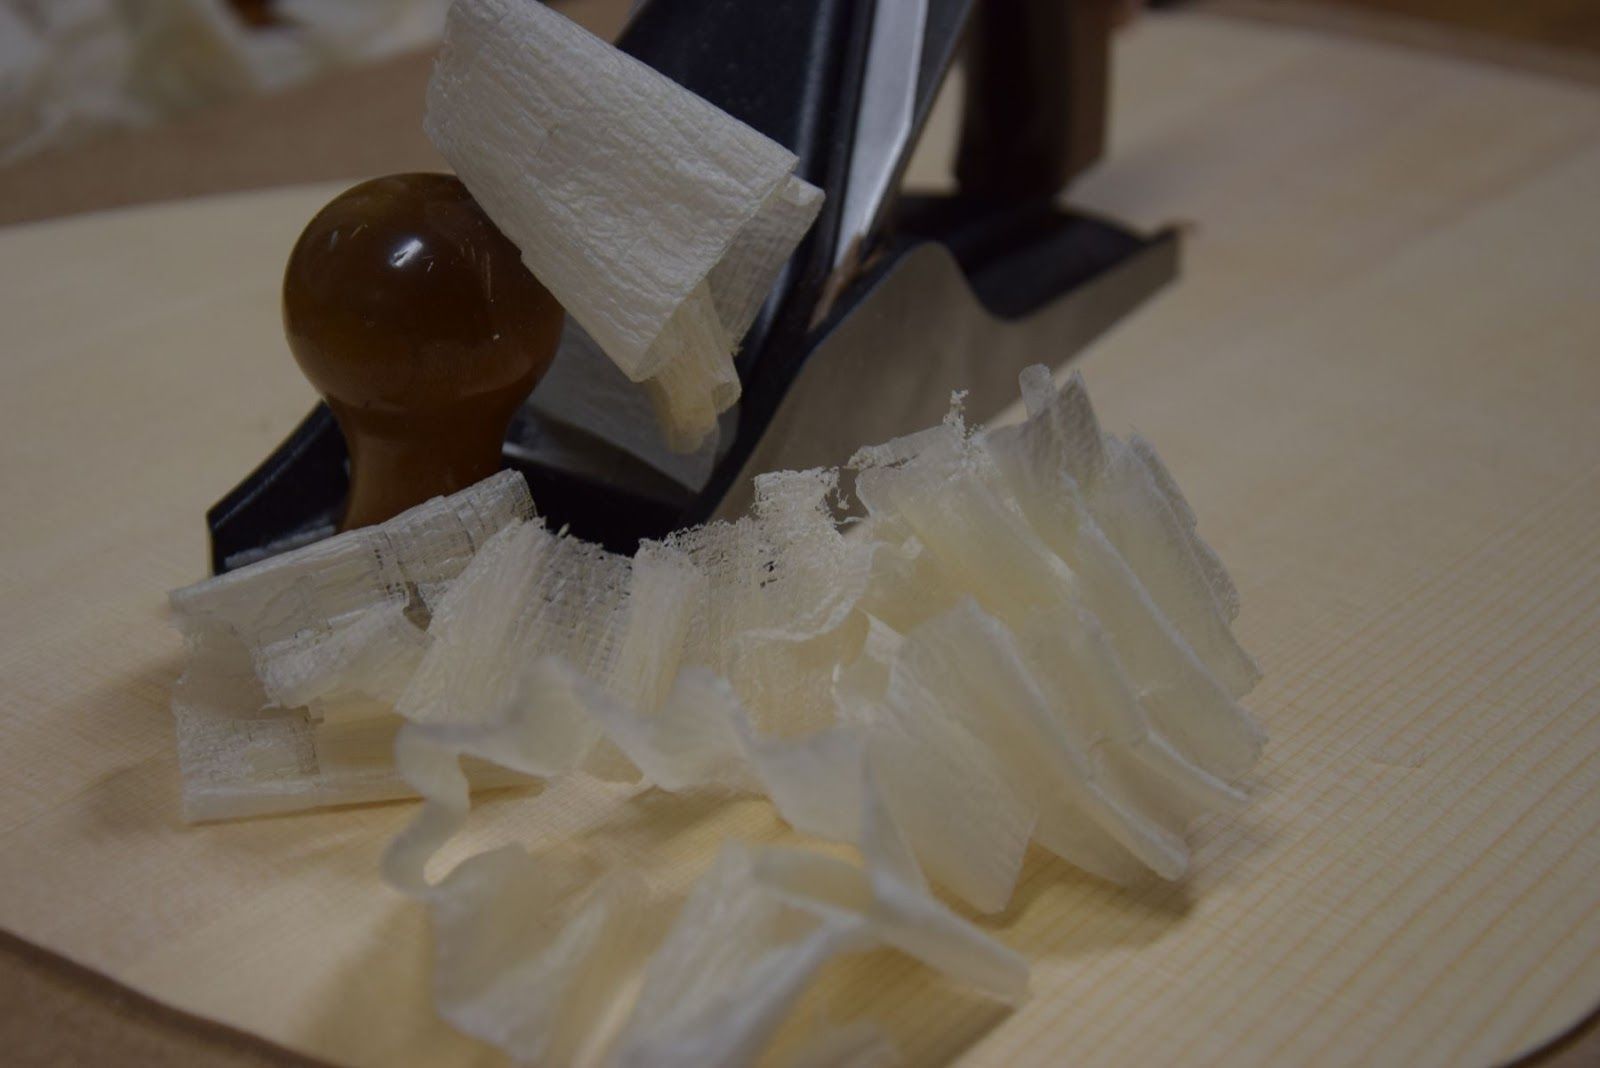
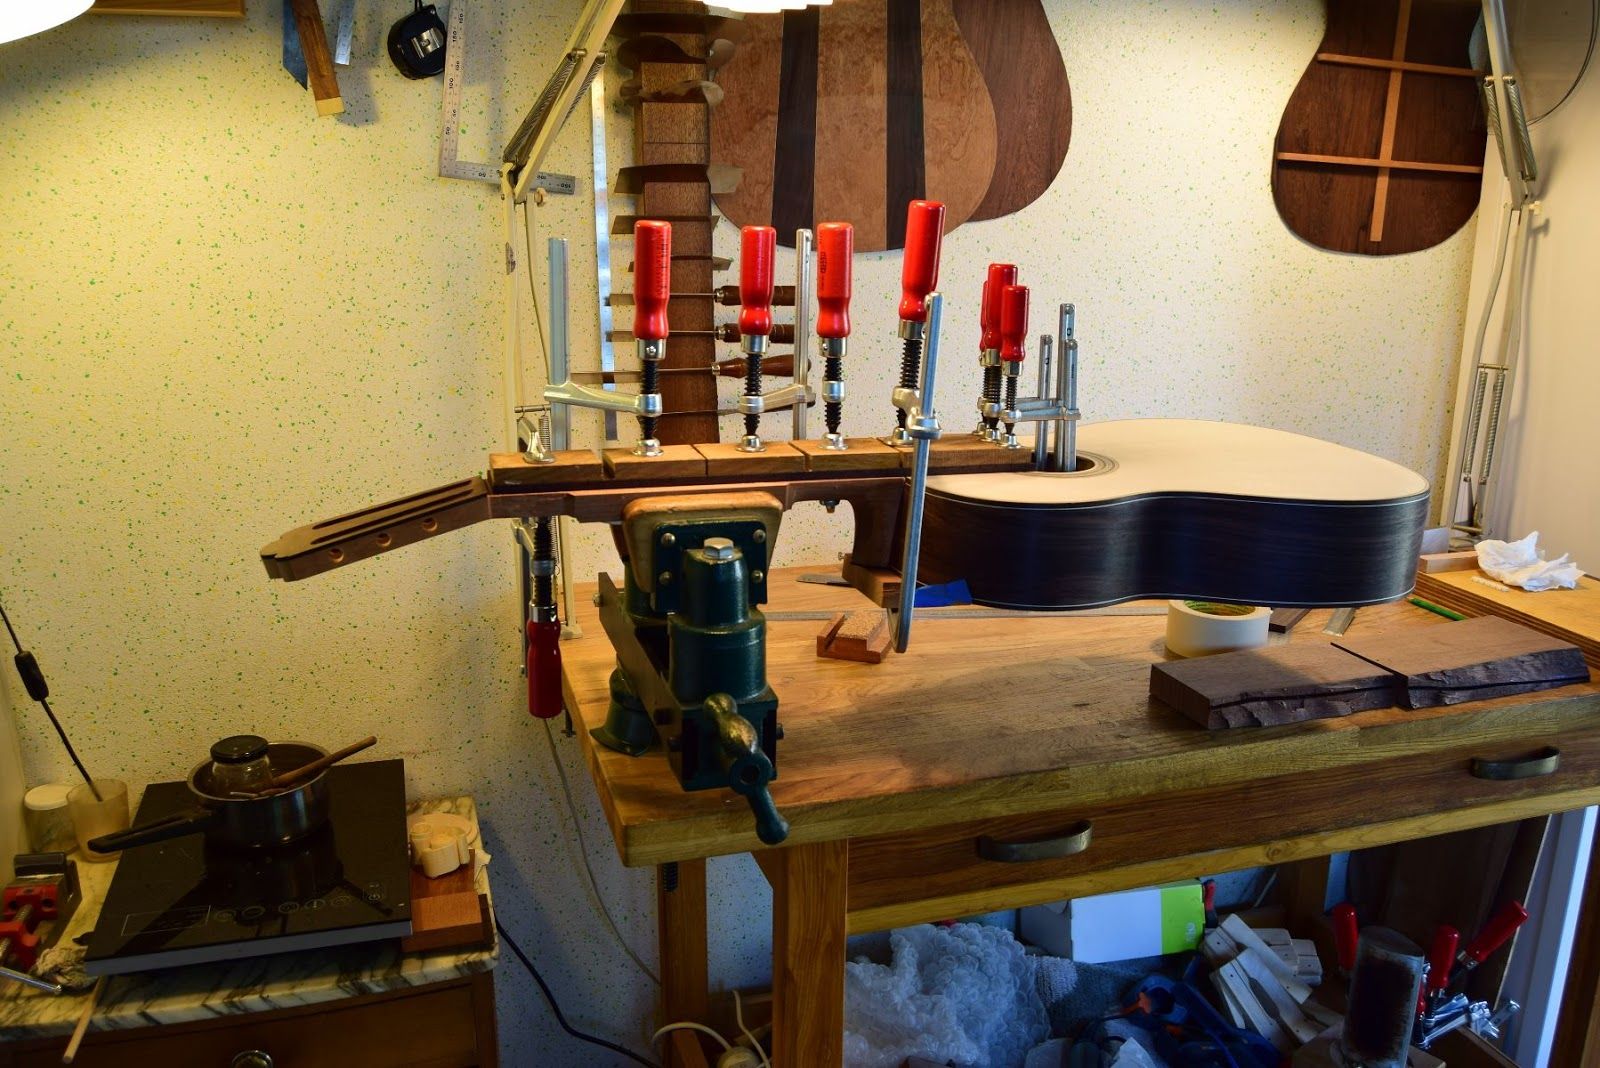
To build the solera I used black walnut — a stable, easy-working wood. The neck sits in the same plane as the table, and the correct action is achieved by planing a taper into the fingerboard. I used a convex-soled plane and then a scraper to scoop out a cavity to receive the doming of the top. No templates were used — I simply worked to achieve a smooth, even curve in all directions.
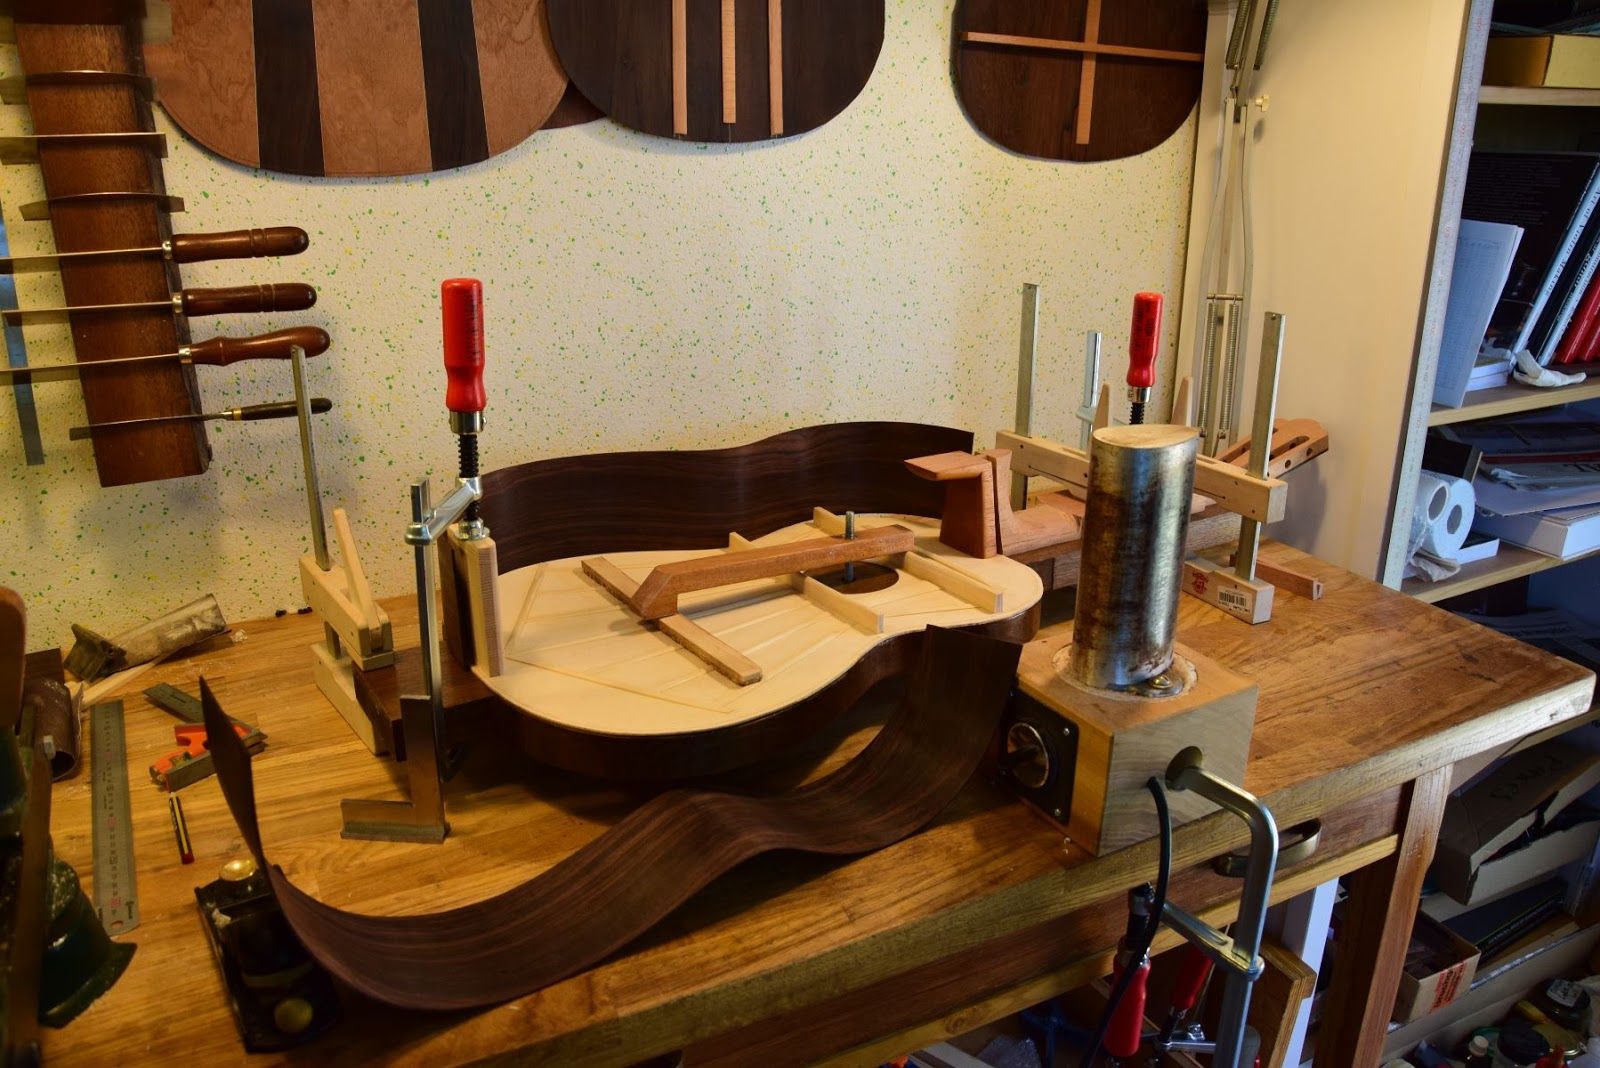
The body in the solera during free assembly. There is no rigid mold — sides are bent to the line on a hot pipe, resulting in a slight asymmetry that gives each instrument its own character.
Free assembly
One of the characteristics of early Spanish guitar making that appeals to me is the free assembly method: instruments are built on the solera with no rigid mold to guarantee that the sides follow the plantilla precisely. The sides are simply bent to the line on a hot pipe — resulting in a slight asymmetry, almost invisible to the eye, but something that gives the instrument its character and uniqueness. This method, although more difficult to execute, gives great liberty and allows plantillas, scales and proportions to be changed with ease.
IV
Thicknesses &
doming
The Torres tendency in thicknesses
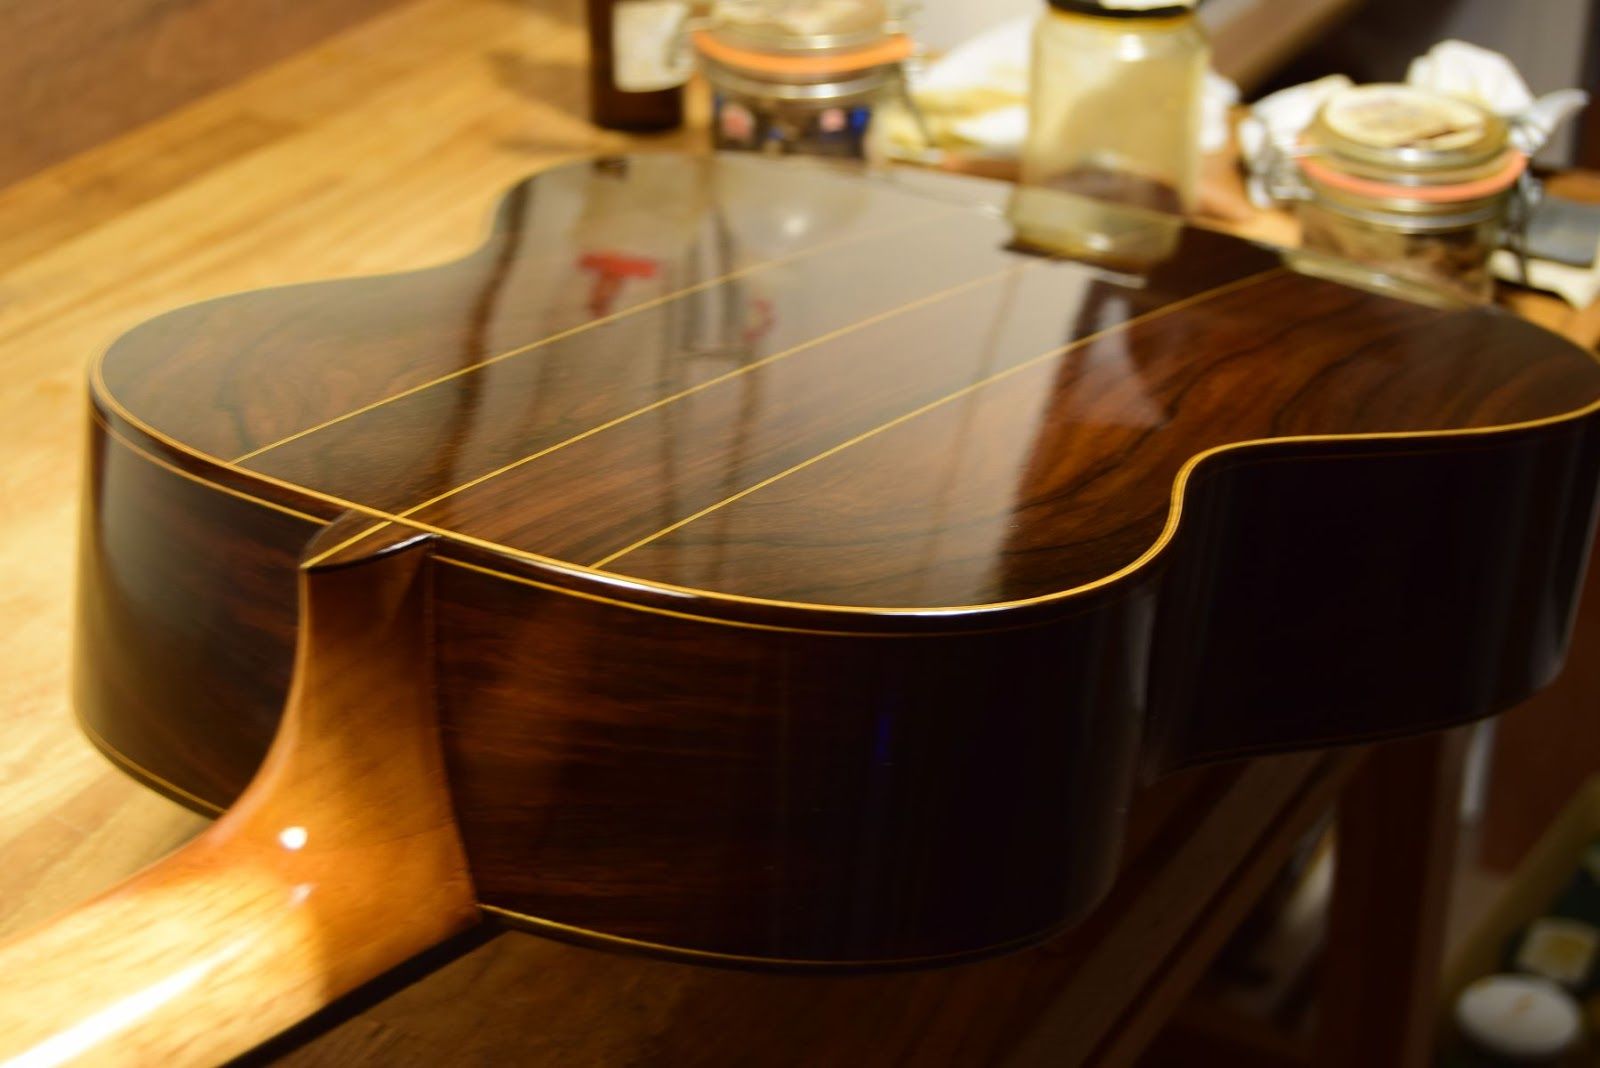
In guitar making, the thicknesses of the top, back and sides are fundamental — they determine, together with the chosen wood species, the final sound quality. After studying the Romanillos catalogue and available plans including the SE 114 guitar that belonged to Tárrega, I observed a clear Torres tendency: rather thick backs, very thin sides (probably for ease of bending), and a top that varies — thicker at the centre, thinner toward the edges. He was building a fine, resonant structure on a solid foundation.
From experience
A solid back produces powerful sound and better projection. Thin sides lower the body resonance frequency. A thinner top brings incomparable richness. The challenge is finding the right balance — each piece of wood is unique, and tactile sensitivity and experience are the only guides. I also glue the bridge "in the white", which allows me to play the guitar and assess tension and sound quality before applying the finish.
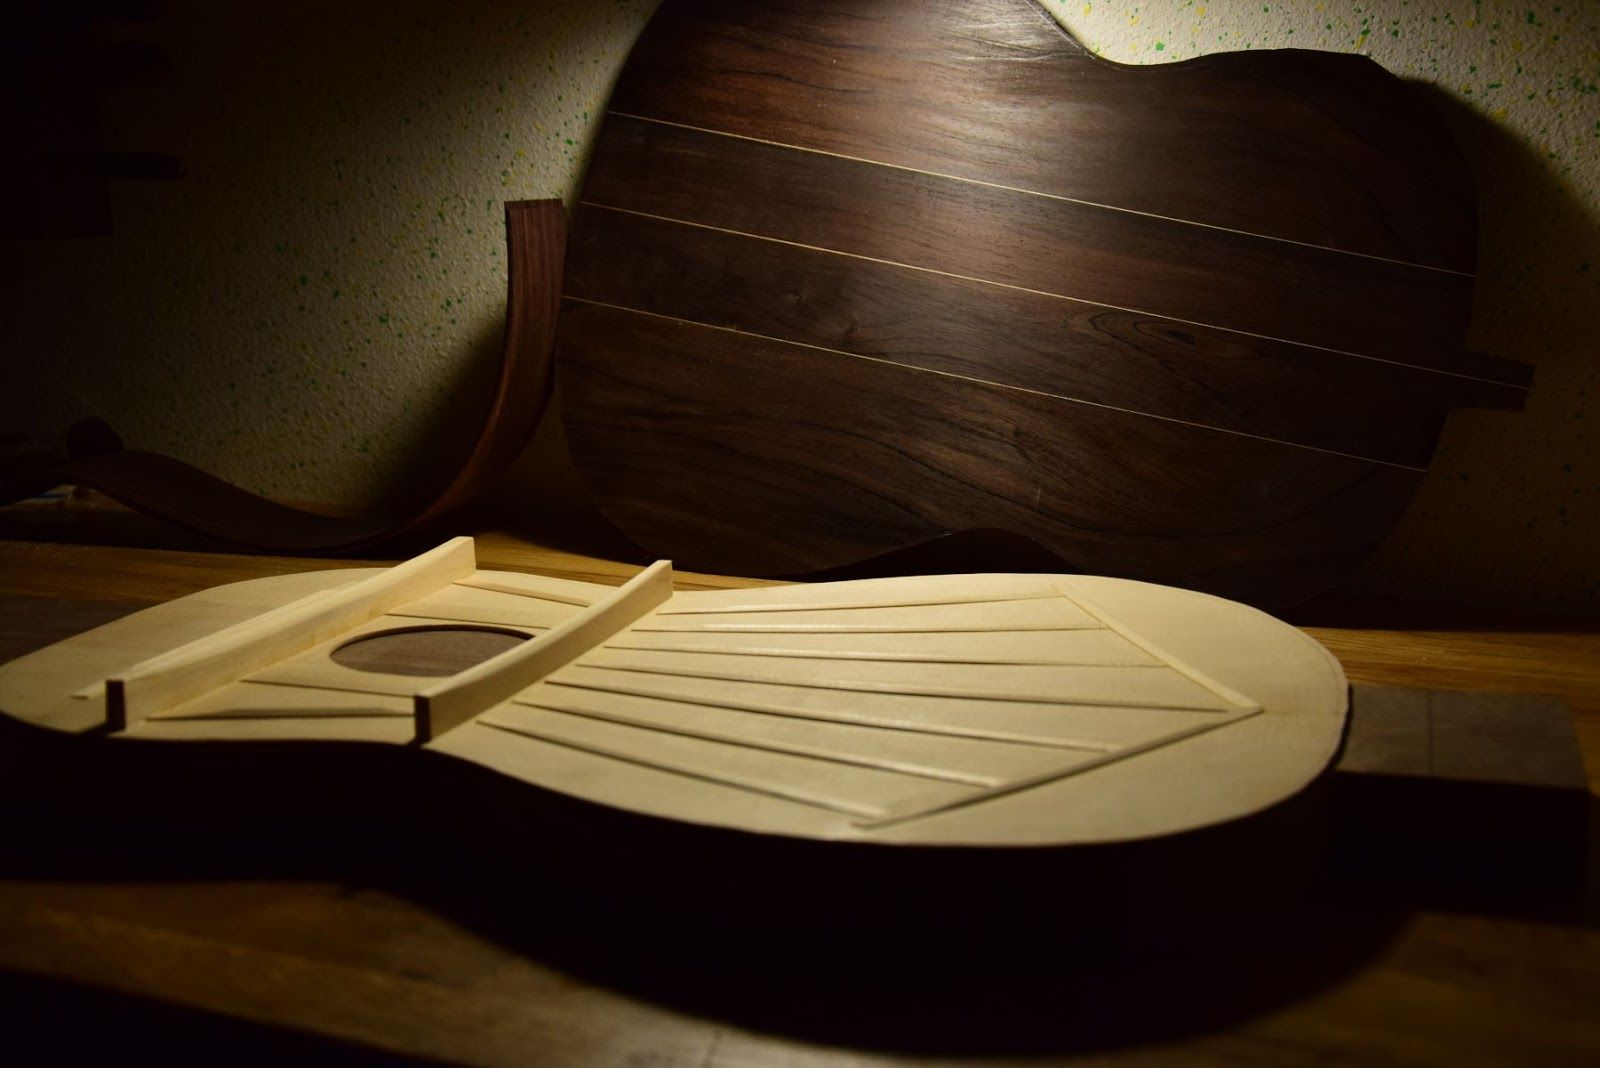
Doming and fan bracing
One of the important features of Torres's architecture is the doming of the lower bout. The added rigidity is essential — it allows thinner soundboards and lighter bracing. Doming also increases stability and helps prevent cracks during climatic changes. The radial fan struts, glued onto the soundboard in a scooped-out solera, help to maintain this dome. This is one of Torres's central structural insights.
V
Transverse bars
& linings
Transverse bars — full height, no scalloping
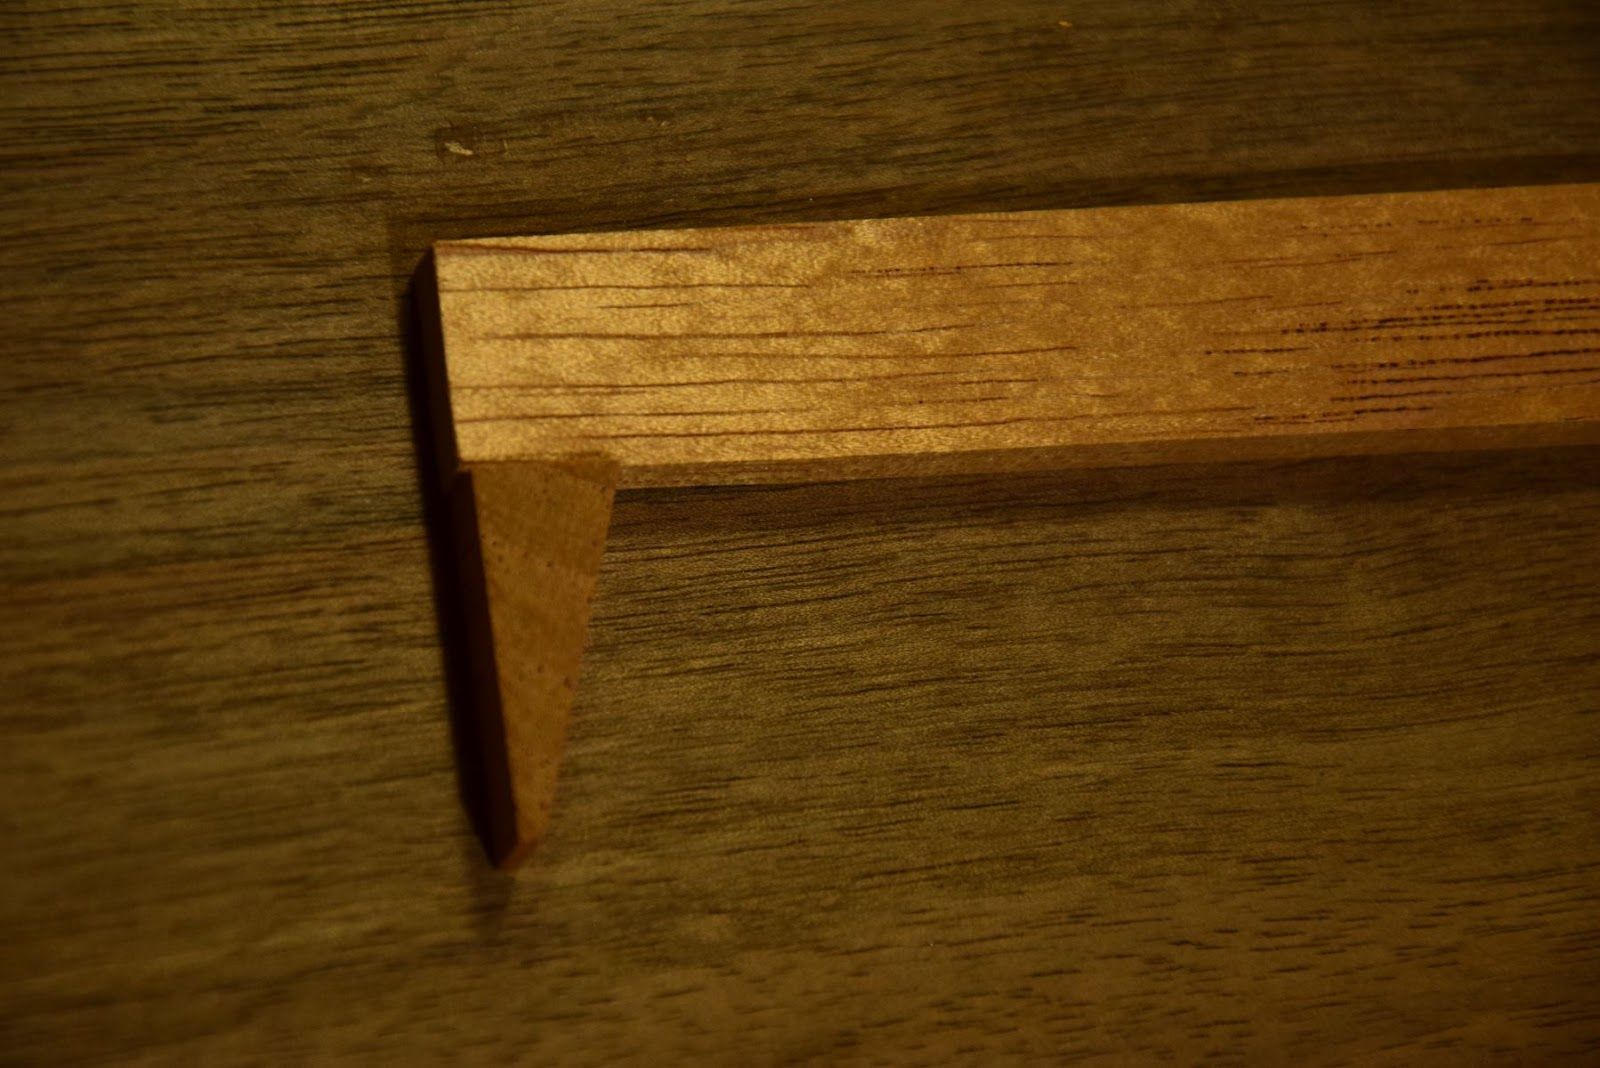
At Torres, transverse bars are not scalloped at the ends — their height is maintained along the entire length. All bars are anchored to the sides with triangular blocks. This offers several advantages: increased torsional strength and reduced tension from bending of the ribs — especially valuable in combination with very thin sides.
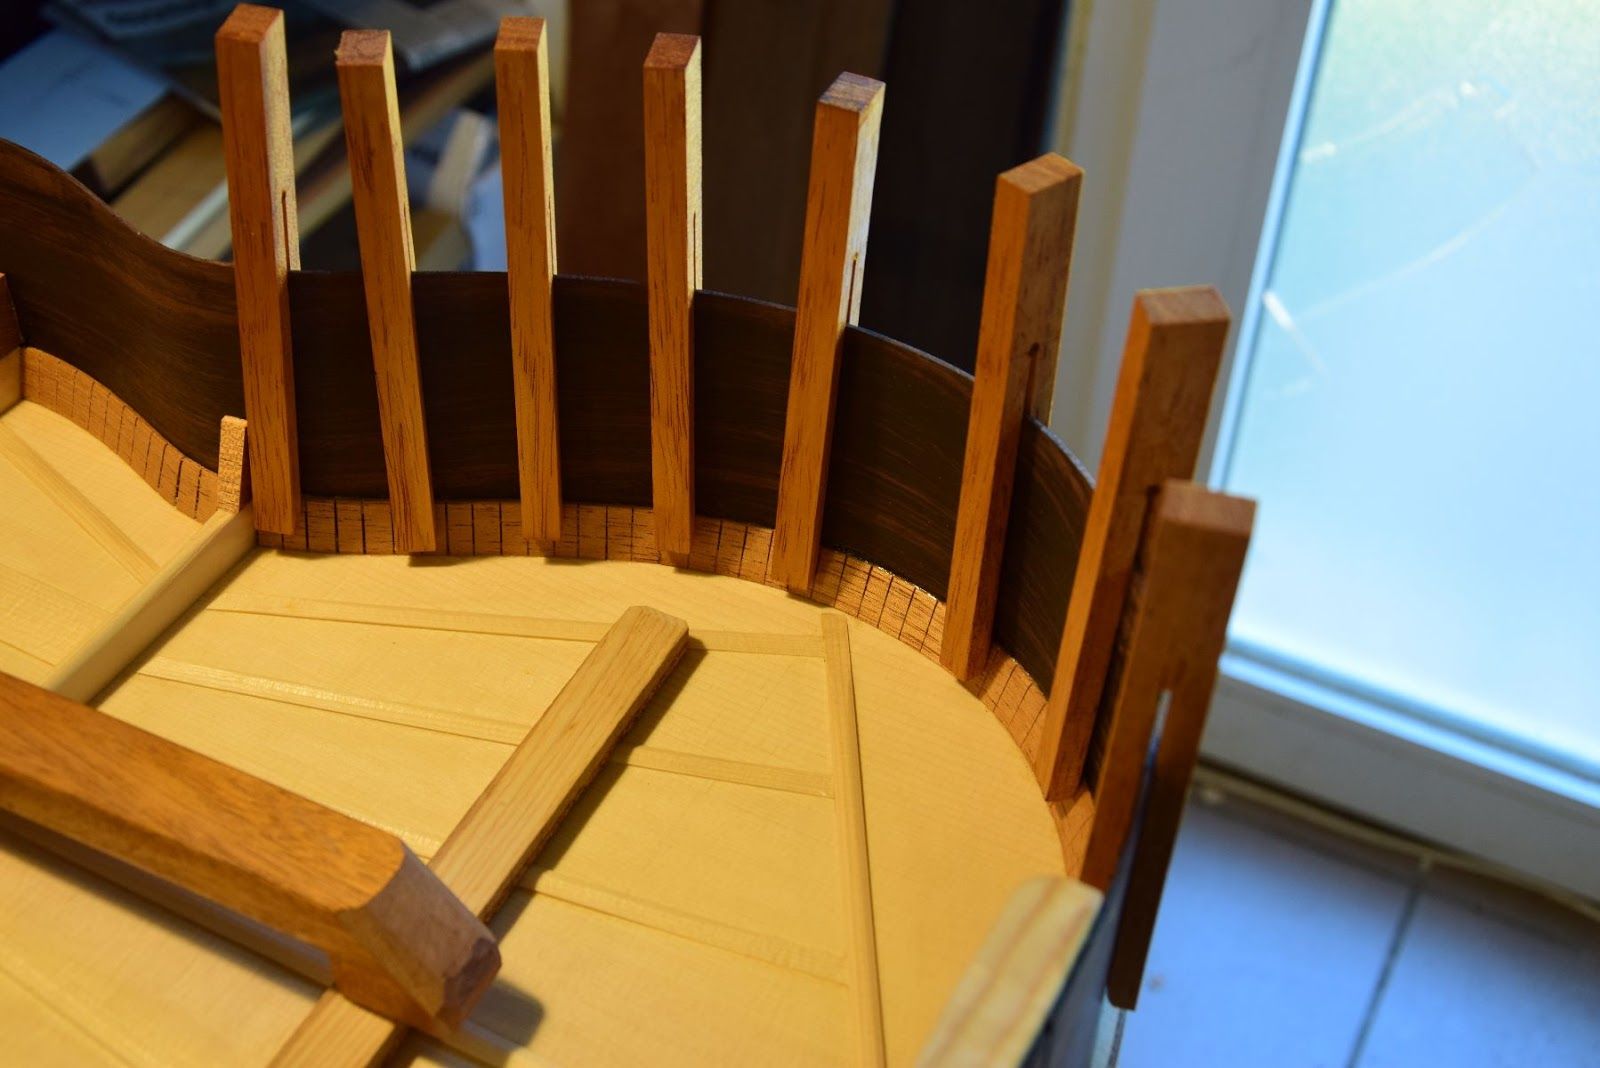
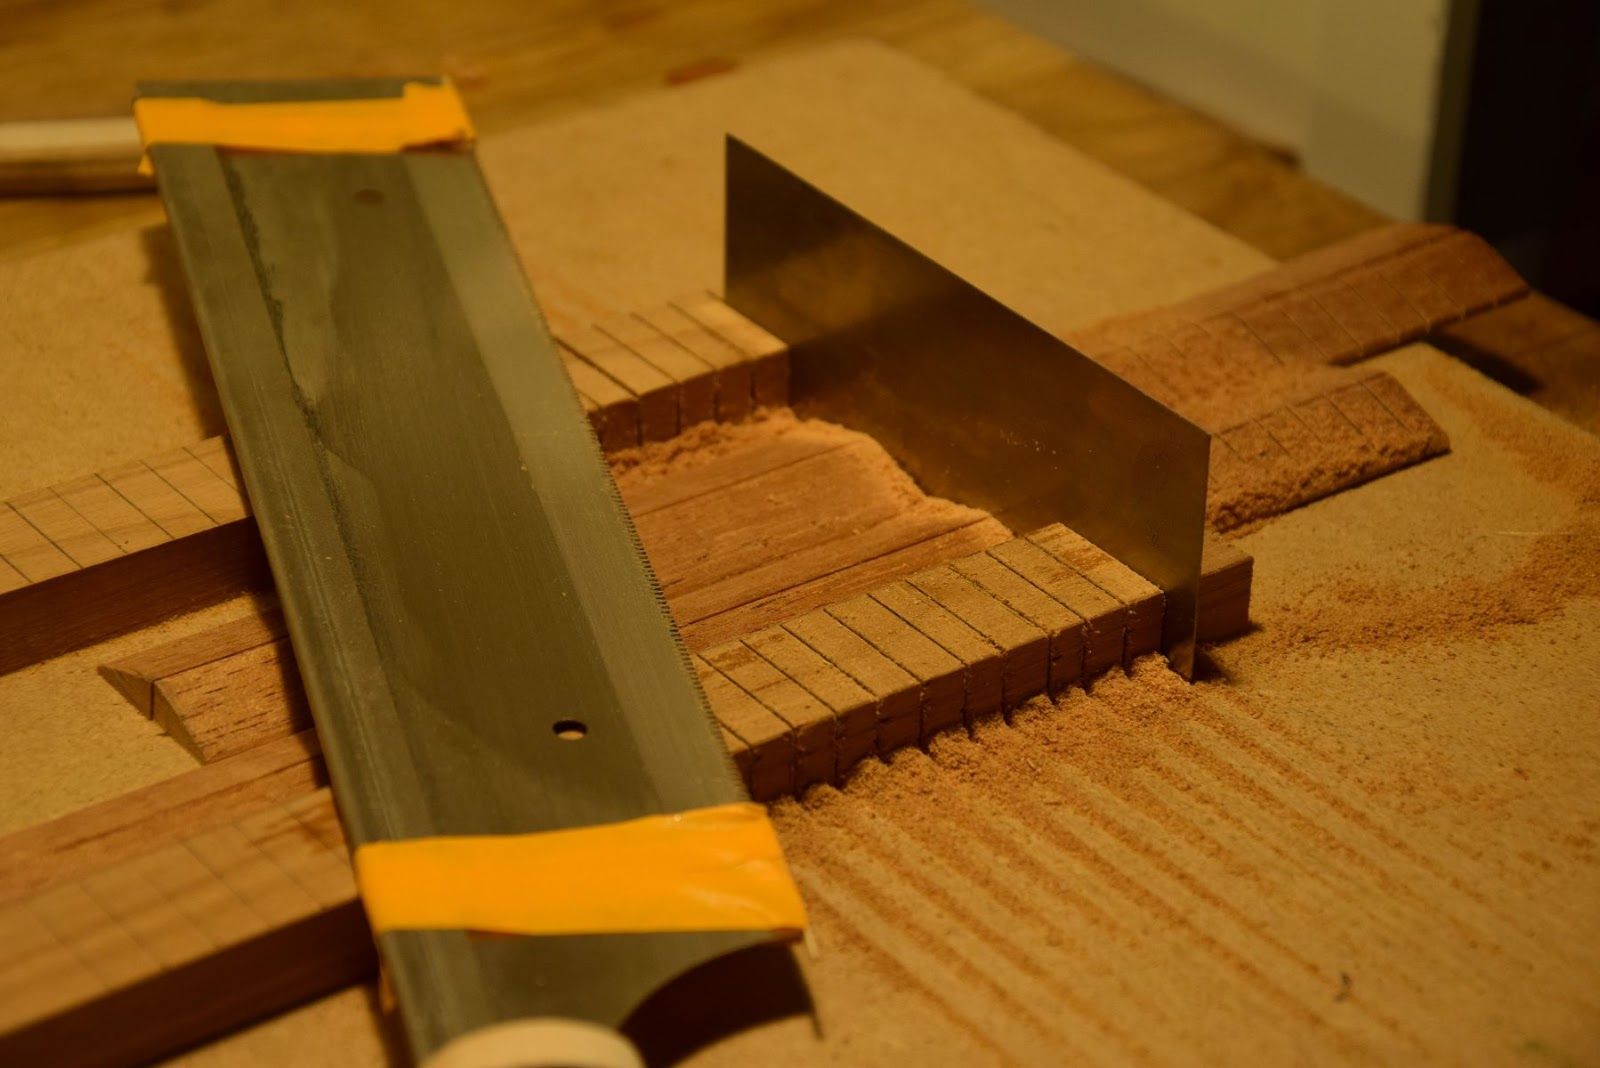
Kerfed linings
Nowadays, the "Spanish" method uses individual blocks — "tentellones" — glued one by one. Torres, in most of his guitars, used continuous kerfed linings for both top and back. I use simple hand-tool methods to kerf the linings and glue them with homemade clamps. The approach stays faithful to the historical roots of the construction.
VI
The Torres way
of closing the box
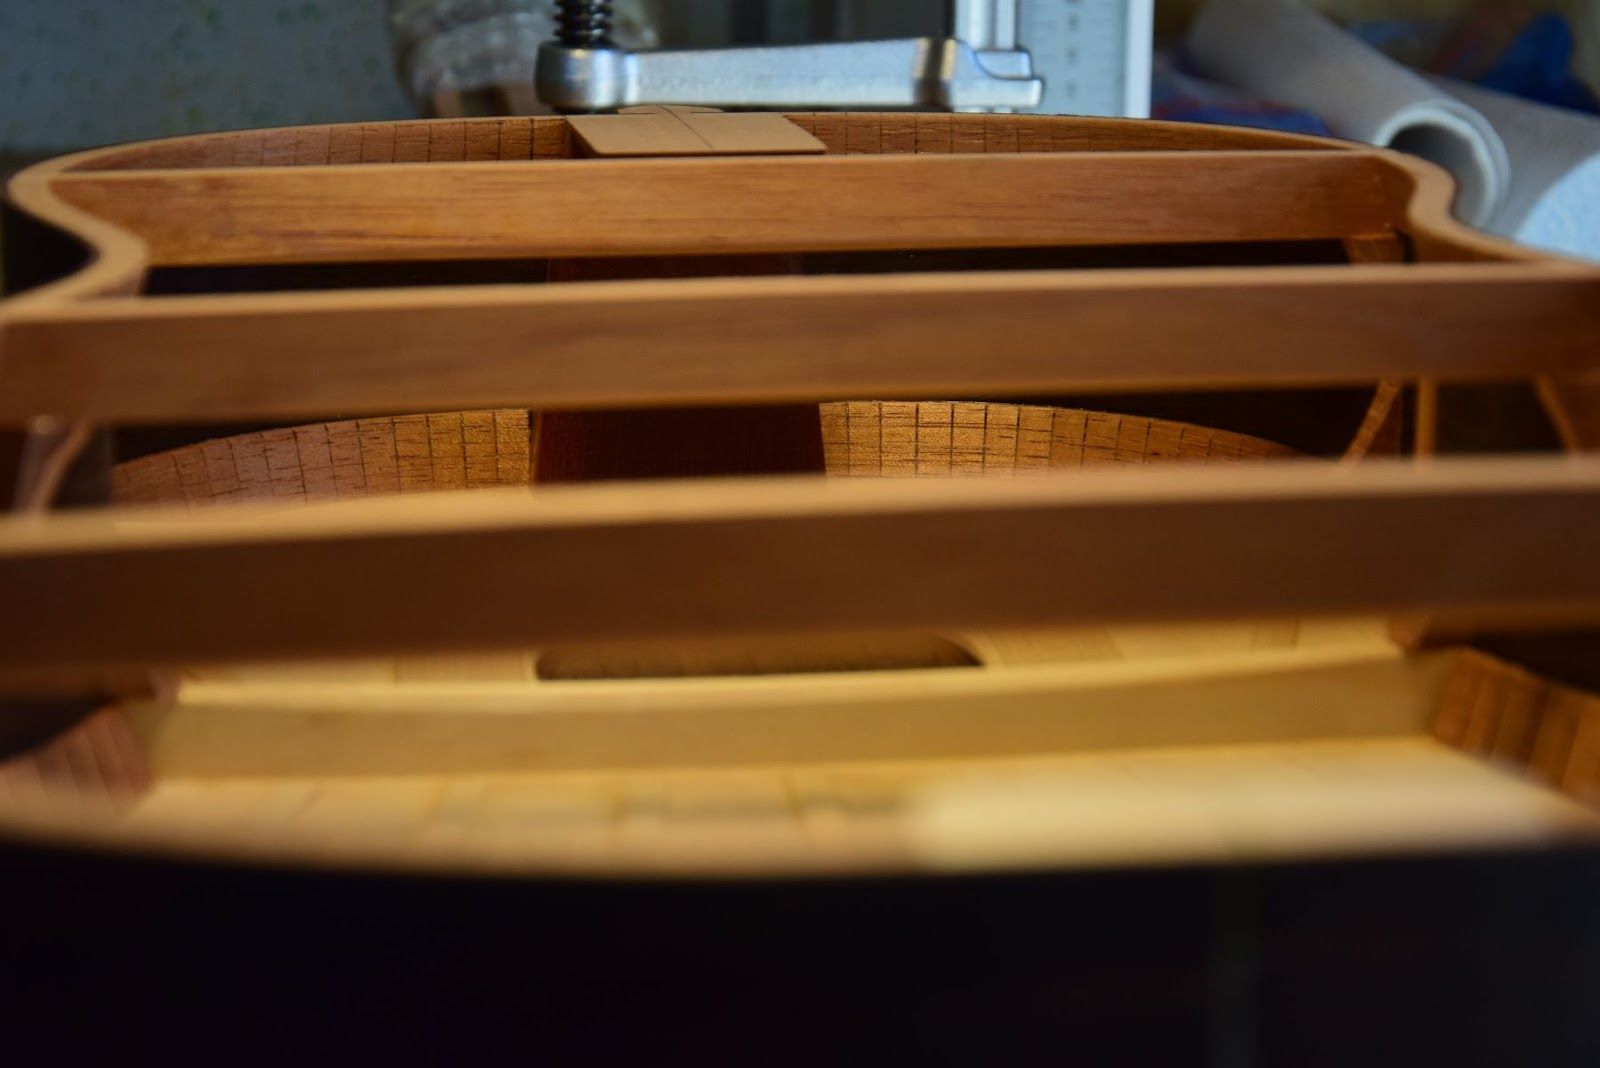
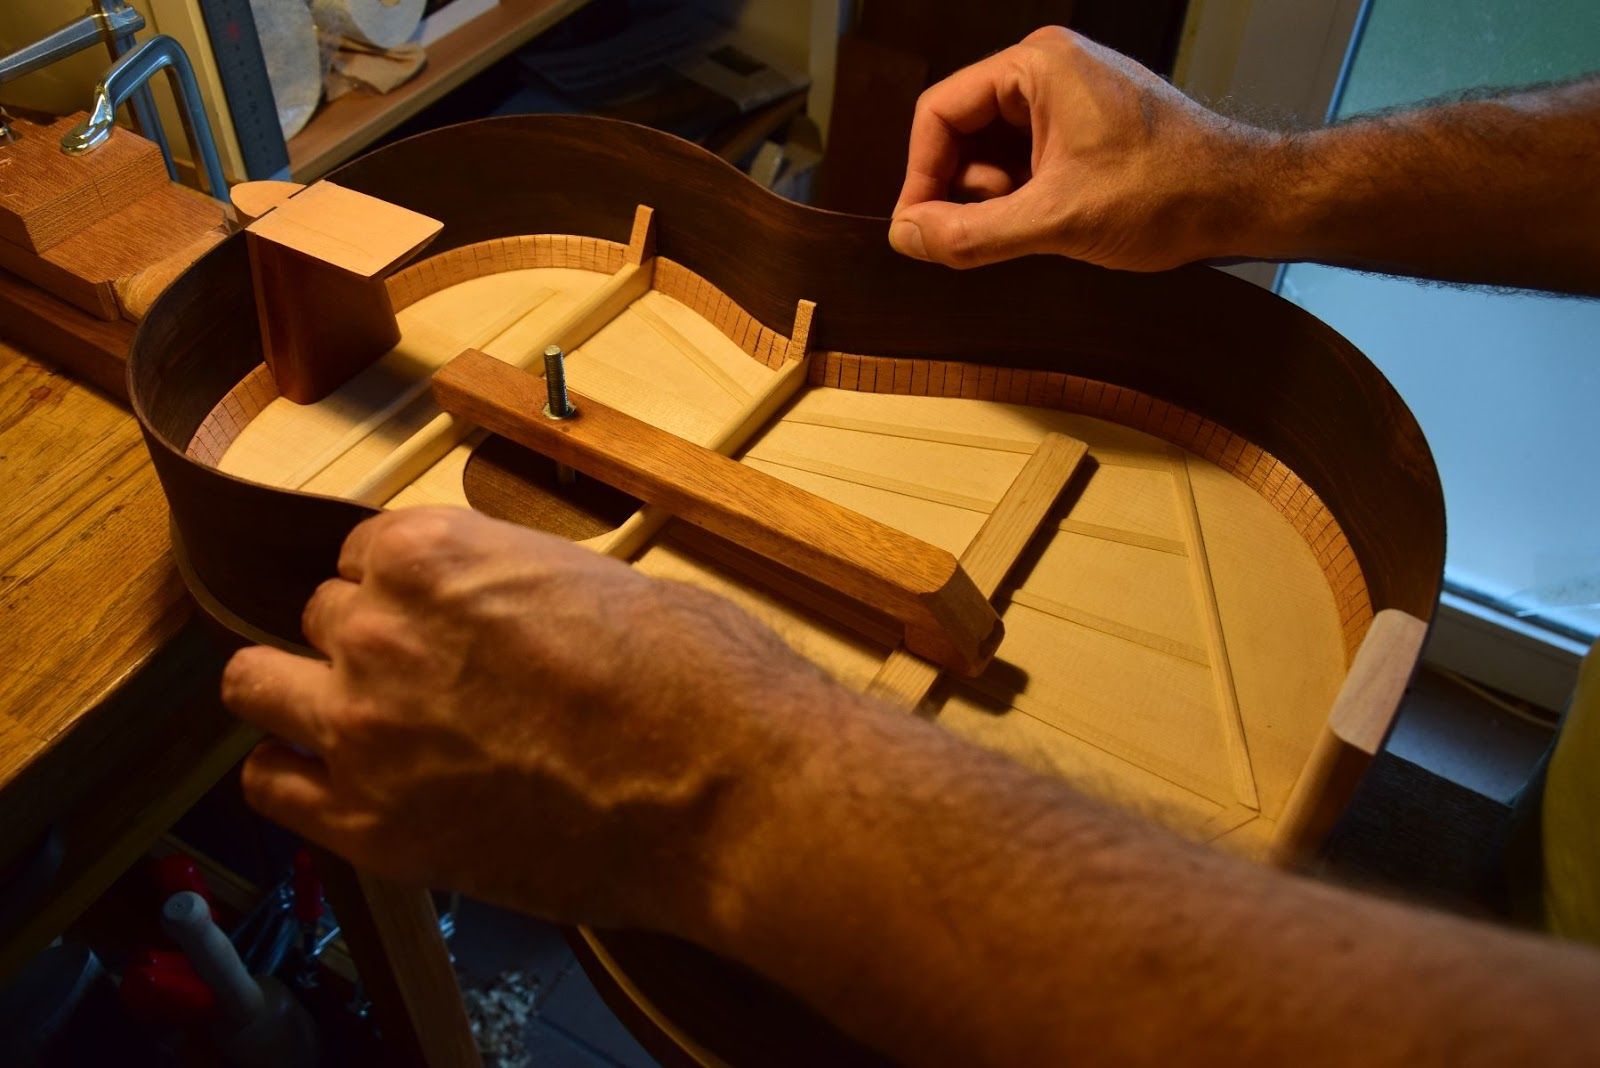
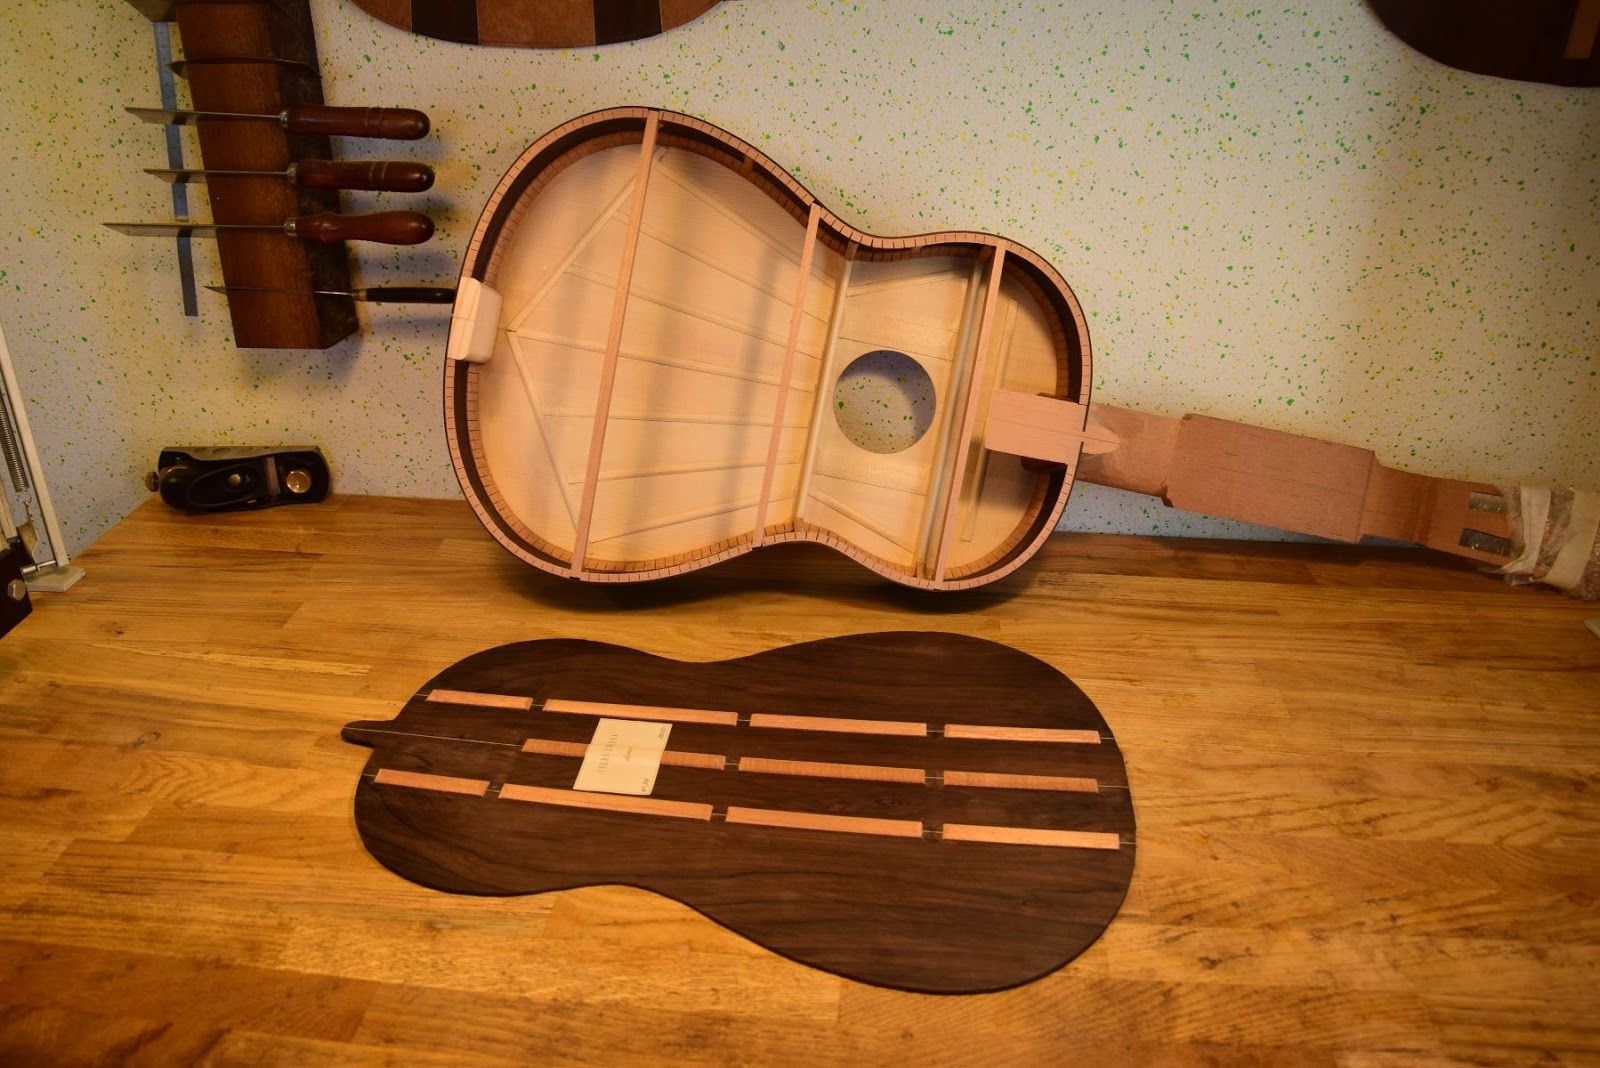
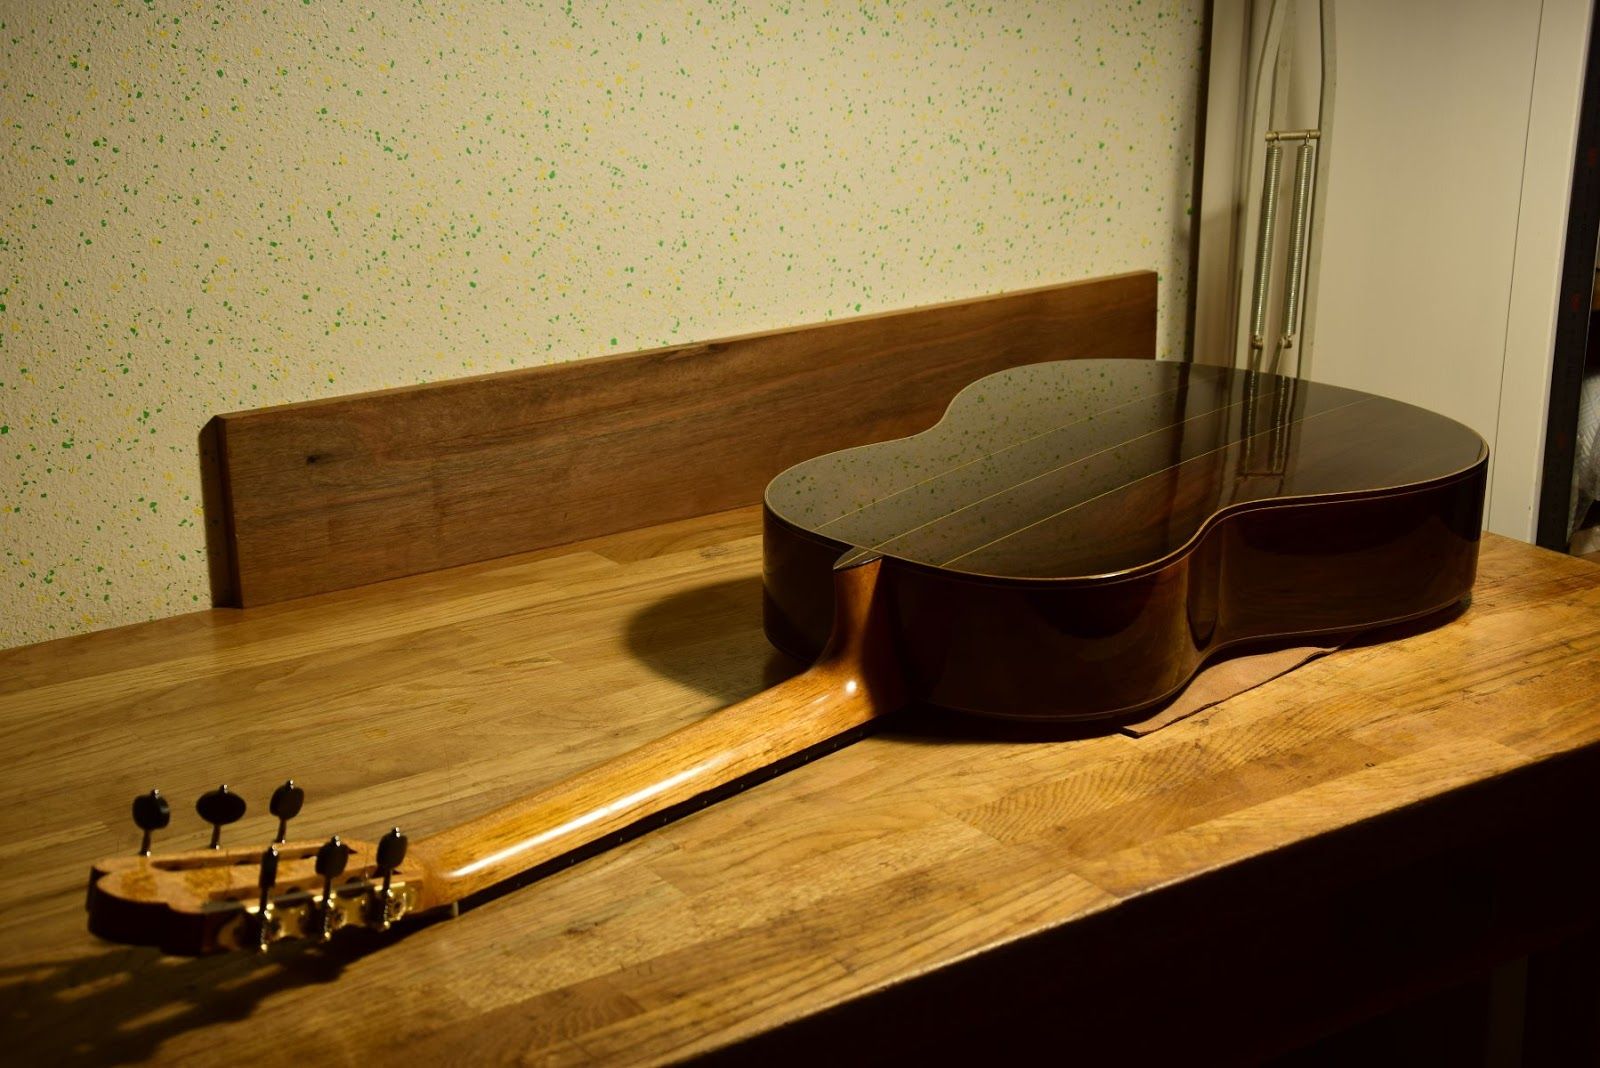
The back and its bars before closing. Rather than gluing bars to the back first, Torres placed them on blocks already fixed to the sides — stabilising the structure and shaping the arch of the back.
Back bars placed on the side blocks
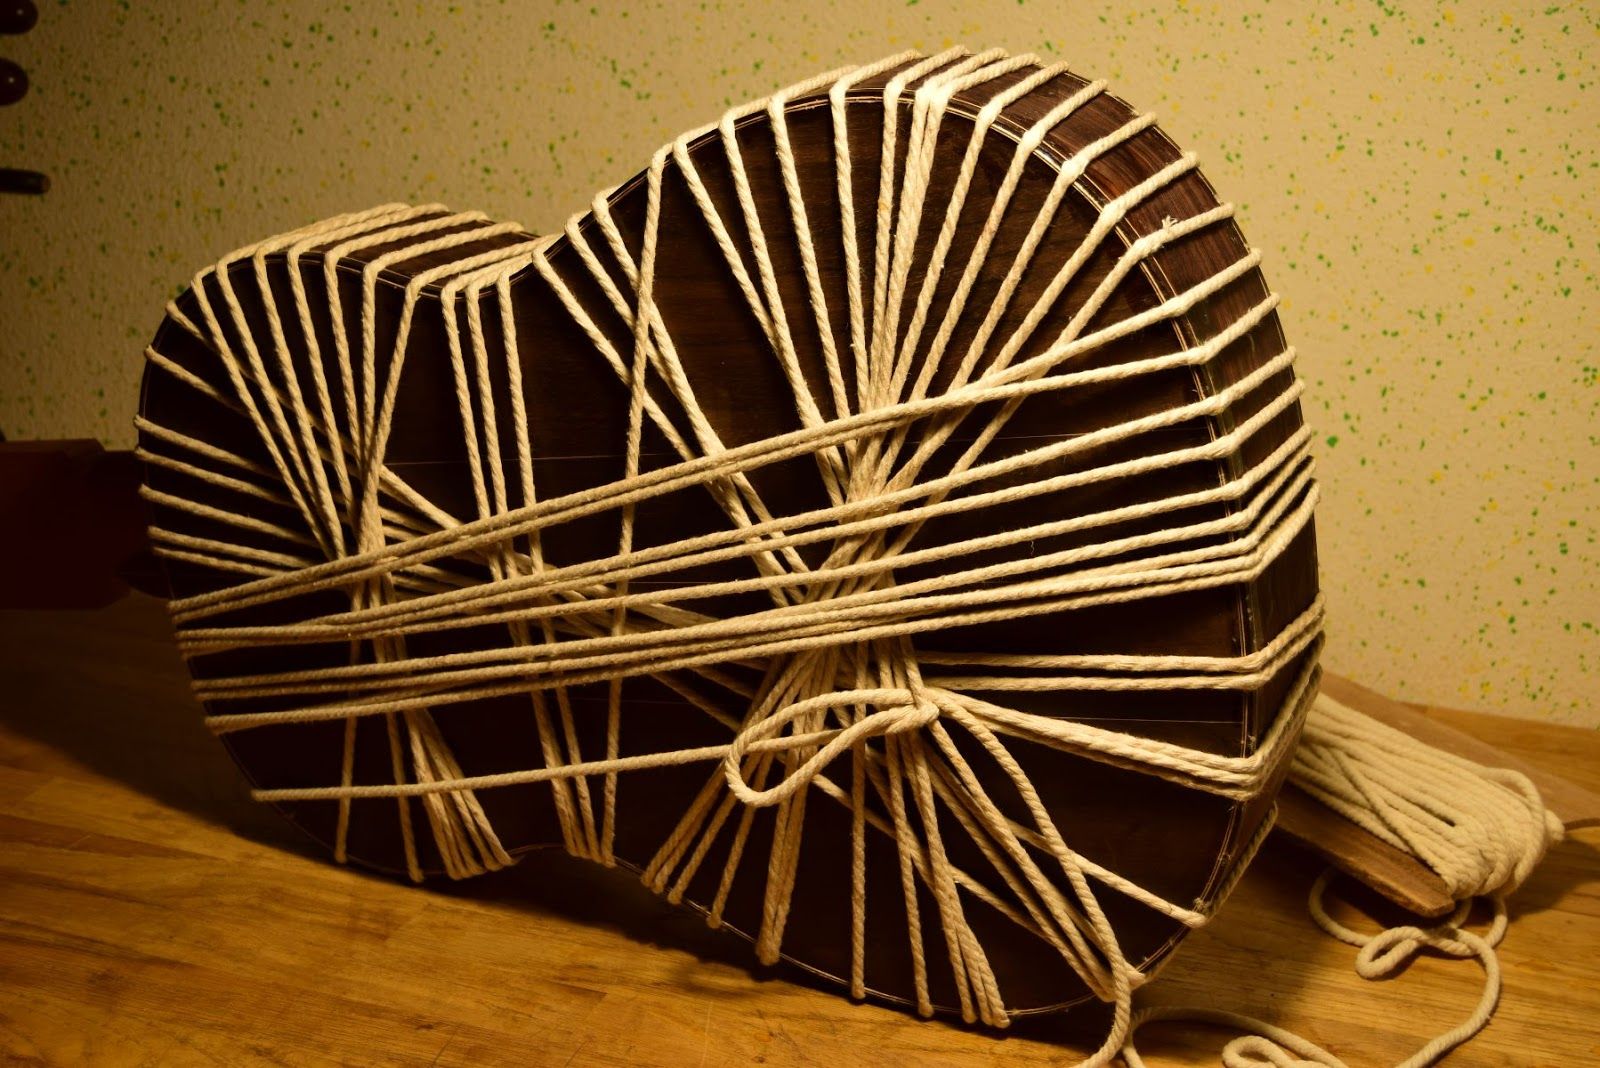
Today, most luthiers glue the back bars to the back first, then adjust notches and glue the assembled back to the sides. Torres's method is different: the back bars are placed on the blocks already glued to the sides. This stabilises the structure, and allows the desired curve to be shaped into the bars — which defines the arch of the back. Glue is then applied to both bars and linings simultaneously. The back is positioned and tightened with cotton string: about 100 metres of string for the operation.


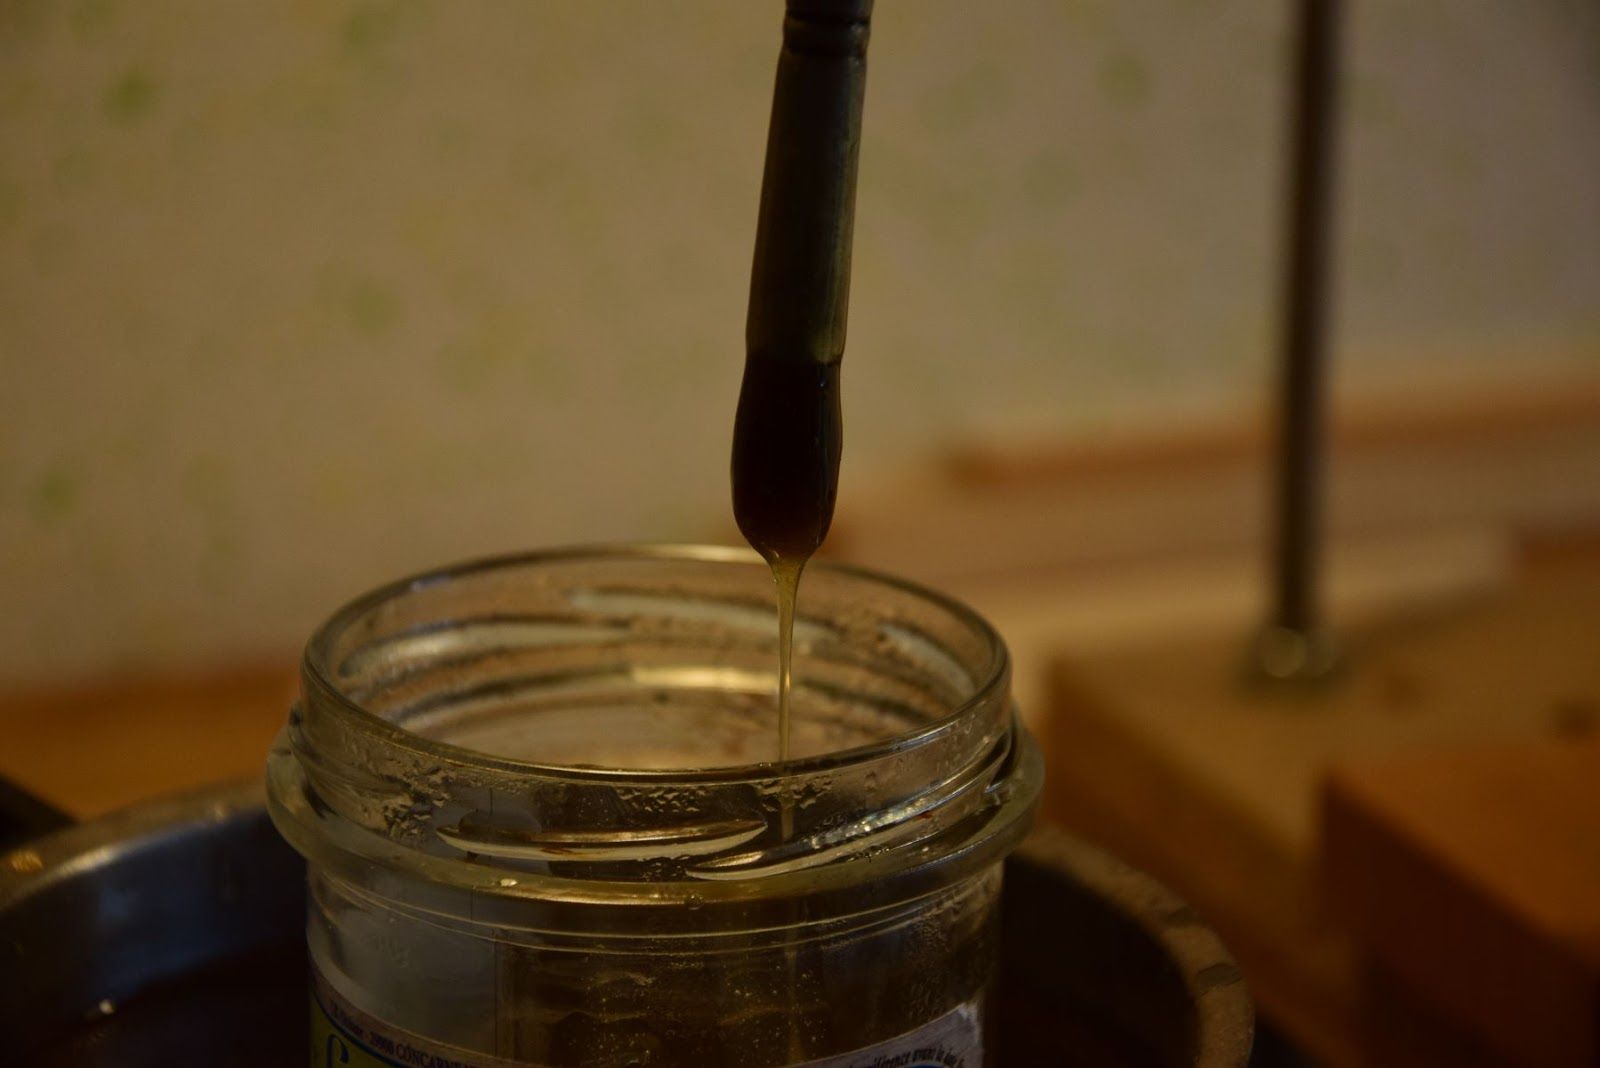
Activating the glue
When working with animal glue, the bonding area must be reheated for the joint to be effective. The traditional method: a little alcohol over the joints, lit with a flame. The time the alcohol takes to burn is sufficient to heat the wood and activate the glue. Closing the box is an important operation for the final sound — this method respects the wood's natural hygrometry without creating tensions. The downside is that execution is tricky and glue squeeze-out is impossible to remove.
VII
Bindings, bridge
& French polish
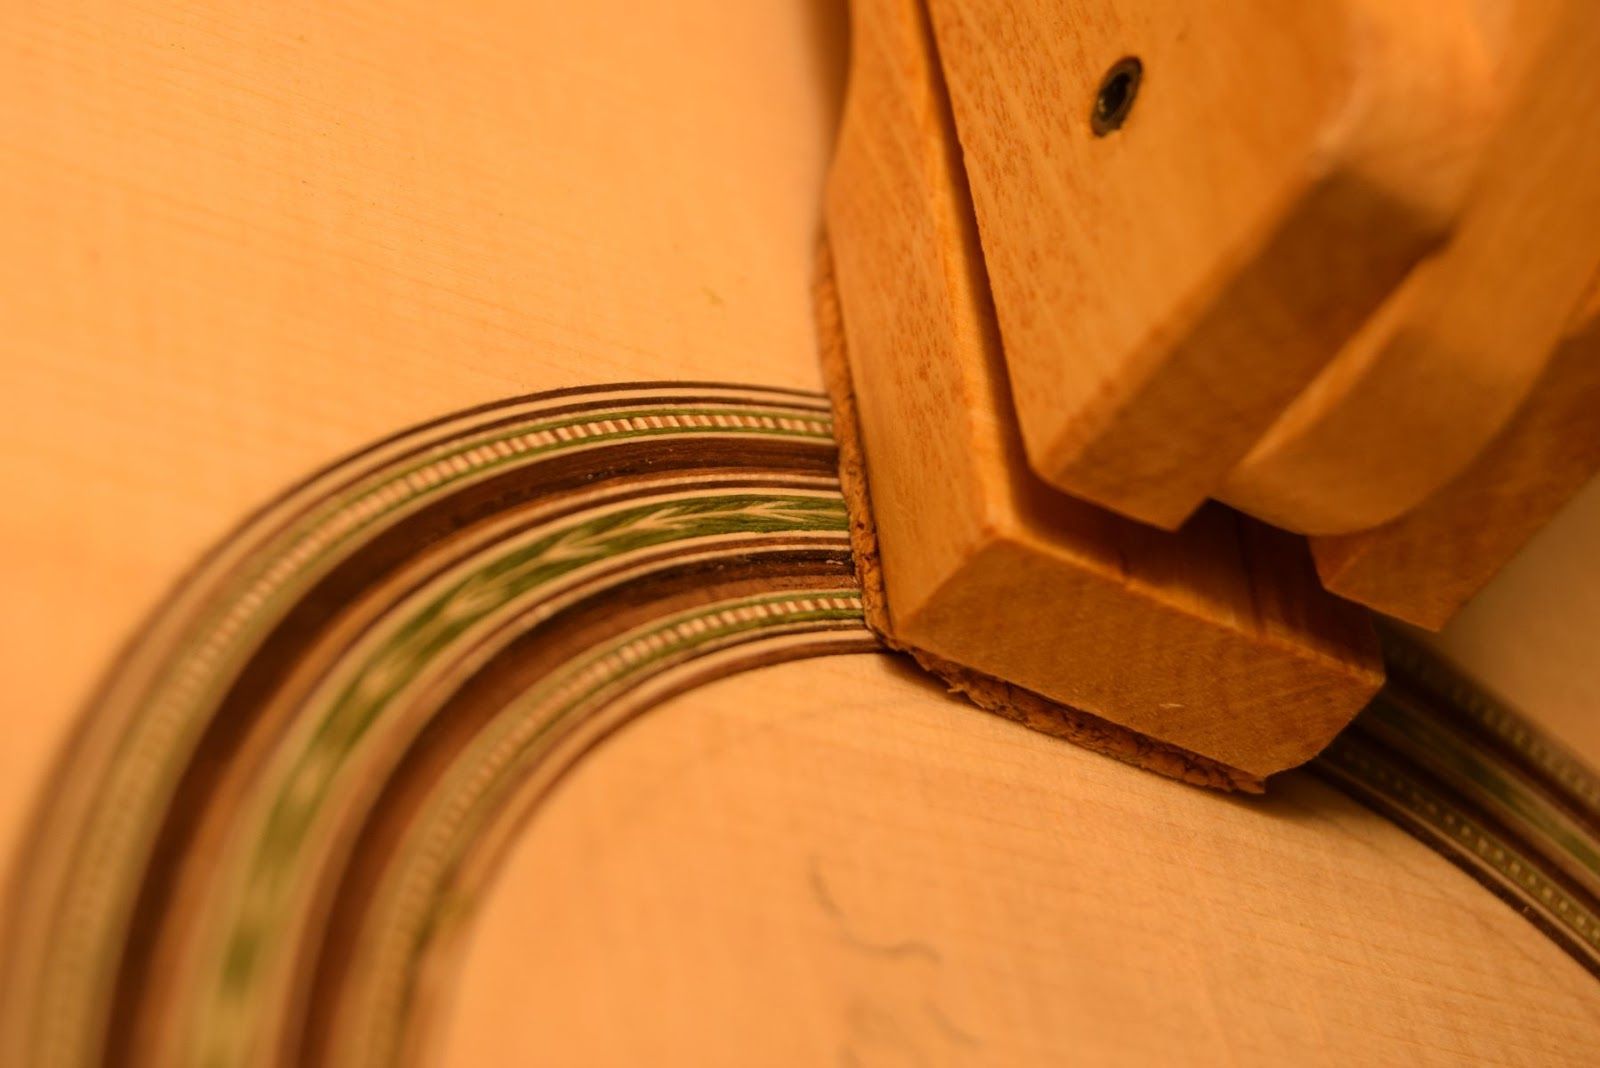
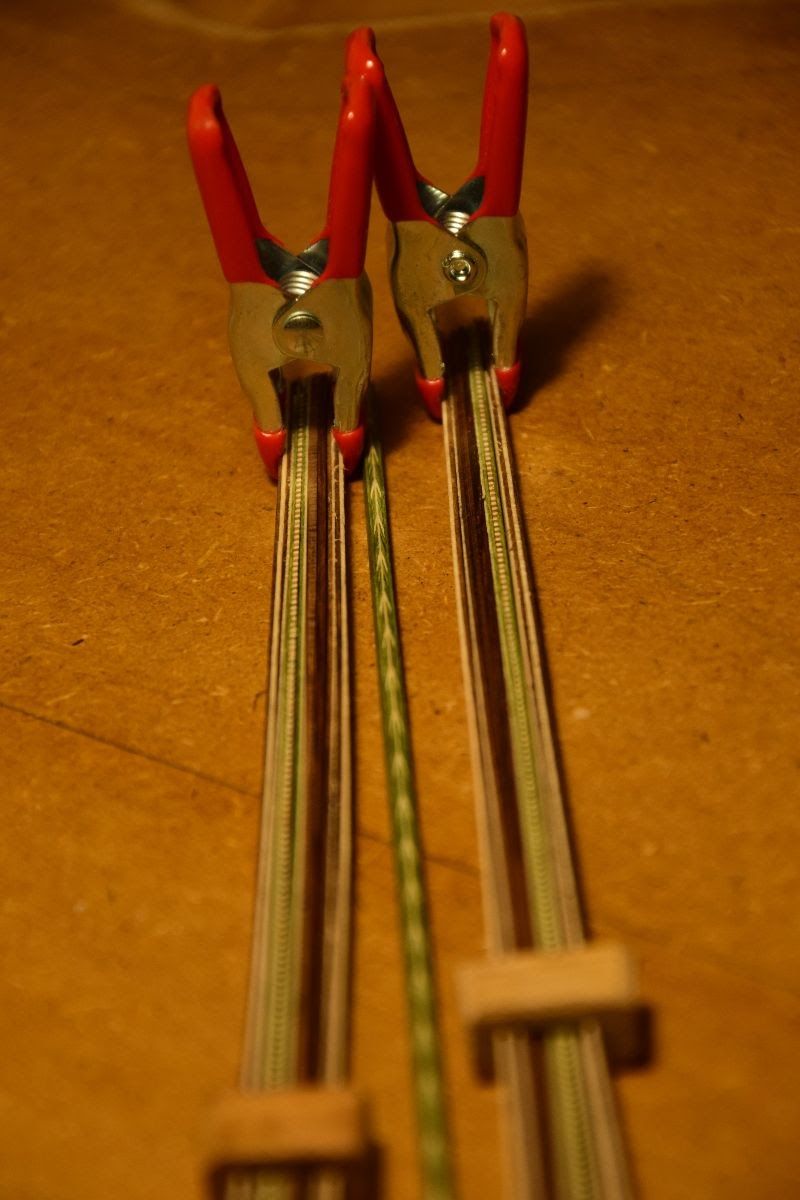
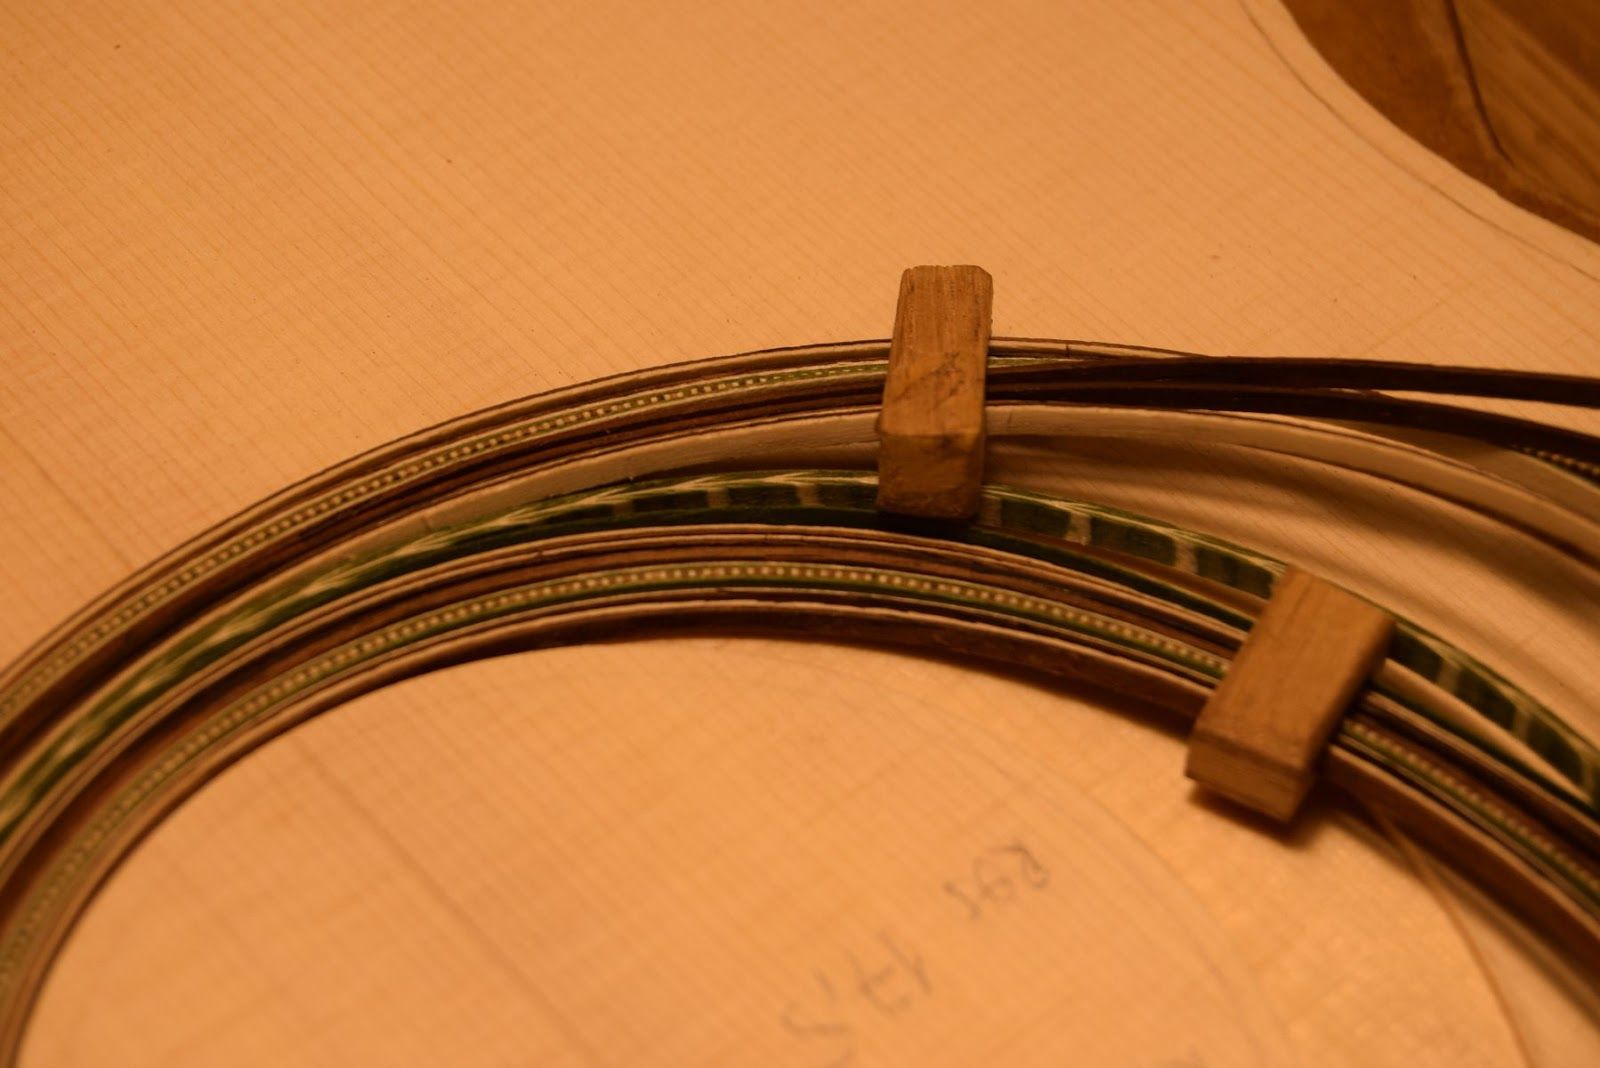
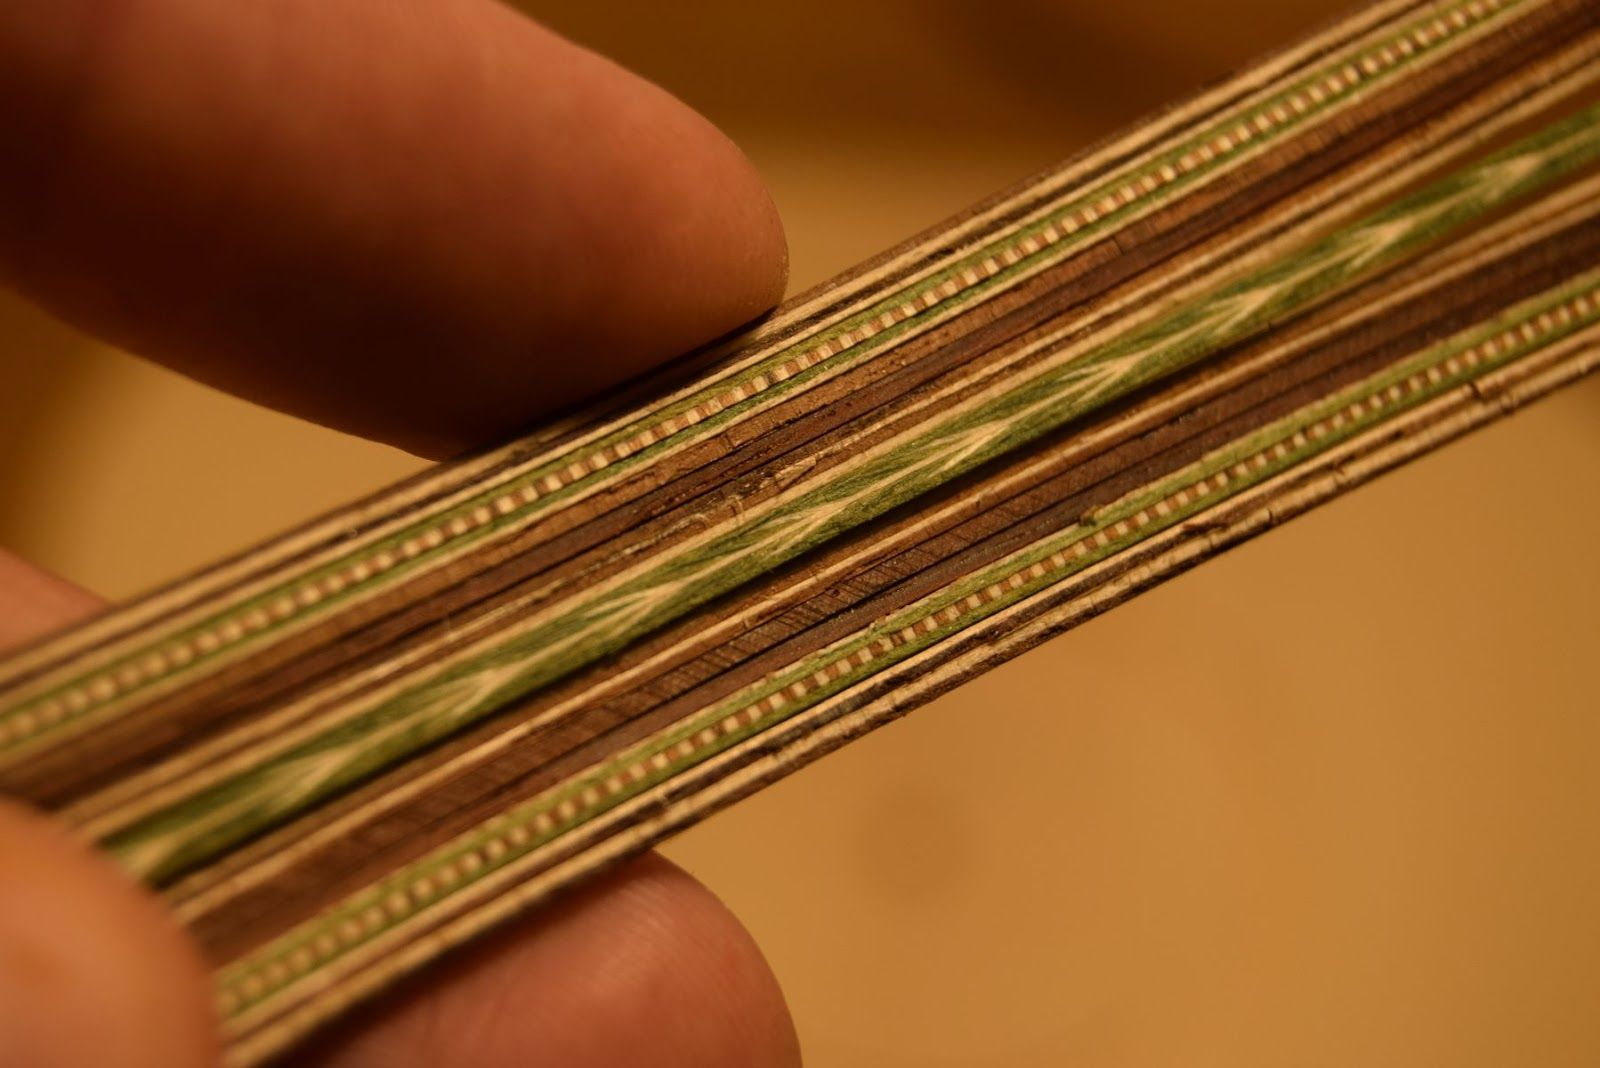
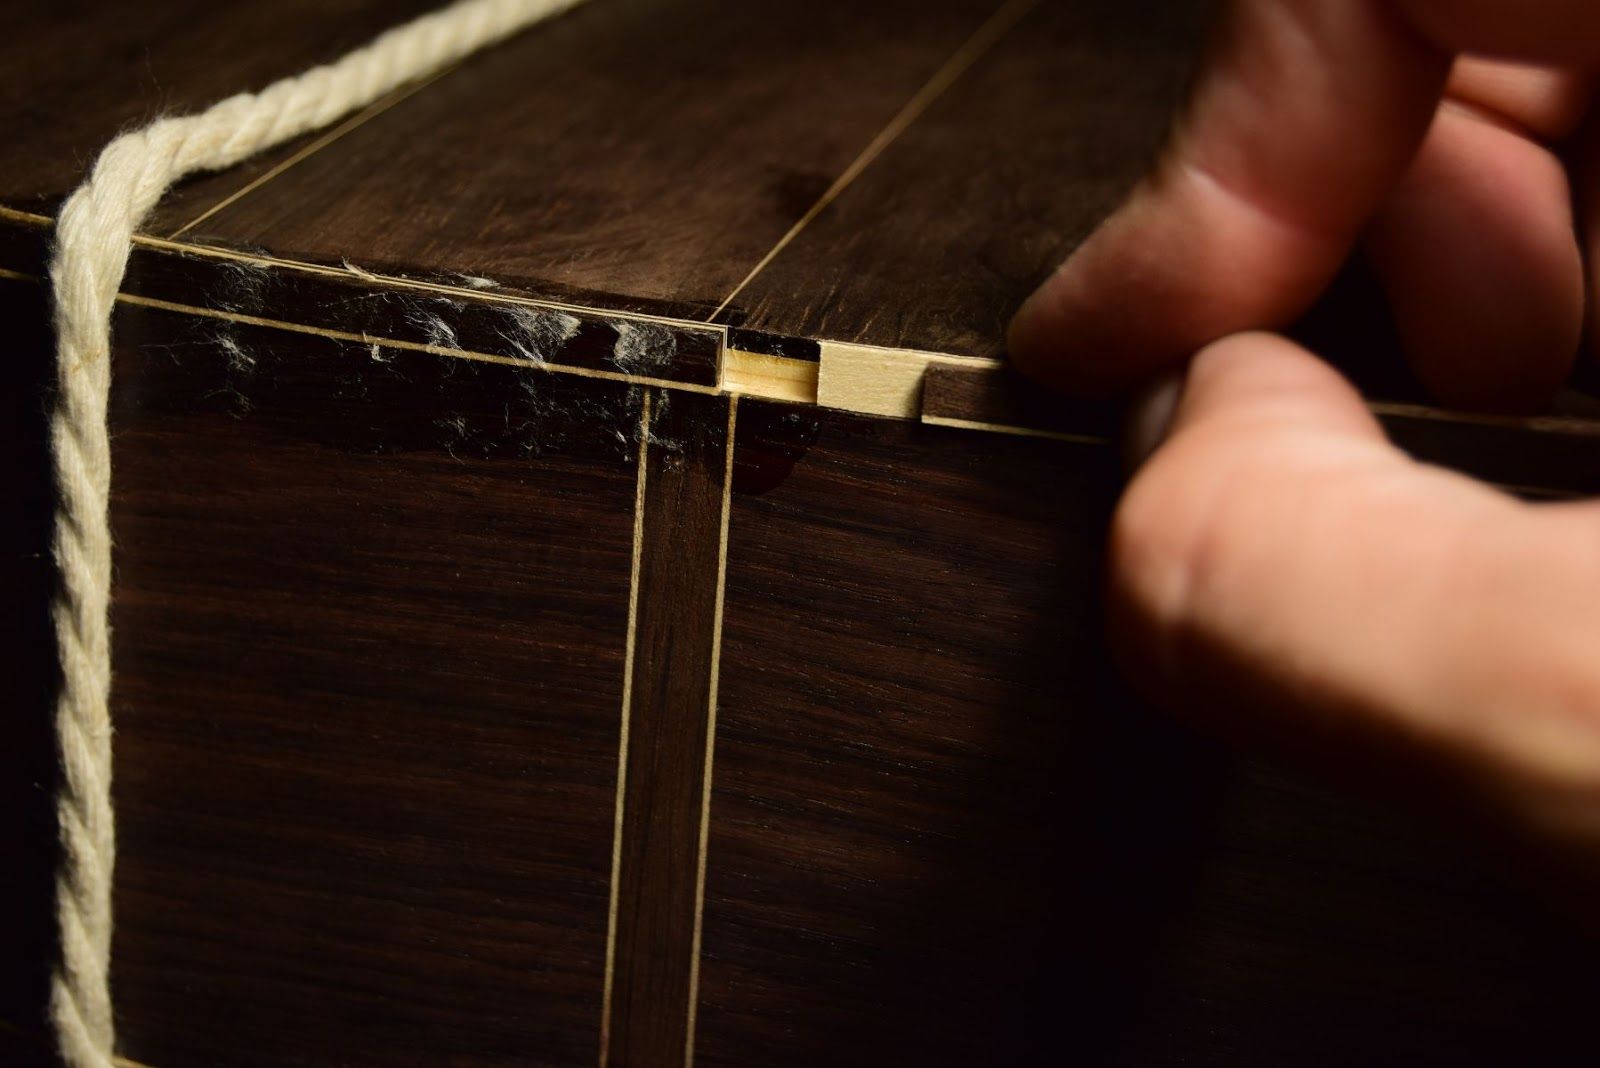
Bindings and purflings
A single groove to house the purflings and binding in full thickness gives more rigidity to the body. The purflings are made of multiple layers of hardwood laminated with animal glue — creating a very strong rim and a good alternative to solid hardwood linings. For purflings exceeding 4 mm, a separate ledge is preferable.
Gluing the bridge
The traditional method uses string and wedges. The doming of the top is slightly larger than the arch of the bridge, allowing a perfect bond over the entire length by pressing only the wings. I scrape the bridge's gluing surface with a convex scraper to create a slight concavity — this prevents the thin bridge edges from lifting. The same process applies when gluing the fingerboard.
French polish
Pores are filled with pumice and the guitar is then fully French polished with button lac. This traditional finish is transparent, reversible and allows the wood to breathe — fully consistent with the historical approach of the whole construction.
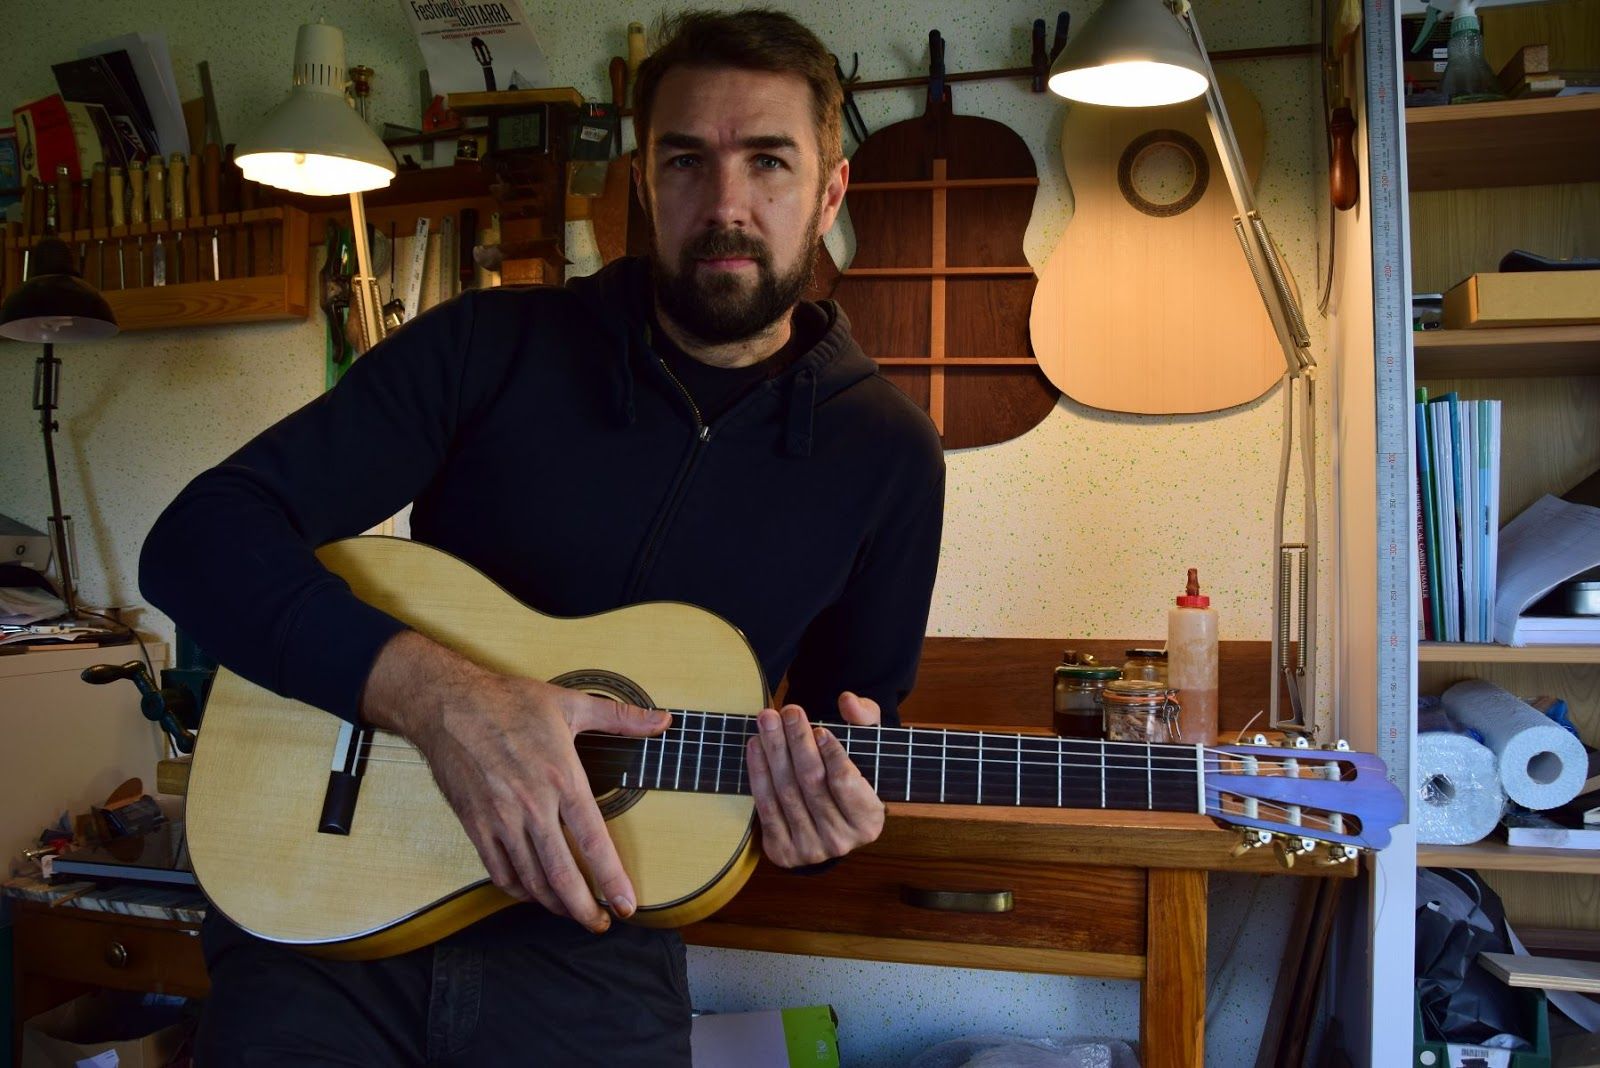
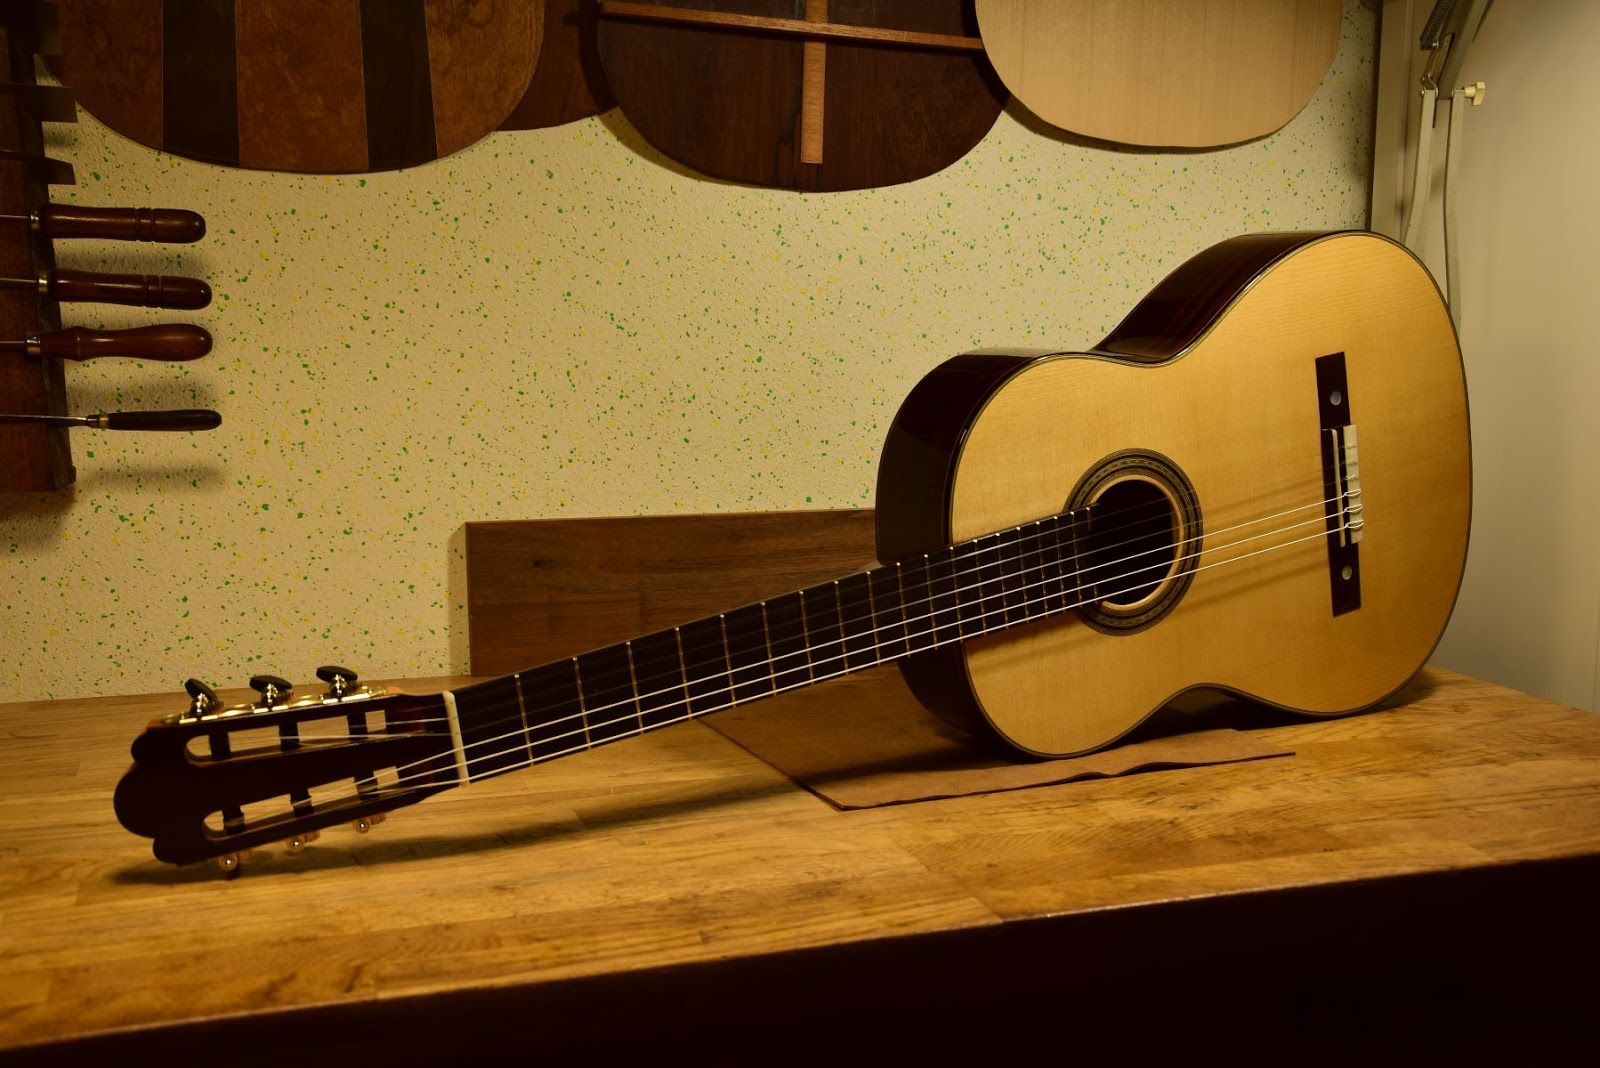
The completed Torres model. The treble sings over its full length, the bass notes are deep, and a beautiful balance runs through all registers.
Respecting Torres's methods and architecture gives an instrument with real power: the treble string sings along its full length, the bass is deep, and there is a beautiful balance across all registers.