The stage at which all the individual parts come together to become an instrument — and why the conditions in which this happens matter as much as the technique itself.
Guitar assembly is the stage at which all the individual parts are brought together to become a complete instrument. Historically, there are two main methods of assembling a guitar: the Spanish method and the French method.
In the French method, the body and the neck are built separately, and the neck is attached to the body at the end. This is a delicate operation, as it requires achieving the perfect neck angle. The advantage of this method is that it provides full access around the body, making it easier to install binding.
In the Spanish method, the neck is joined to the soundboard first in order to establish the guitar's central axis. The assembly is then fixed onto a workboard called a solera. This method is more traditional and straightforward, and it ensures a perfect neck-to-body angle — this angle becomes fixed once the back is glued on.
Humidity and tension
Two aspects are essential for building a successful instrument, and they are closely related.
First, all gluing operations must be carried out in a controlled humidity environment — typically around 40–50% relative humidity. This allows the wood to shrink safely in dry conditions without cracking. All wood used must be properly dried and stabilised, usually after several years of seasoning. The older the wood, the less it reacts to changes in humidity.
Second, it is crucial to avoid introducing tension into the instrument. Each part must be perfectly fitted and glued without force. When there is no internal stress, all components are free to vibrate.
If the soundboard bracing is glued at 60% humidity, the back bracing at 40%, and the final assembly at 50%, each part will react differently to humidity changes — creating internal stress that restricts the instrument's ability to vibrate freely.
For this reason, from the moment I glue the soundboard bracing until the back is attached, I carefully maintain a consistent humidity level using a humidifier during the dry heating season and a dehumidifier during more humid periods. I also plan my work so the guitar can be assembled as efficiently as possible.
Step by step
Step 1
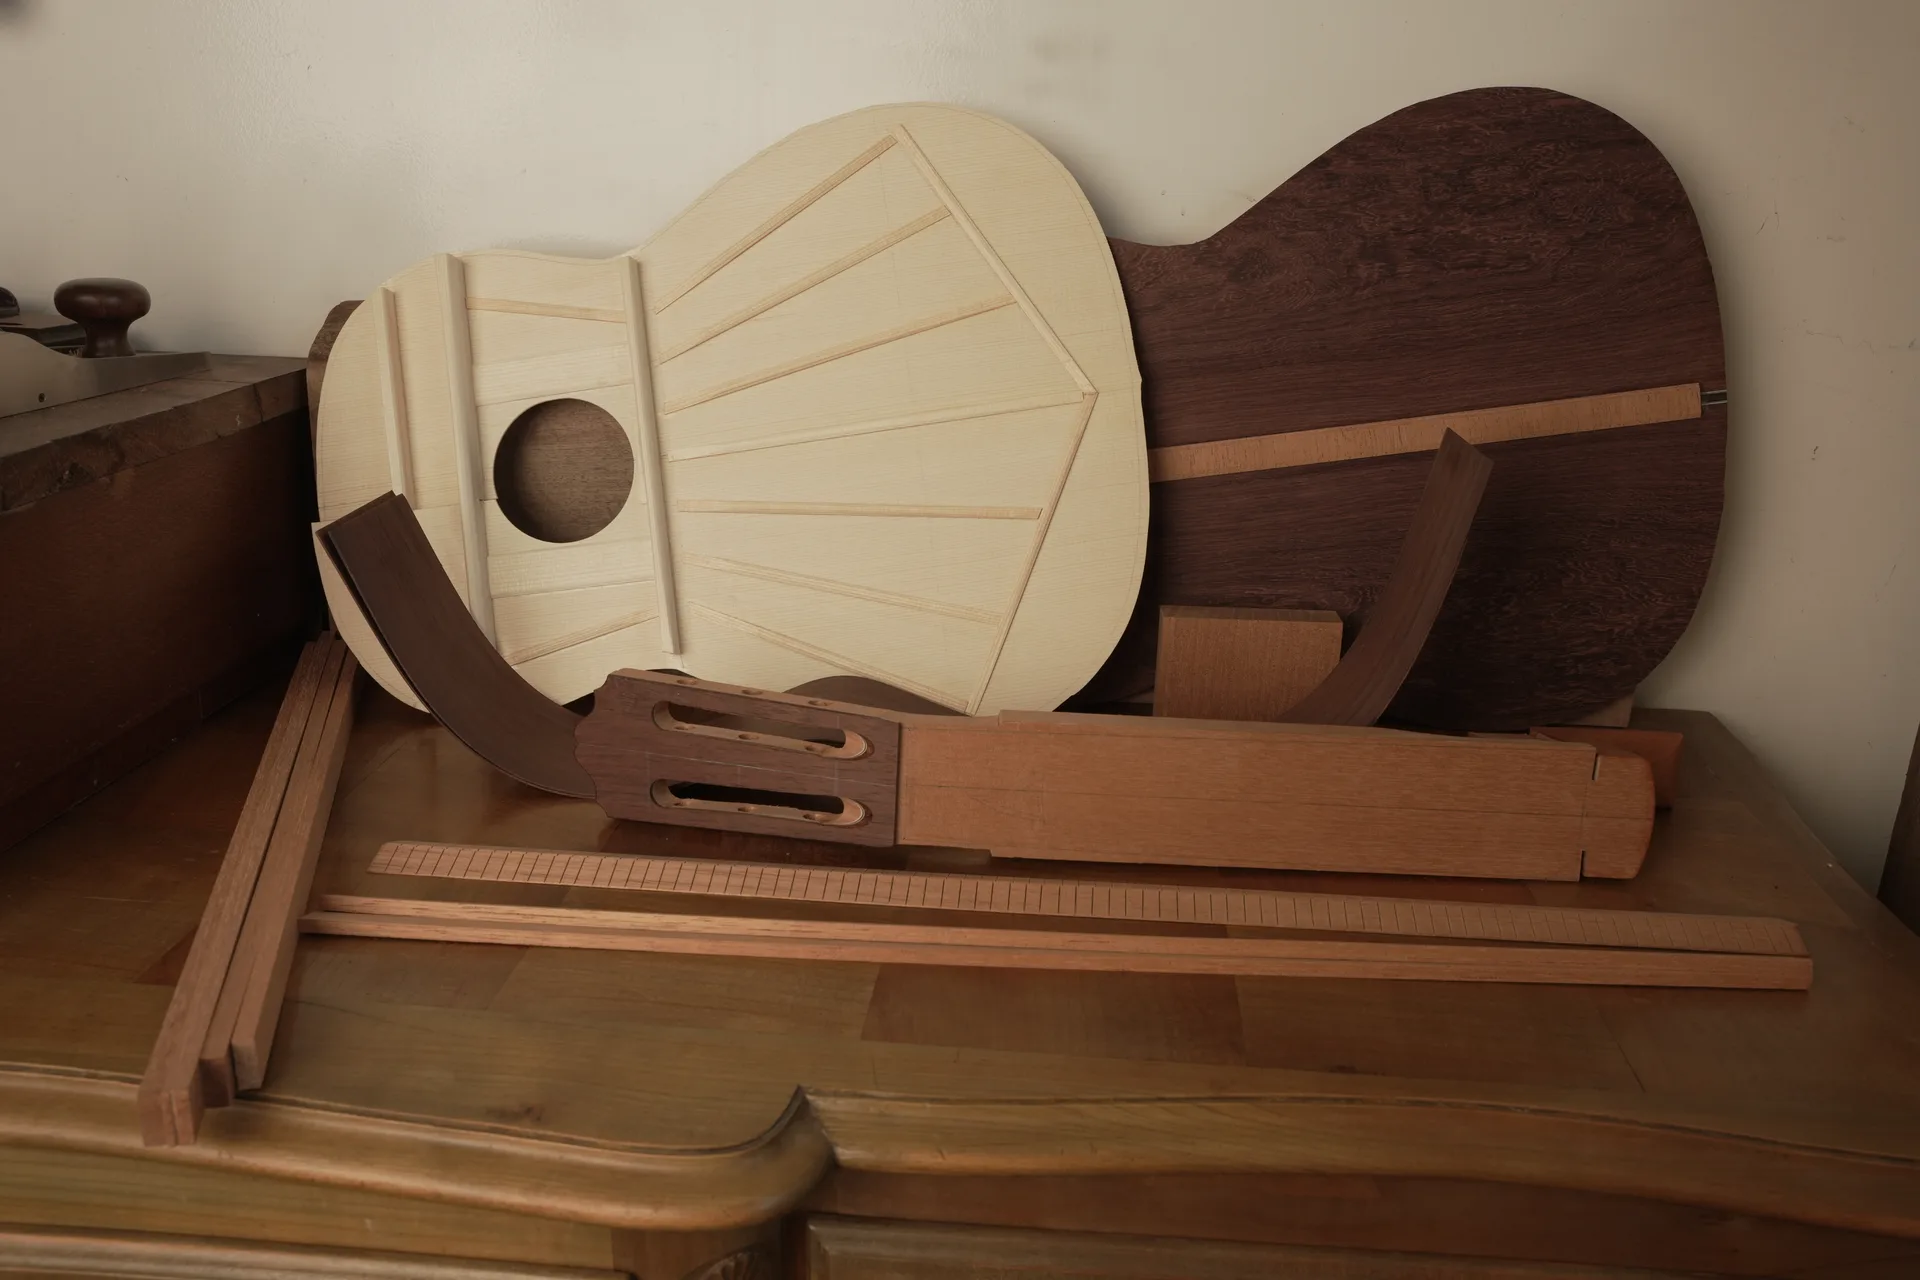
Once all the guitar components are ready, assembly begins.
Step 2
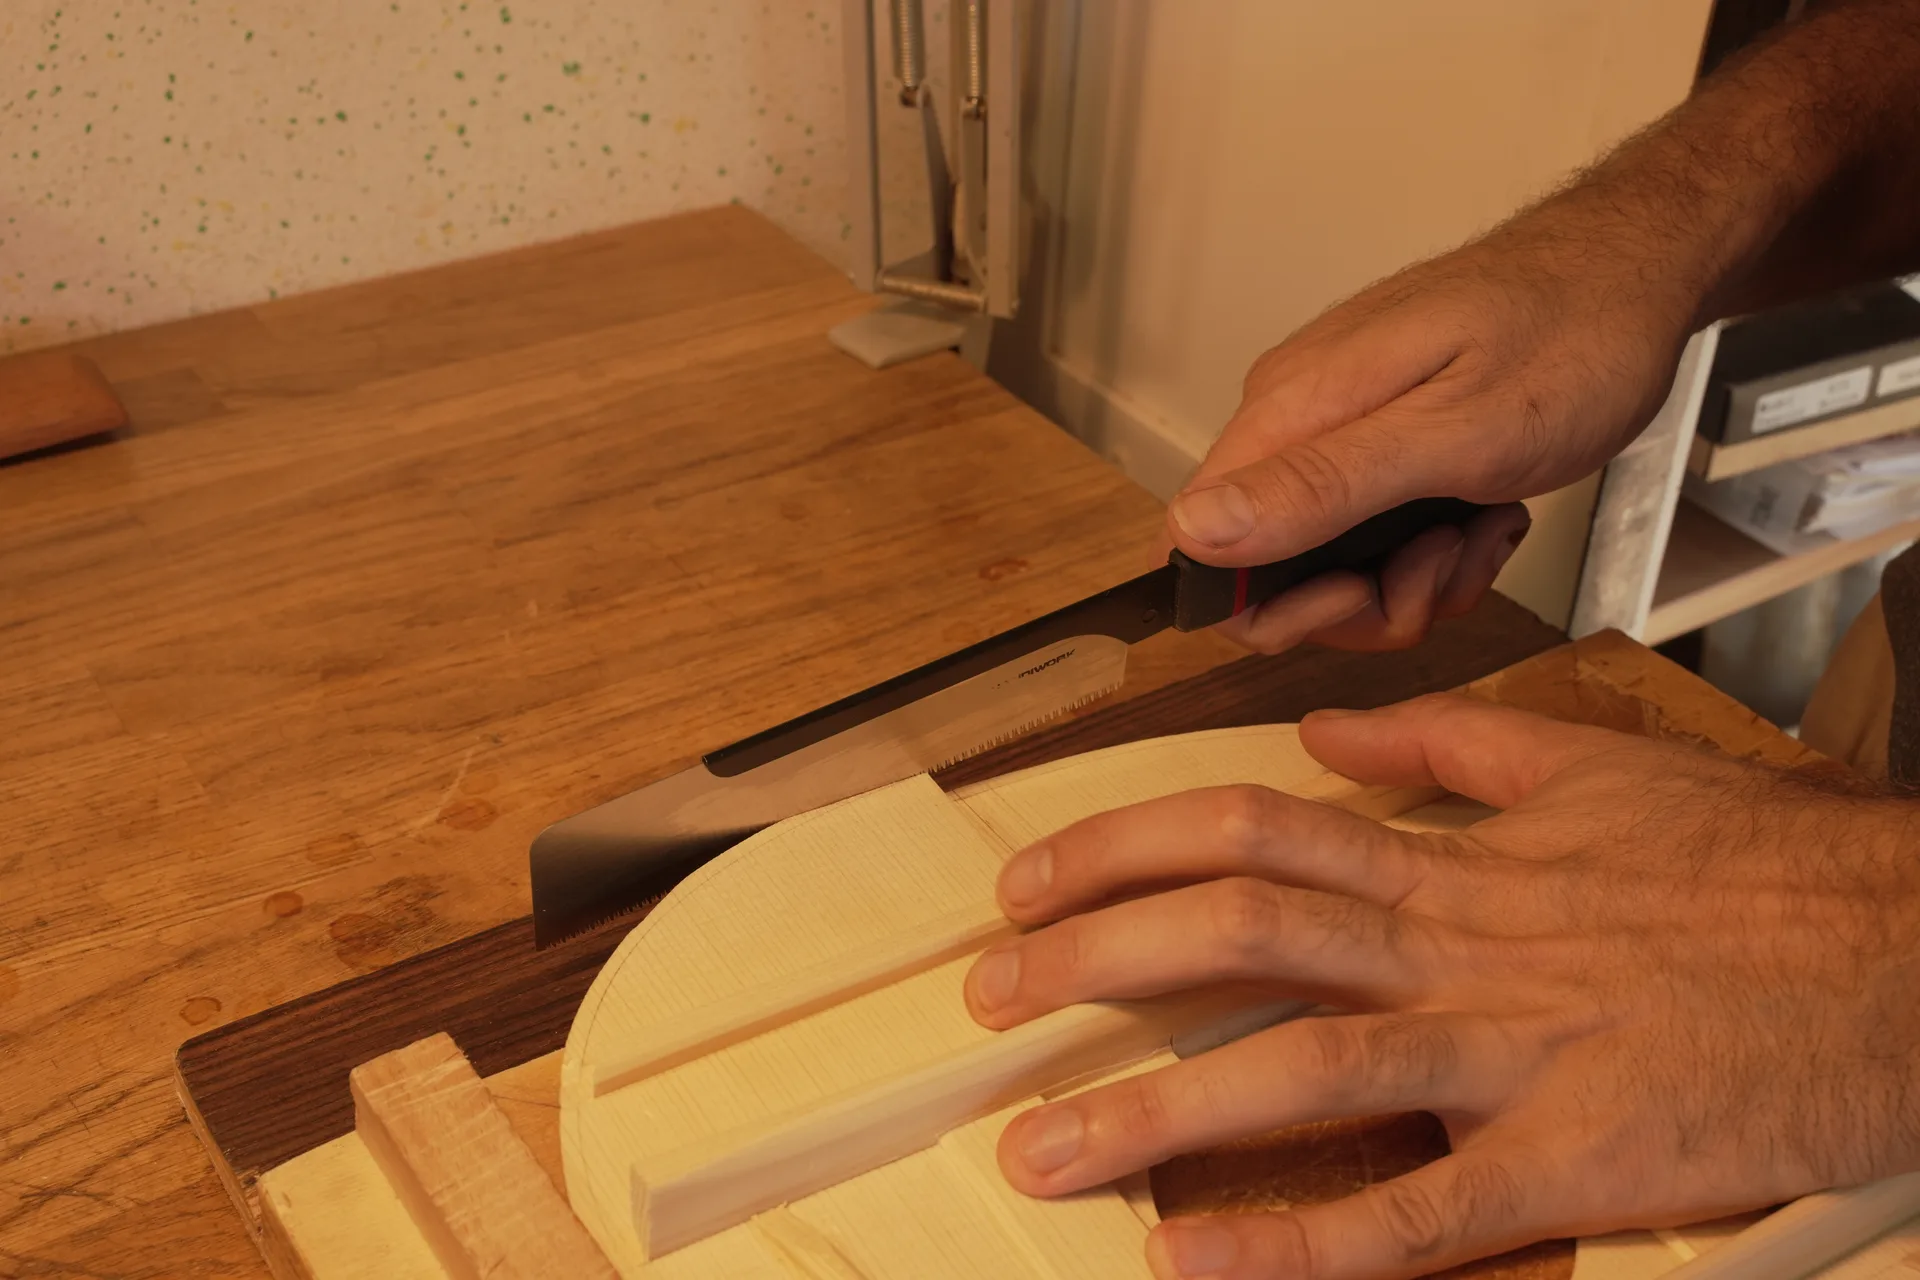
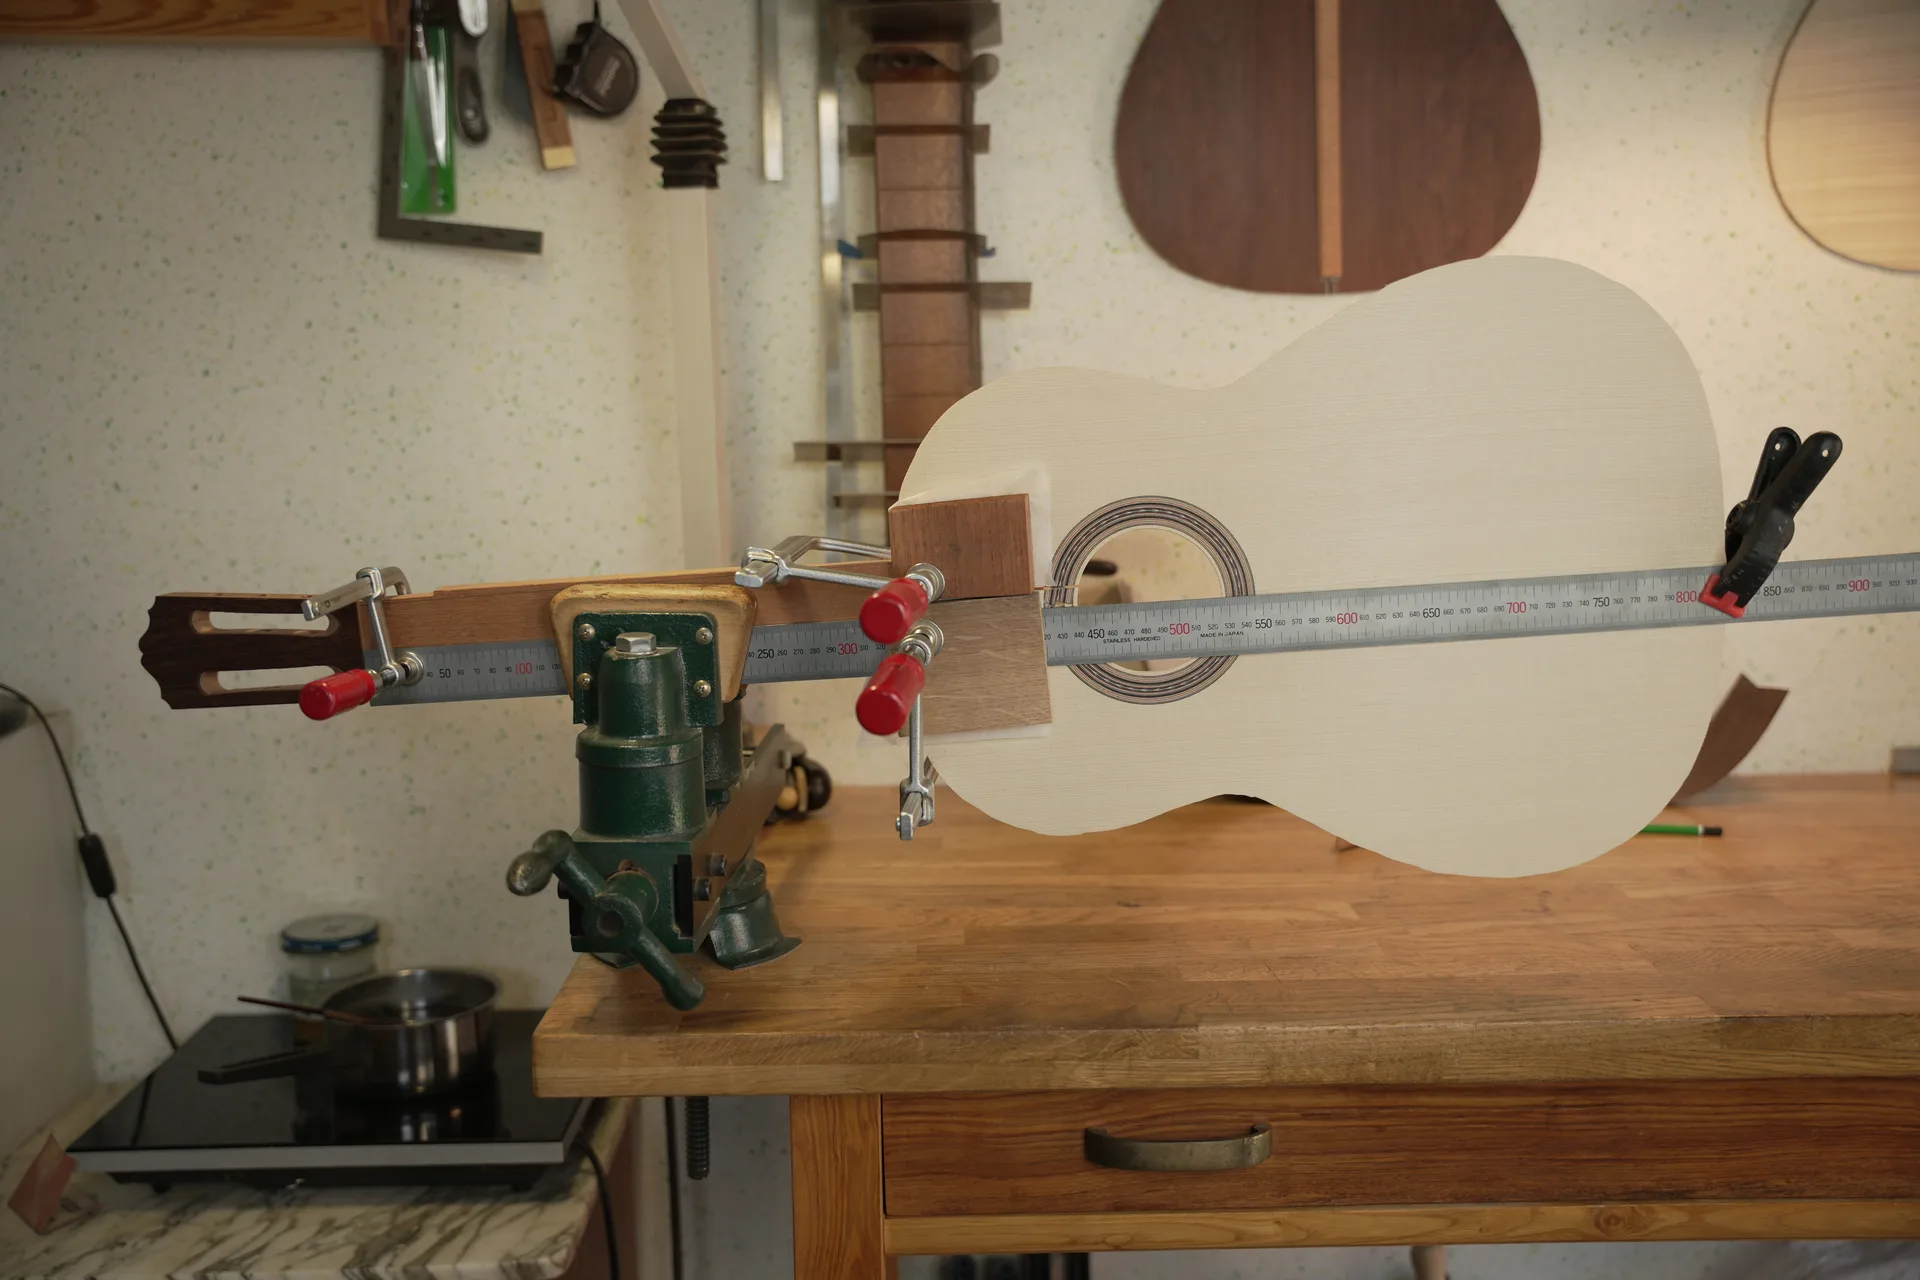
The first step is to establish the central axis by joining the soundboard to the neck. The excess from the soundboard is trimmed to achieve the correct distance between the fretboard and the soundhole.
Step 3
This distance may vary depending on the design — for example, 19 frets, or a split 19th fret.
Step 4
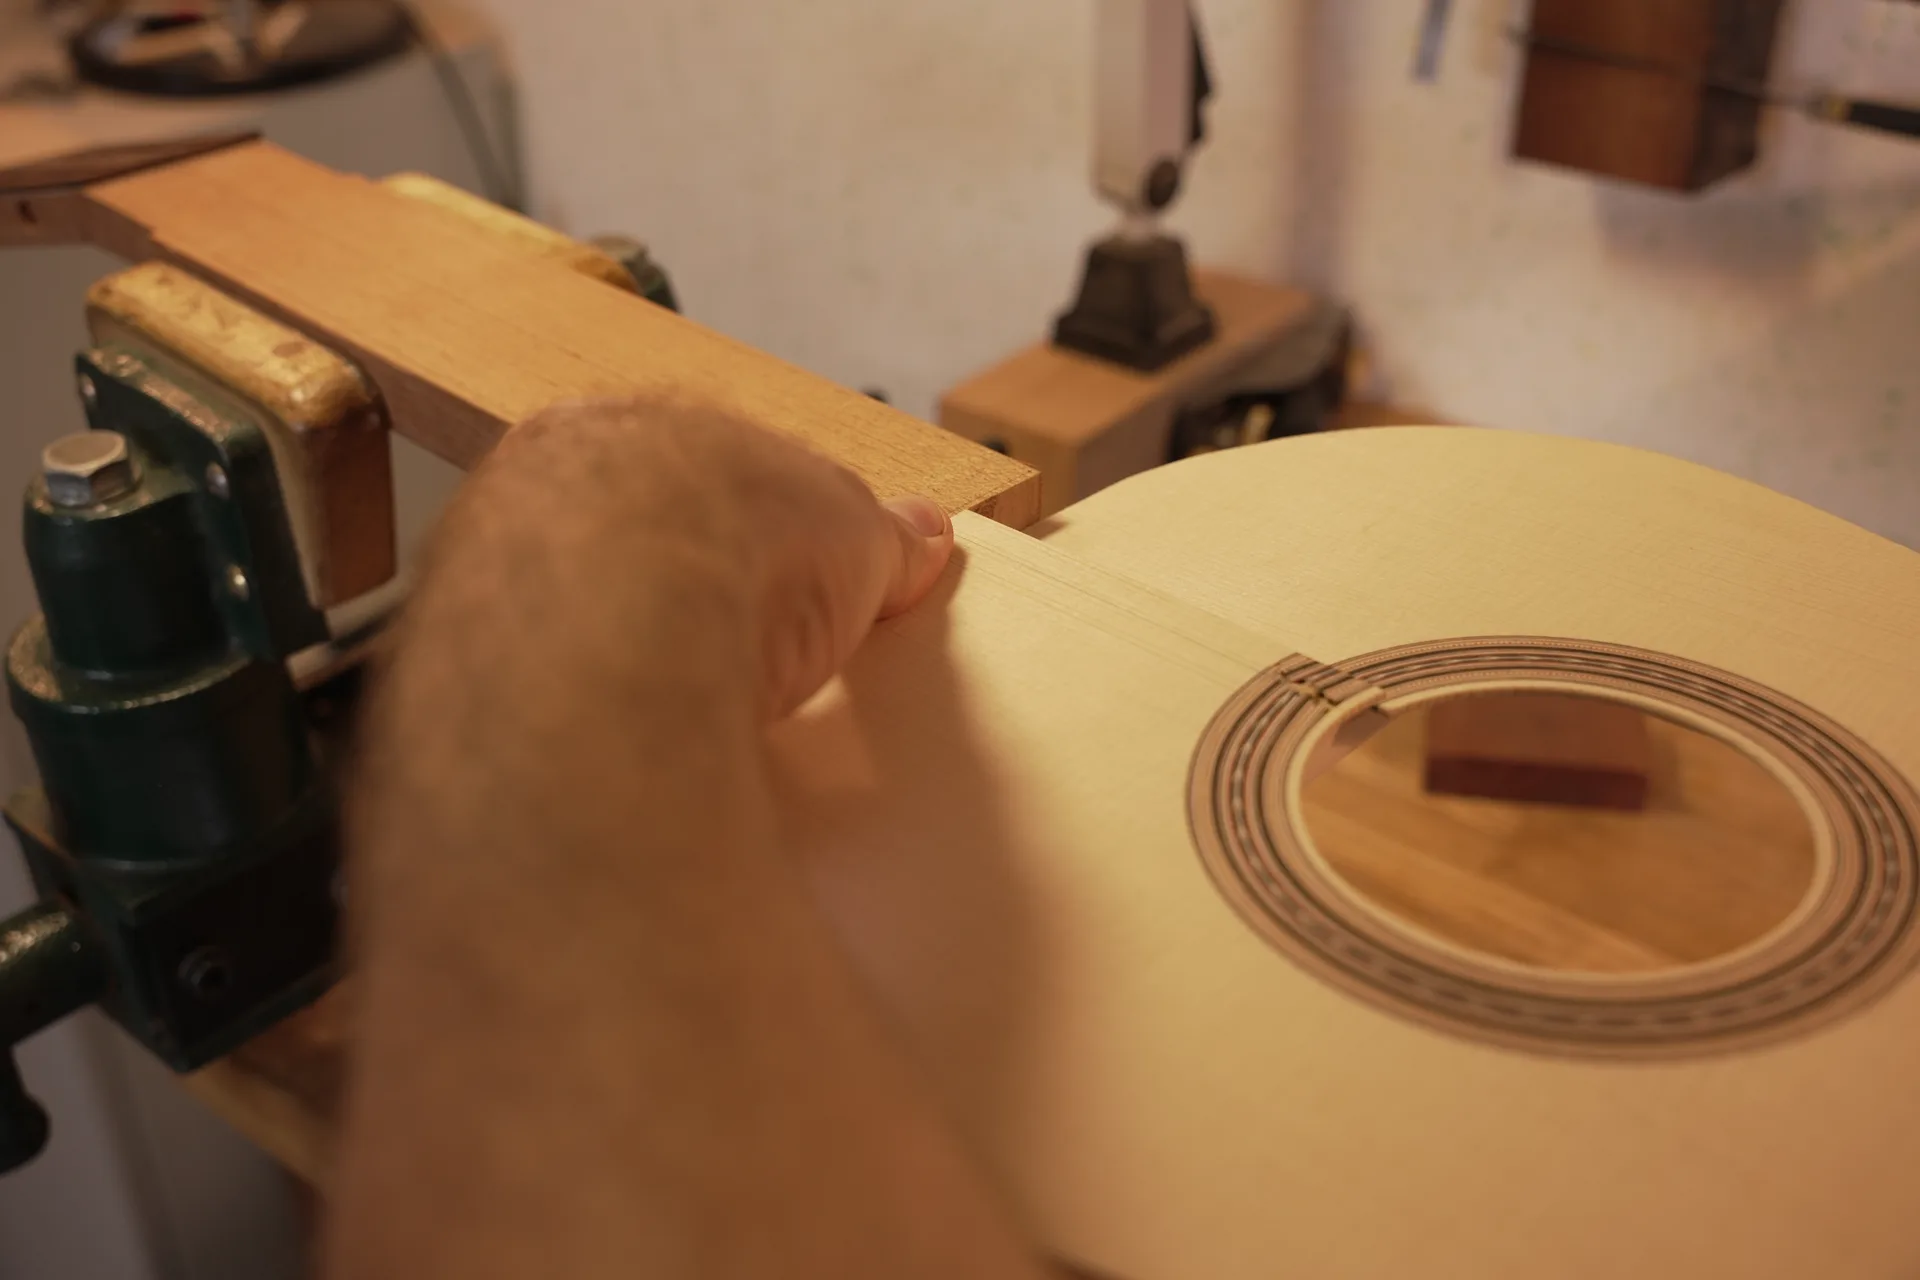
Using a one-metre straightedge, the neck is glued to the soundboard.
Step 5
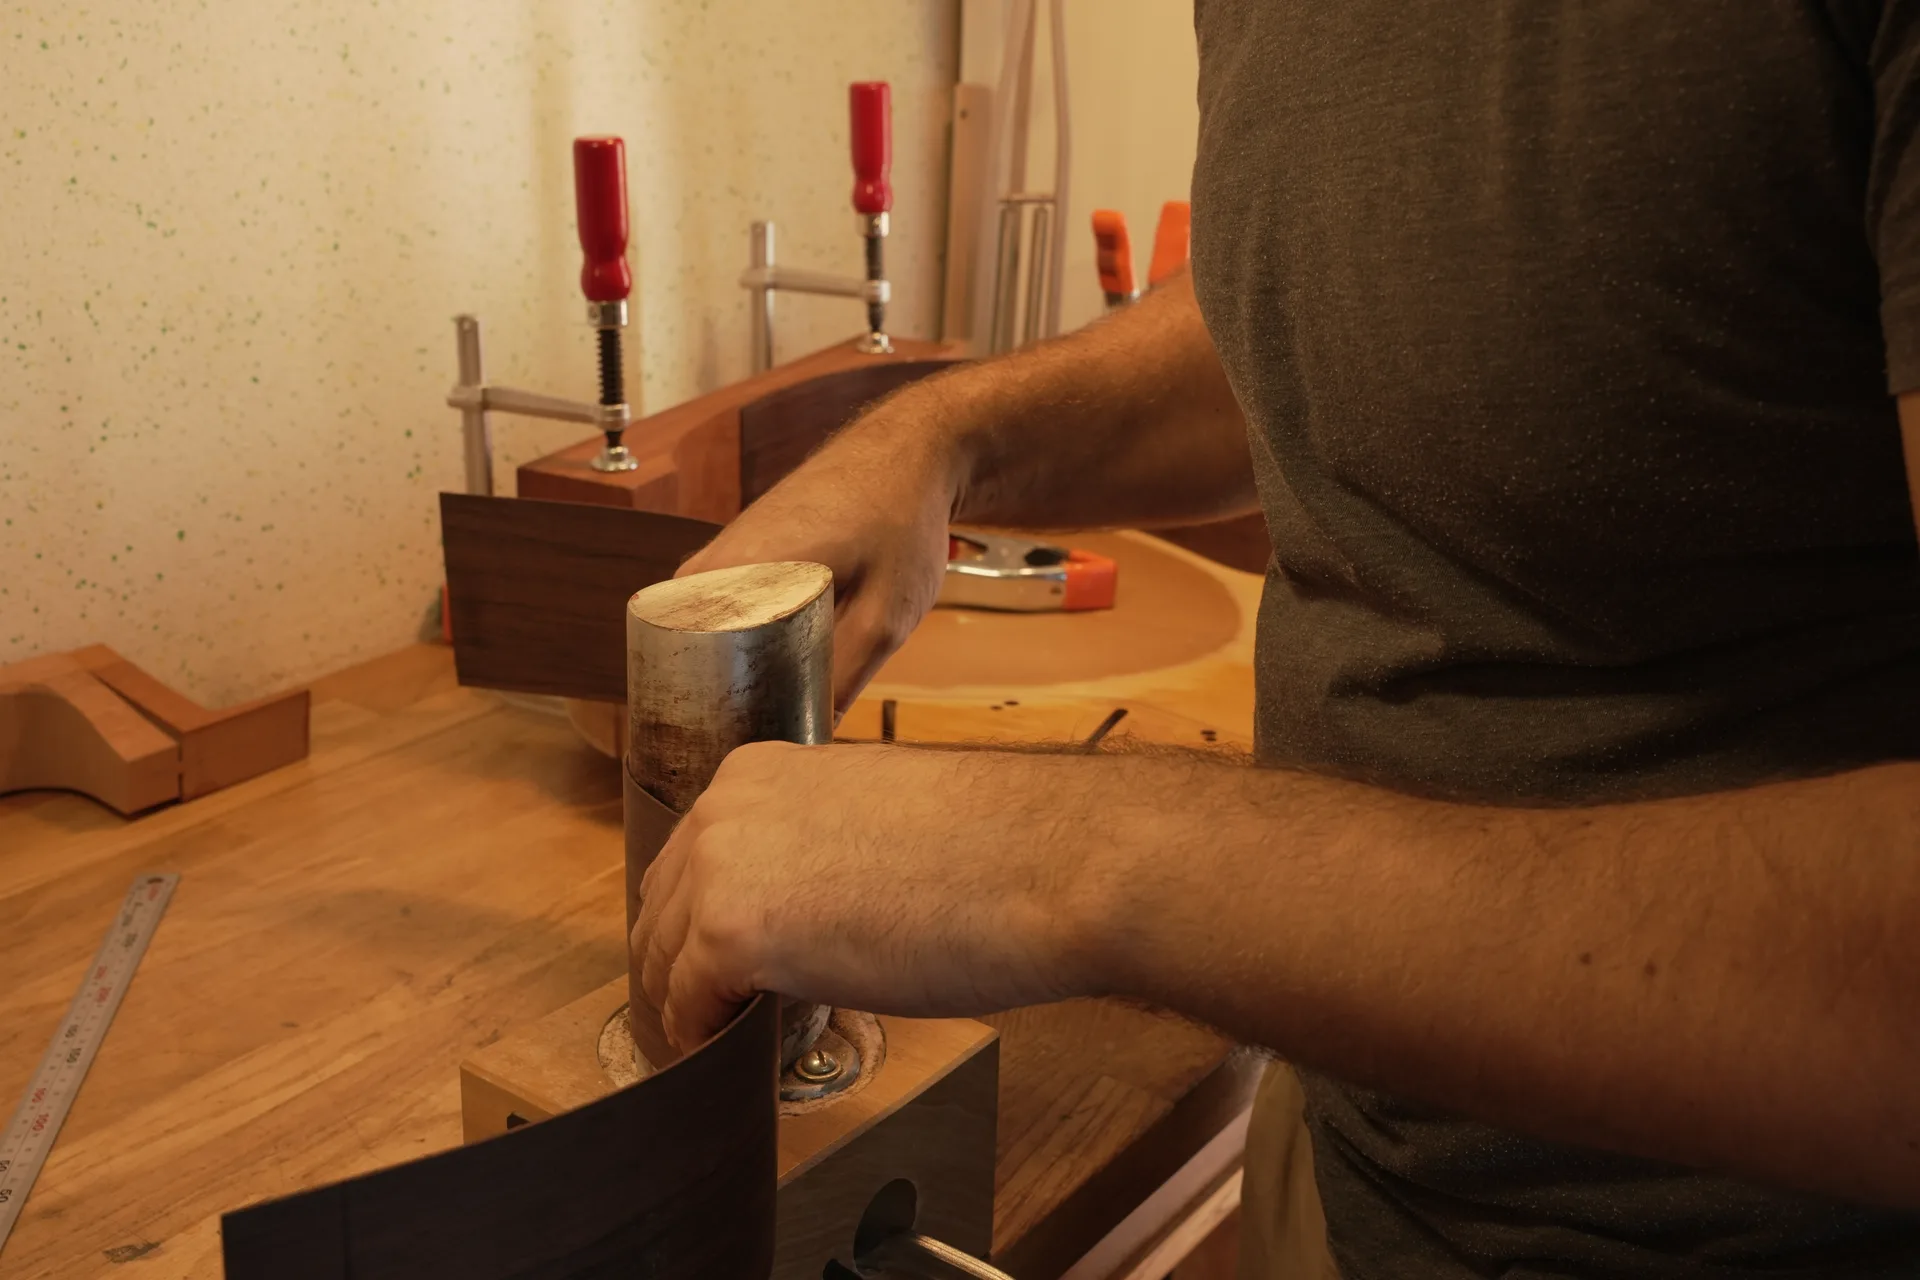
Bent wood tends to return to its original shape. Before the final fitting of the sides, their curvature is refined using a bending iron.
Step 6
The sides are installed one by one onto the assembly board, precisely positioned, marked, and cut to the required length.
Step 7
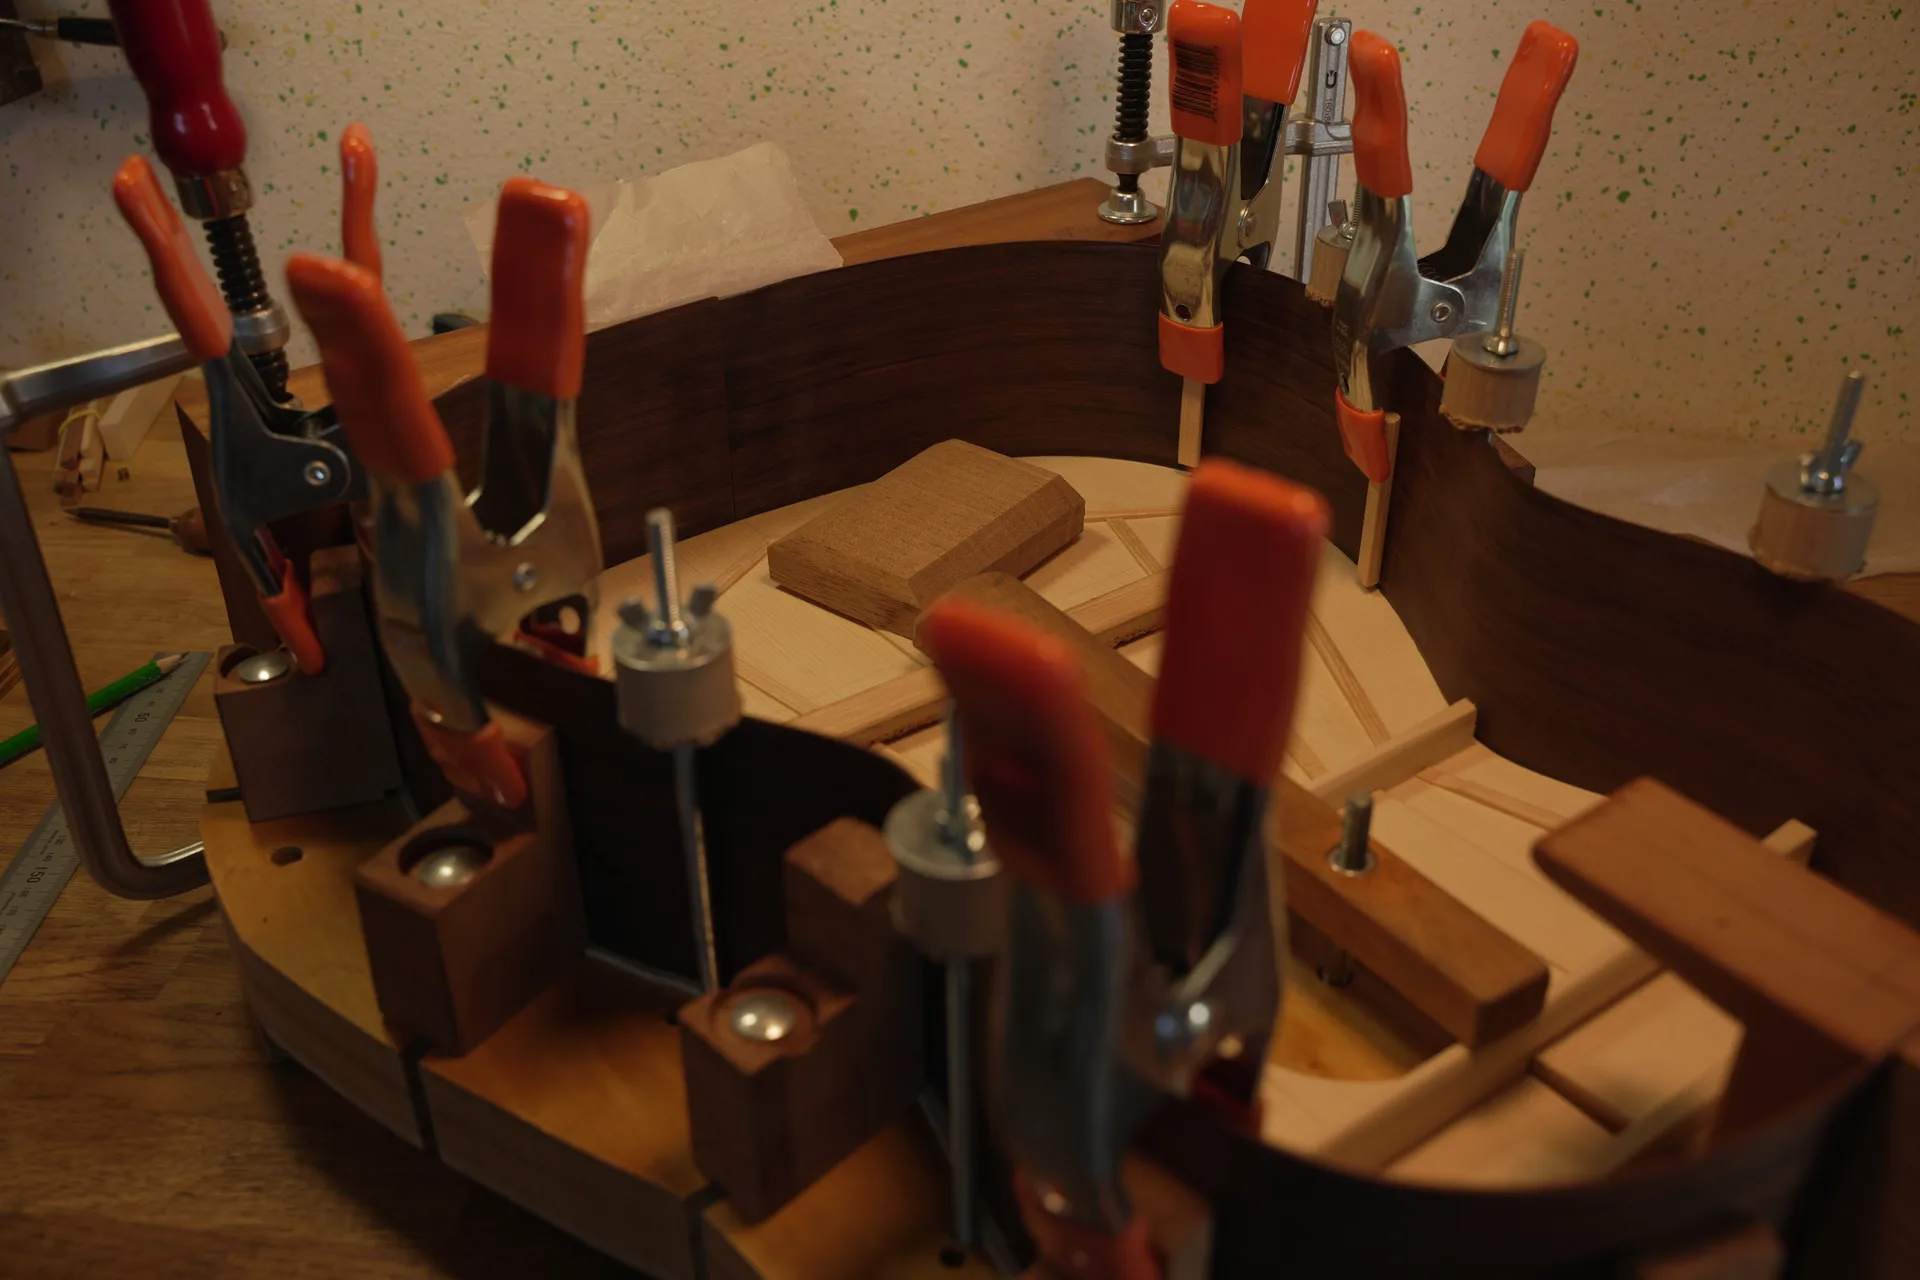
The edge of the first side is glued and fixed in place using clamps.
Step 8
The second side is glued in the same way. Being attached to the soundboard prevents movement when the lining blocks are glued.
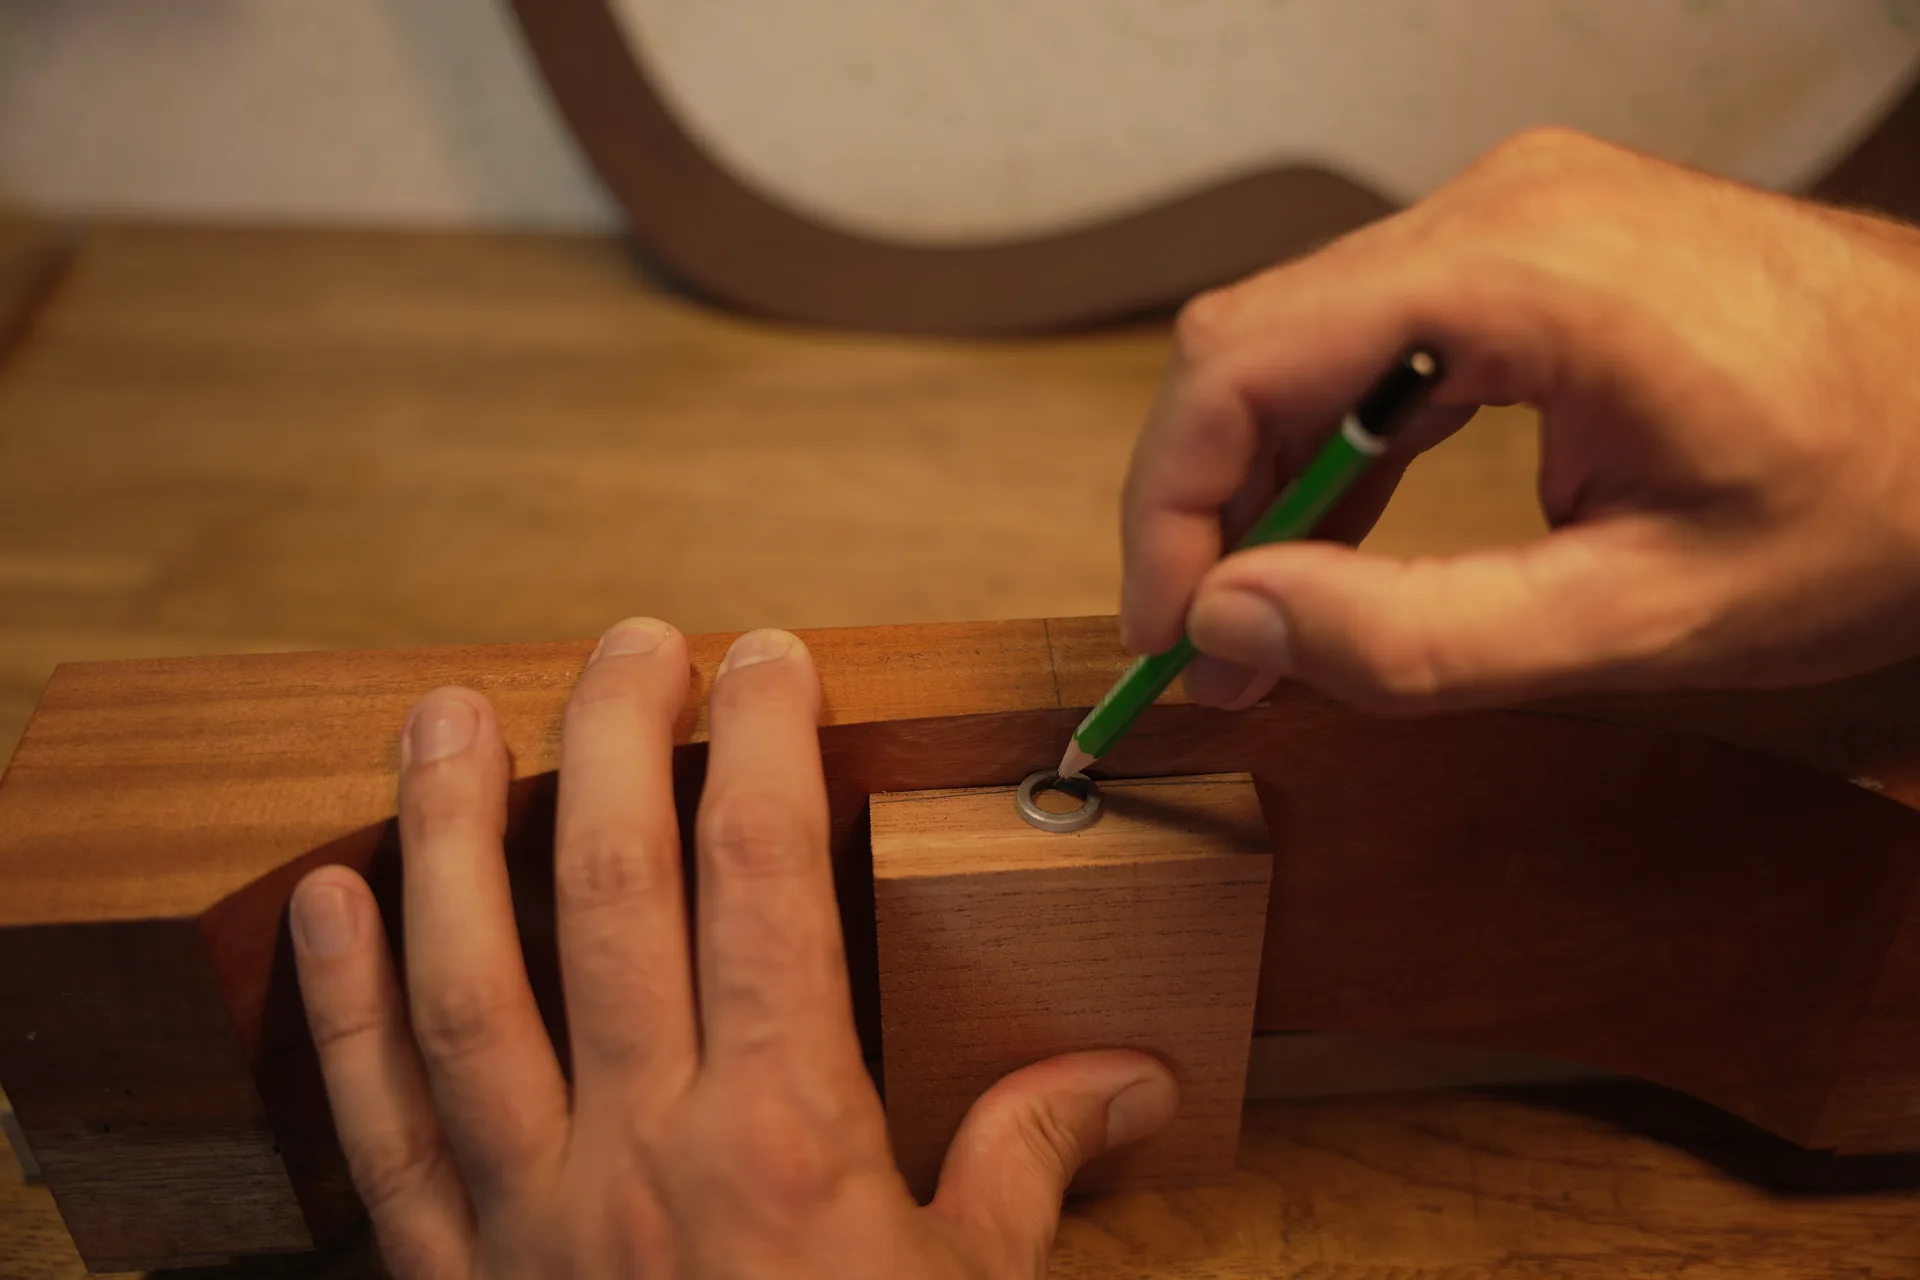
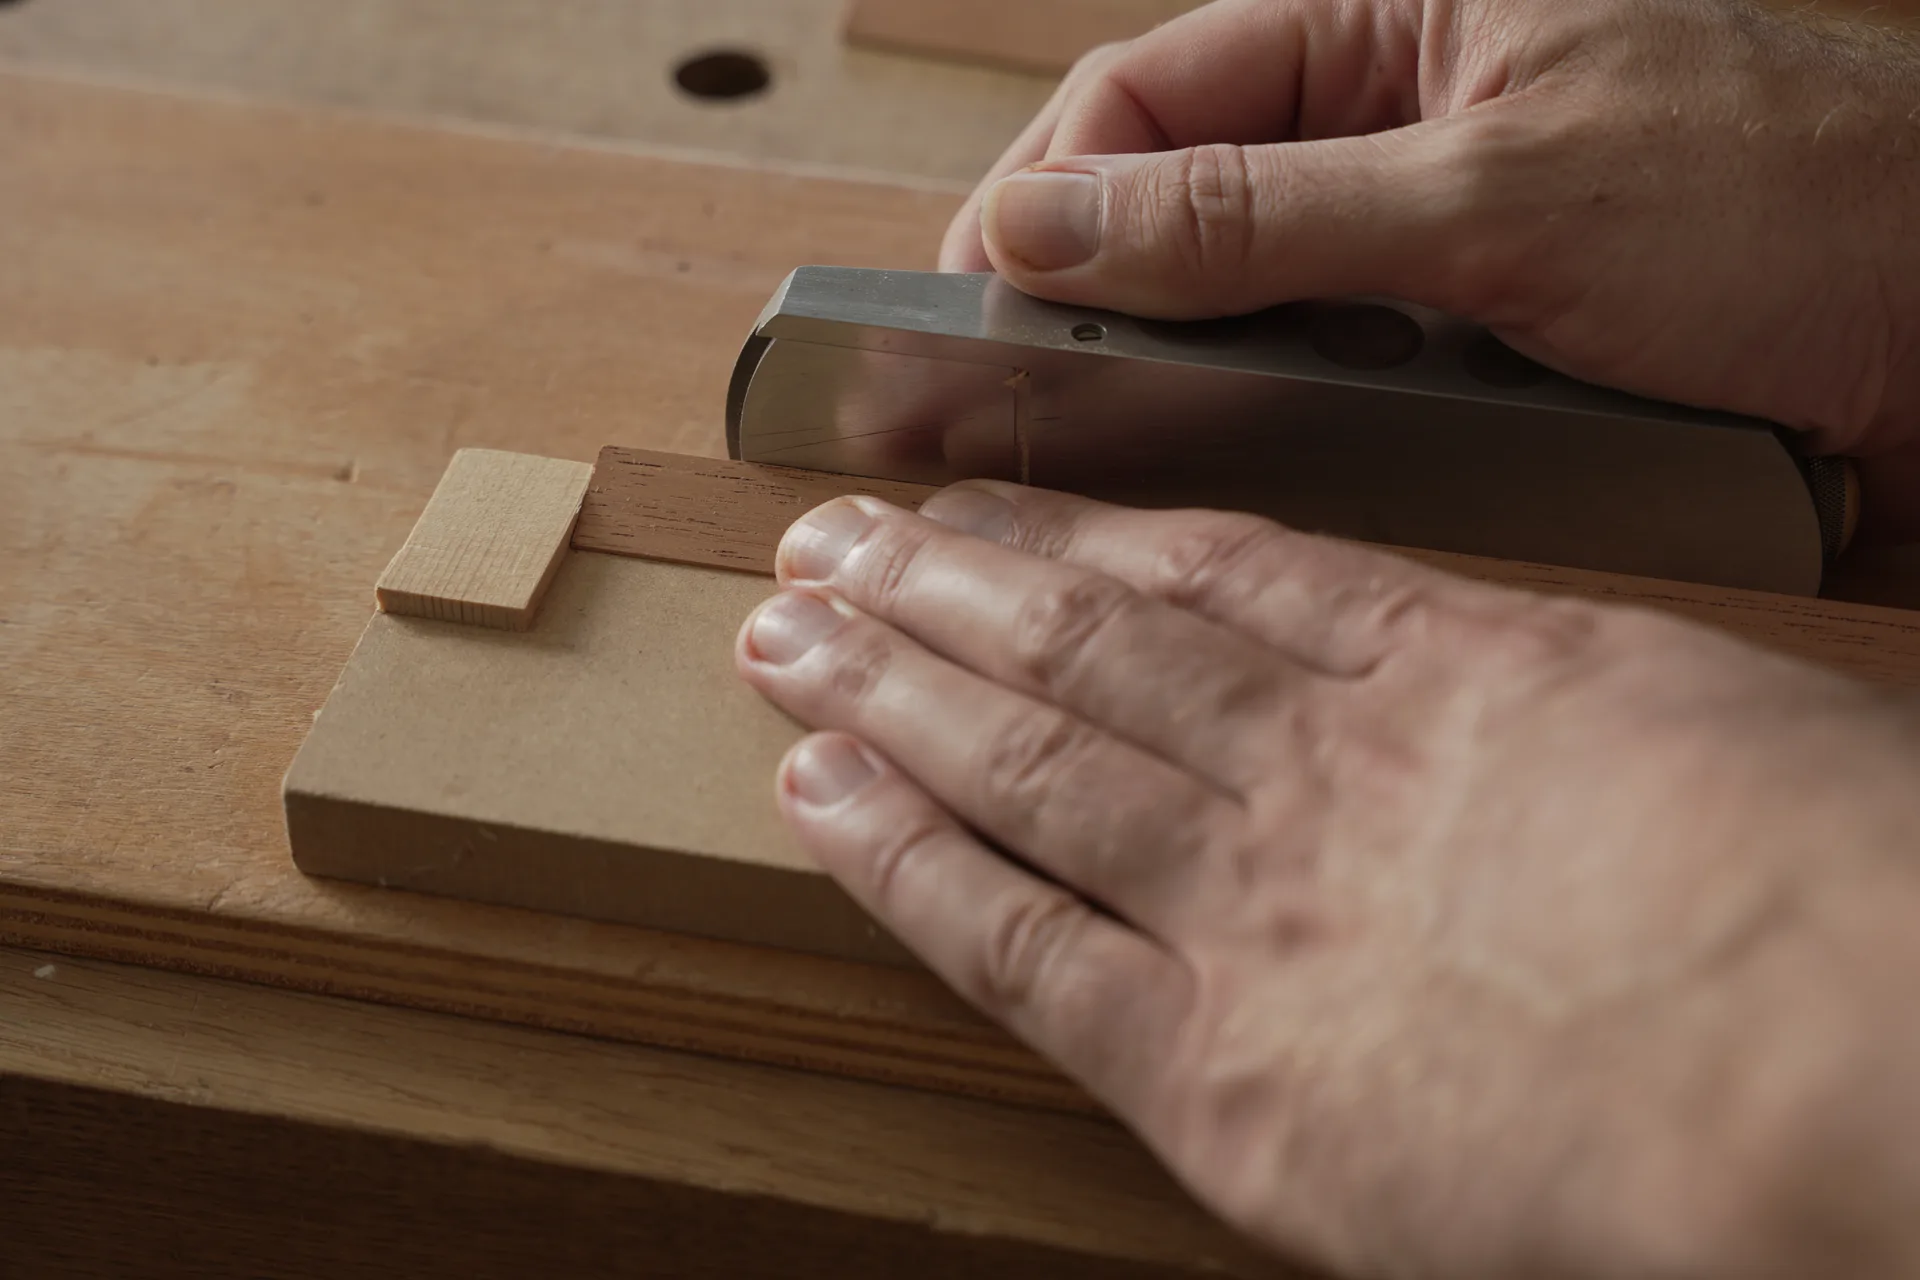
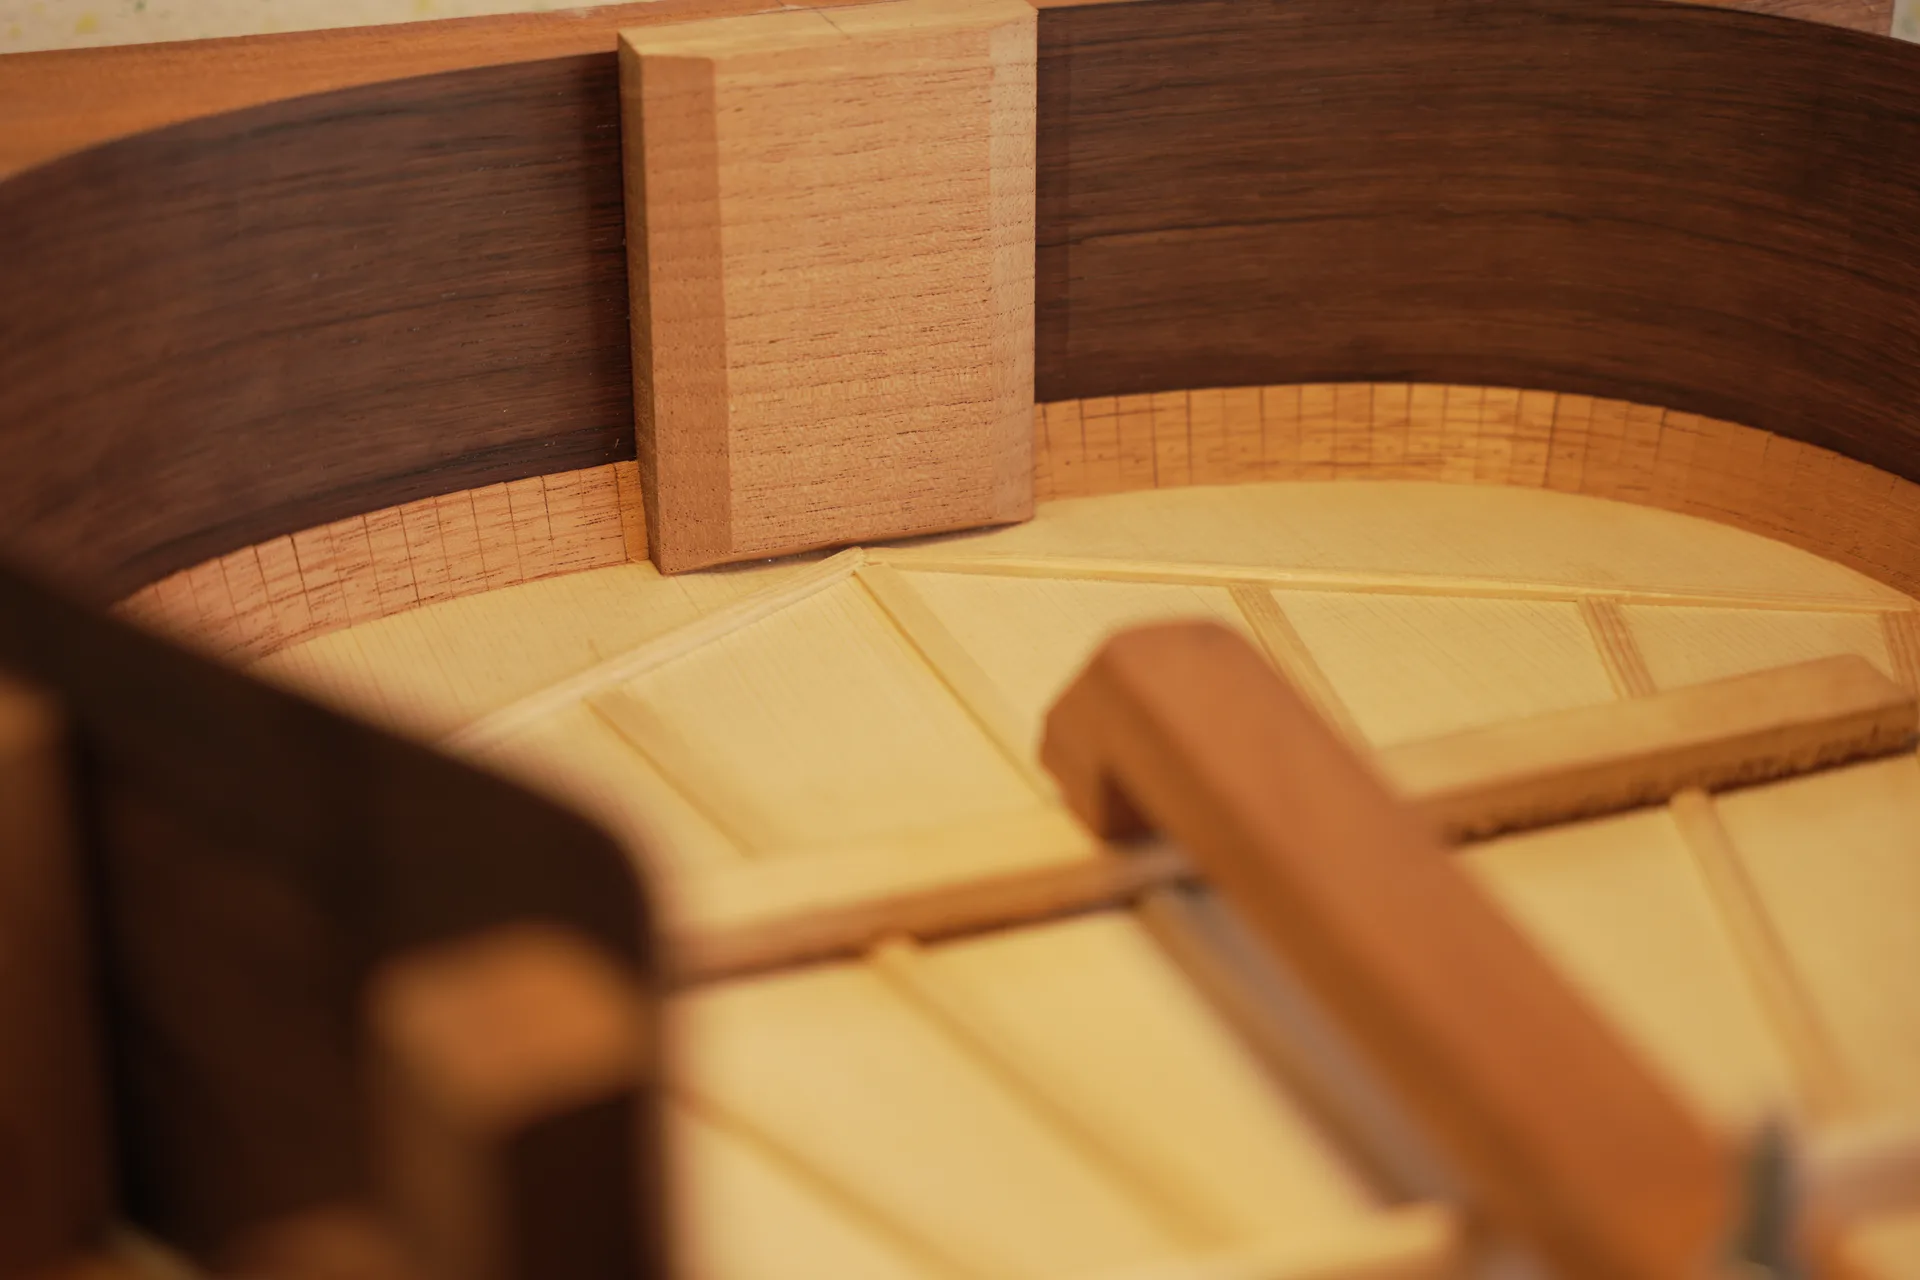
Step 9
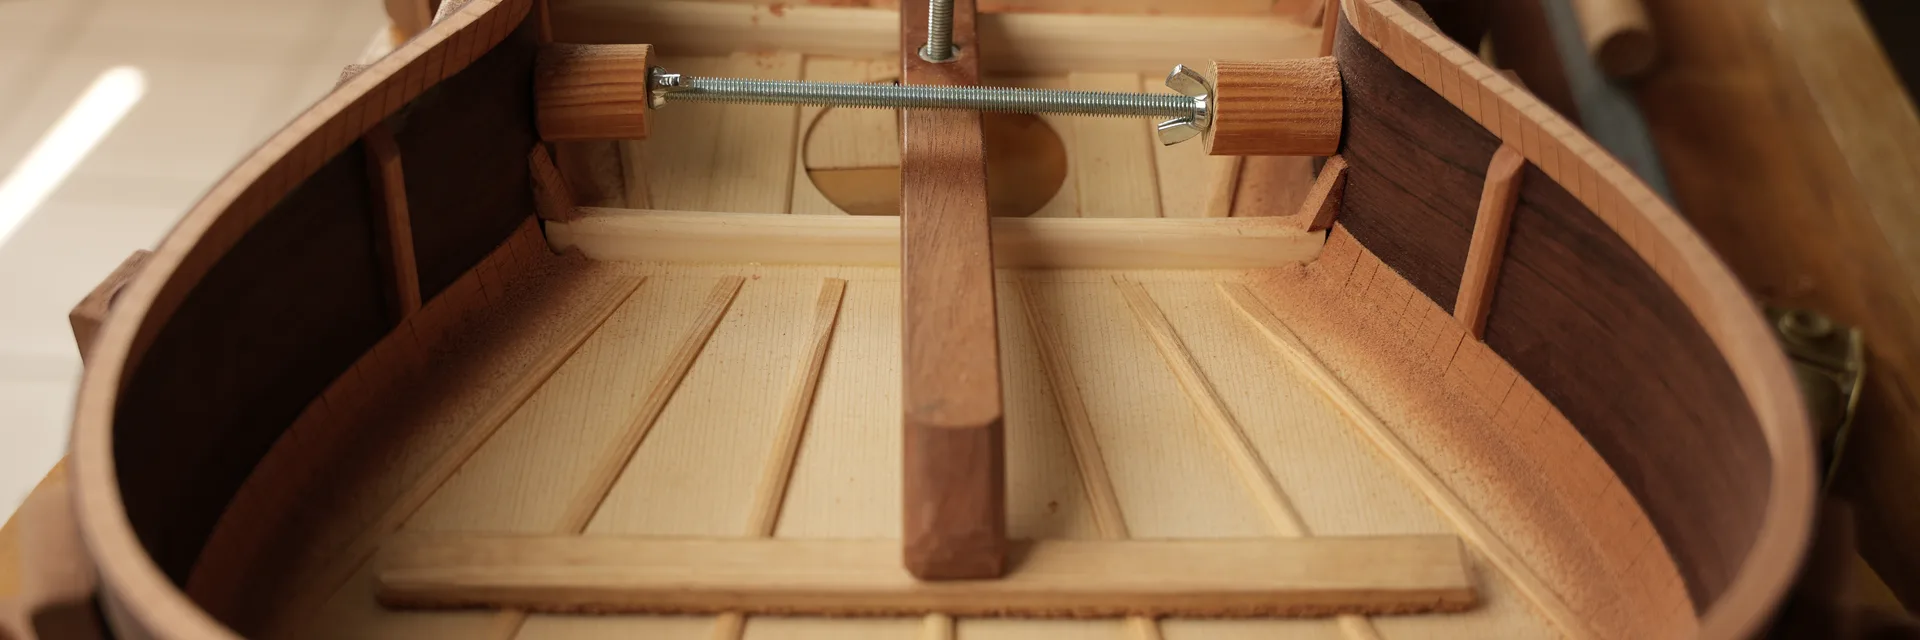
The joint between the two sides is reinforced with a cedar block shaped to match the guitar outline. Using a washer and the mould, the shape is transferred and refined with a plane.
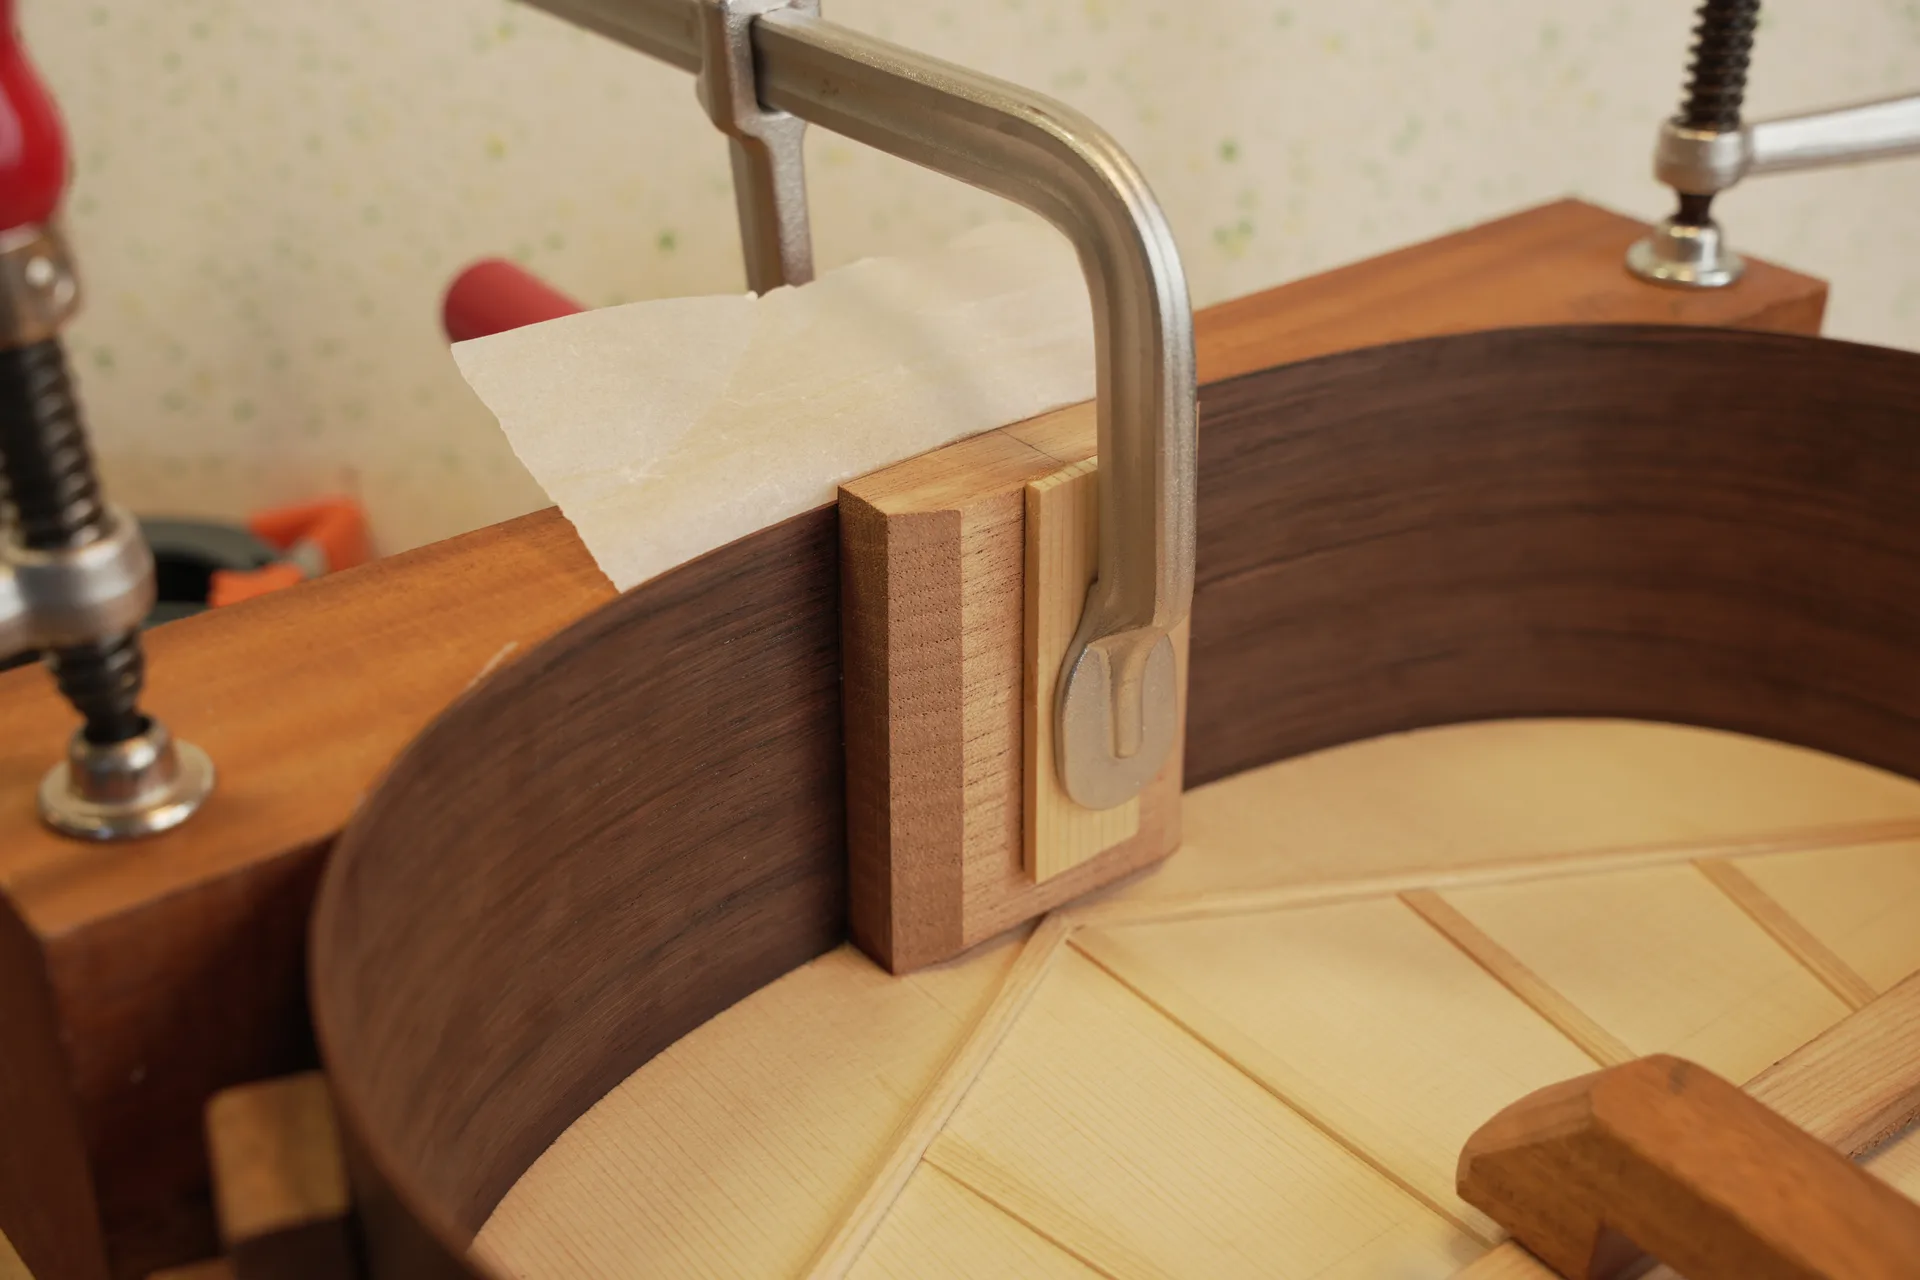
Step 10
The block is glued in place. The face toward the soundboard must be shaped with an open angle to match the dome of the top.
Step 11
The same adjustment is made for the linings, which will be cut into individual blocks in the next step.
Step 12
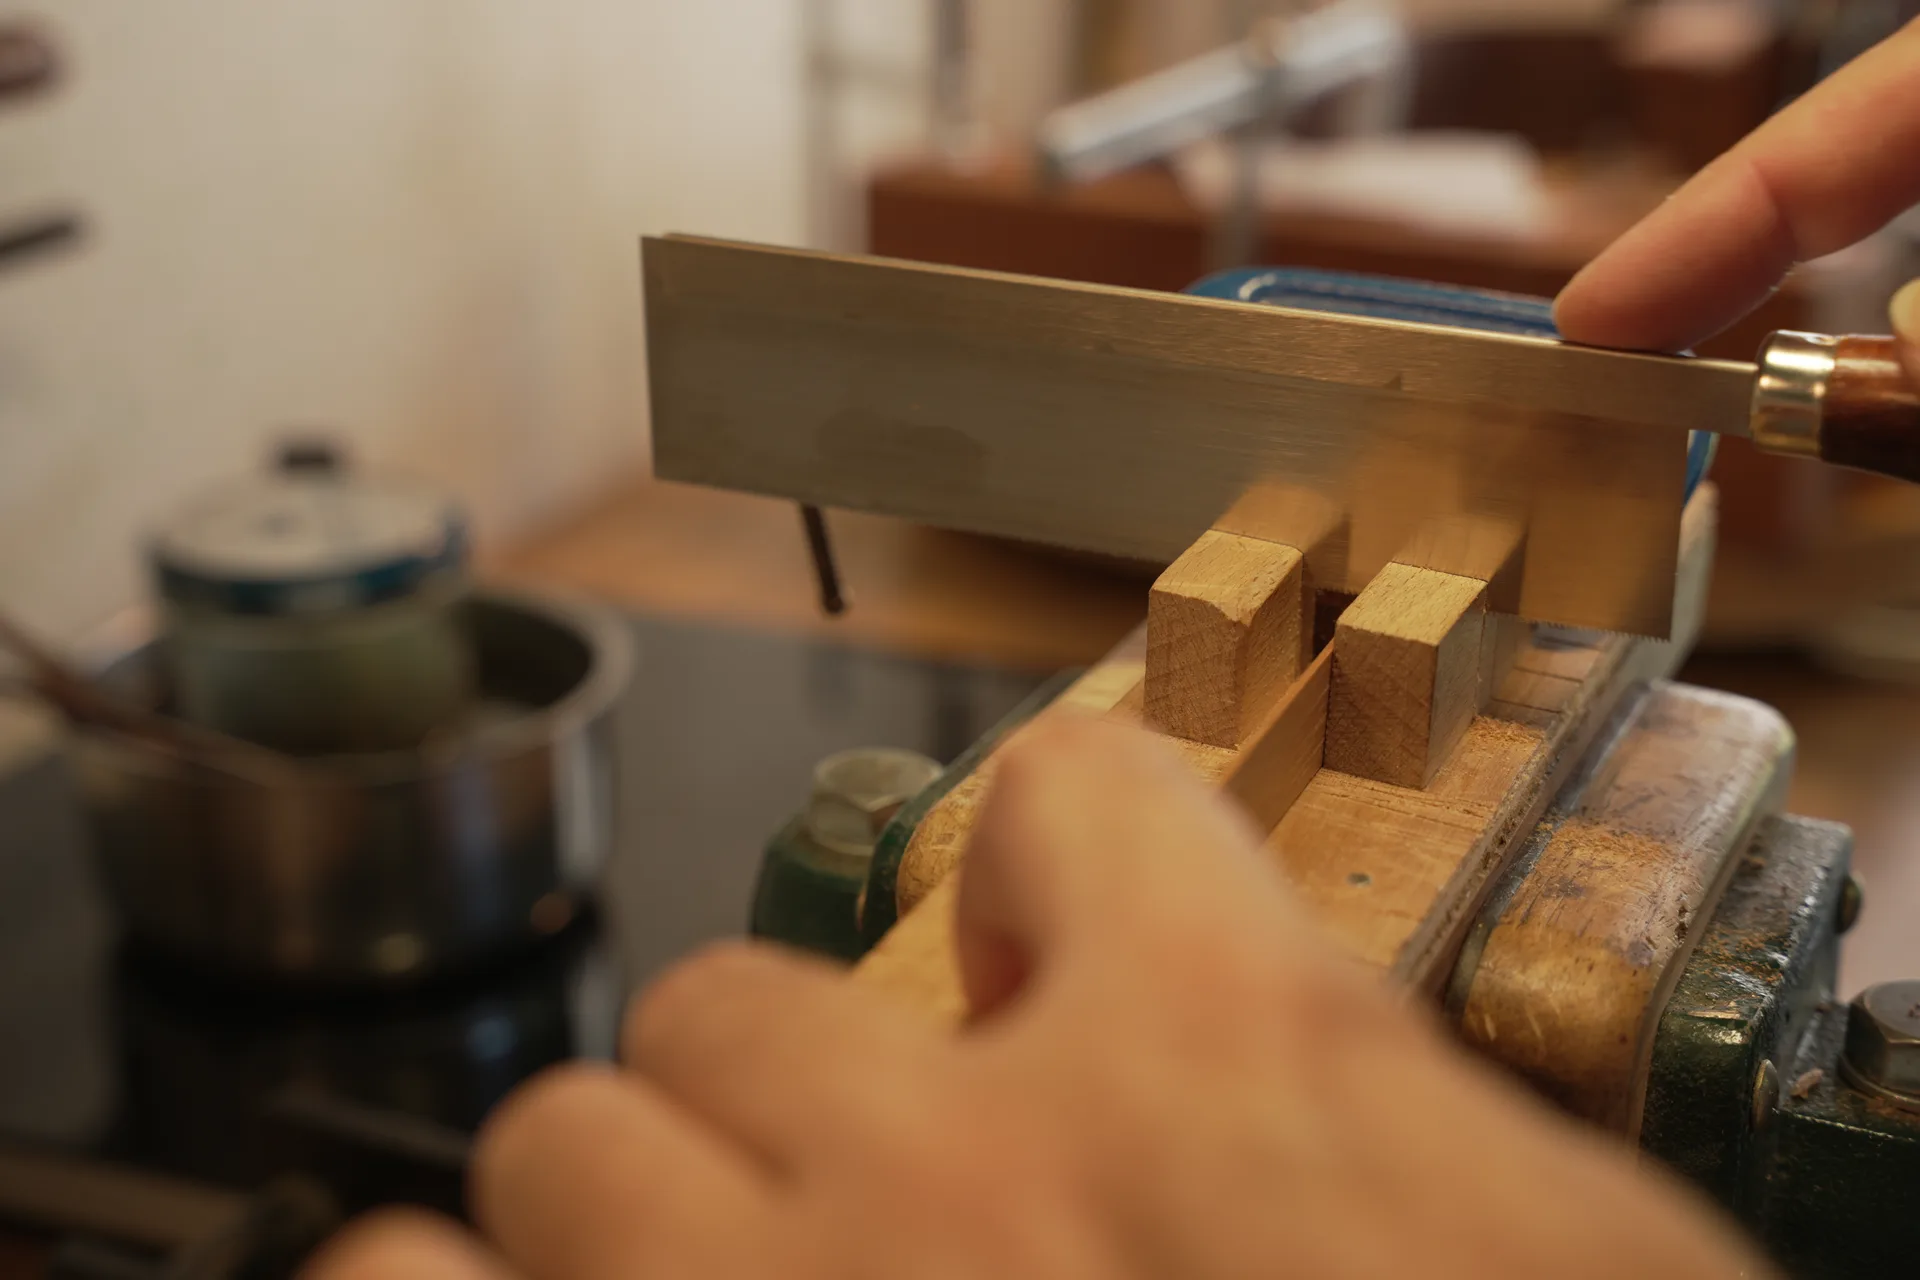
A simple mitre box is used to cut the blocks one by one.
Step 13
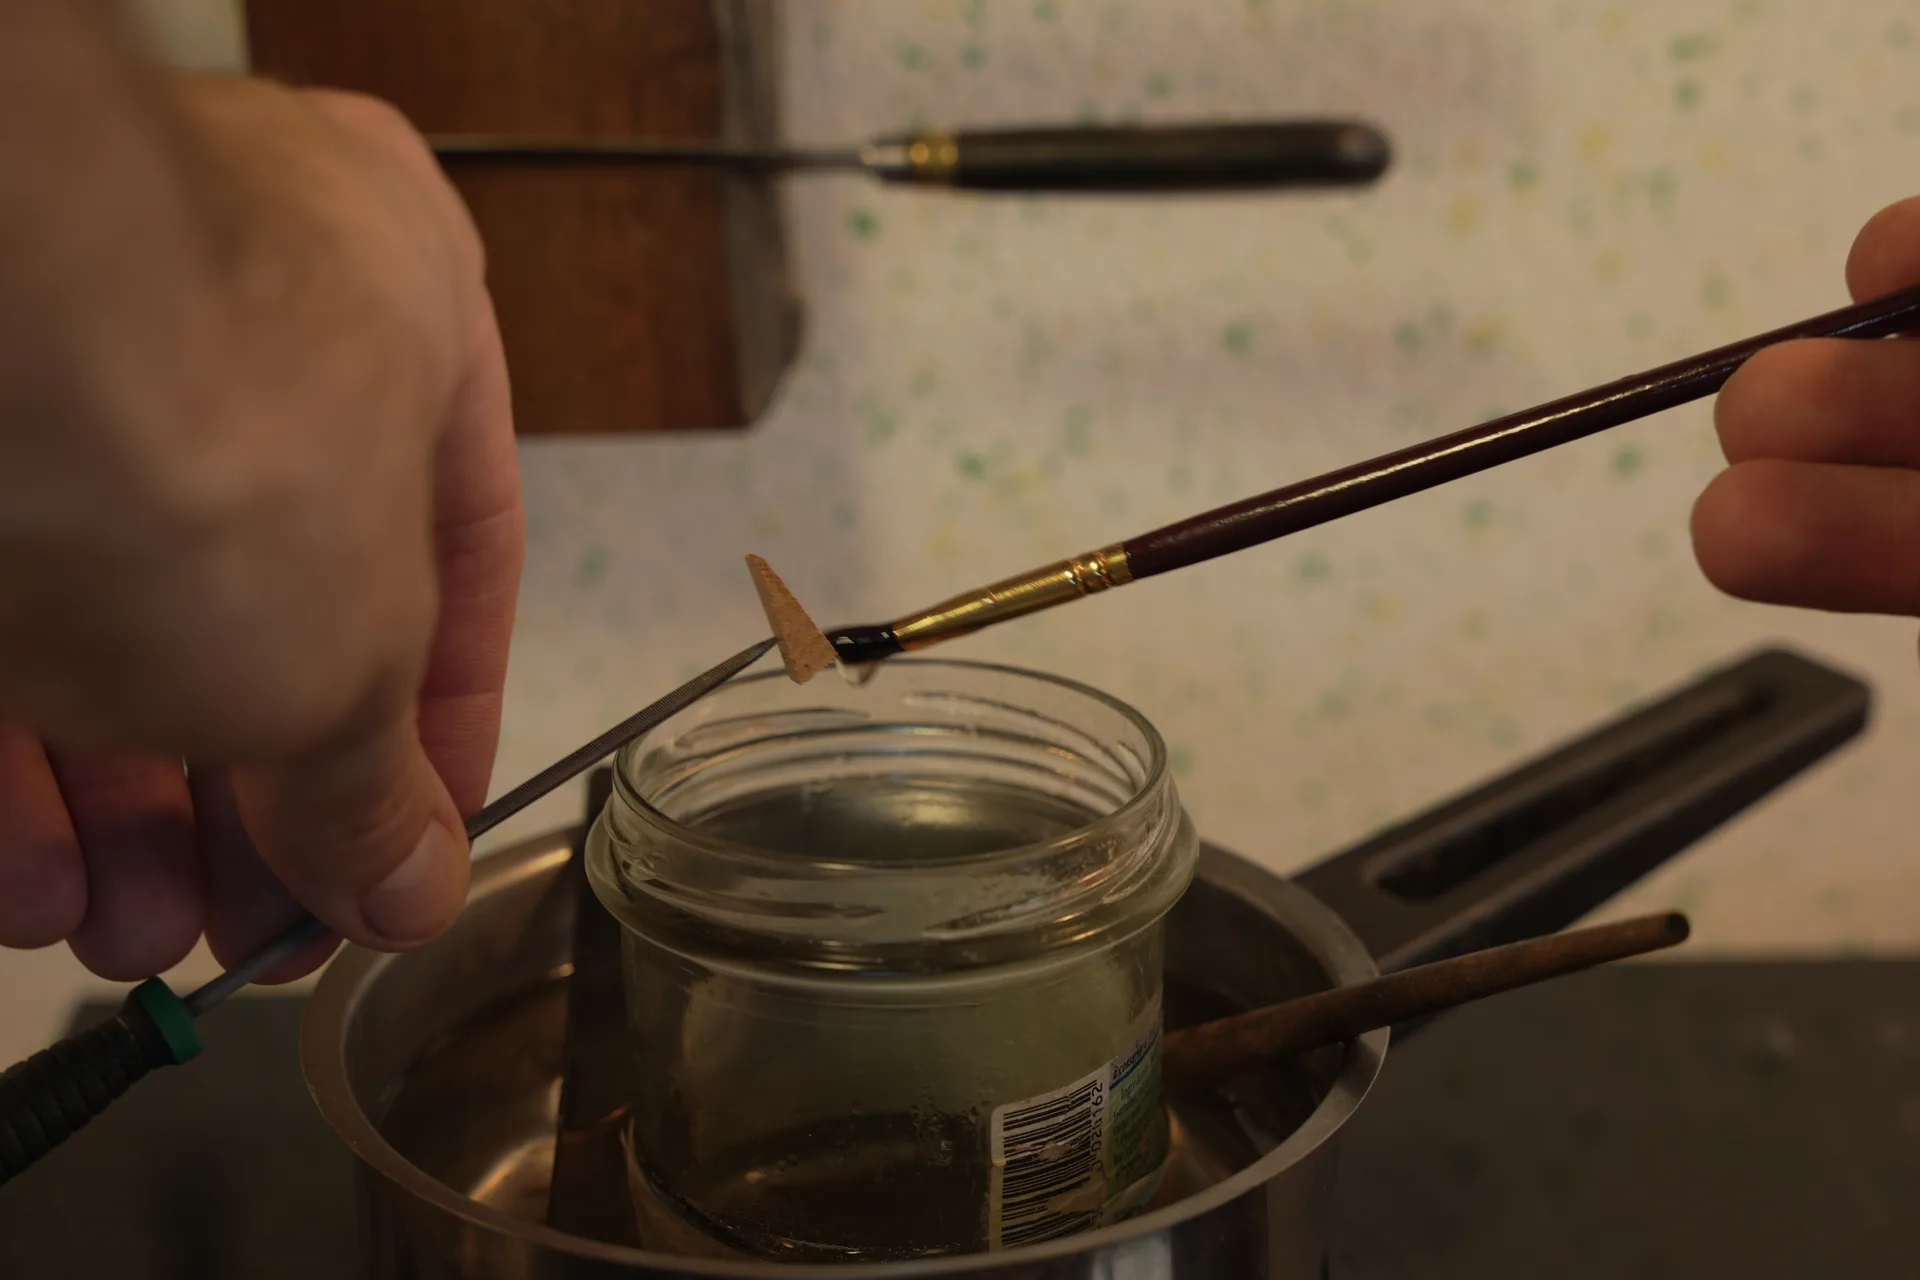
A small pointed tool is used to handle the blocks during gluing.
Step 14
The blocks are installed and pressed into place. A few seconds are enough, as hot hide glue sets very quickly — a thicker glue works best for this step.
Step 15
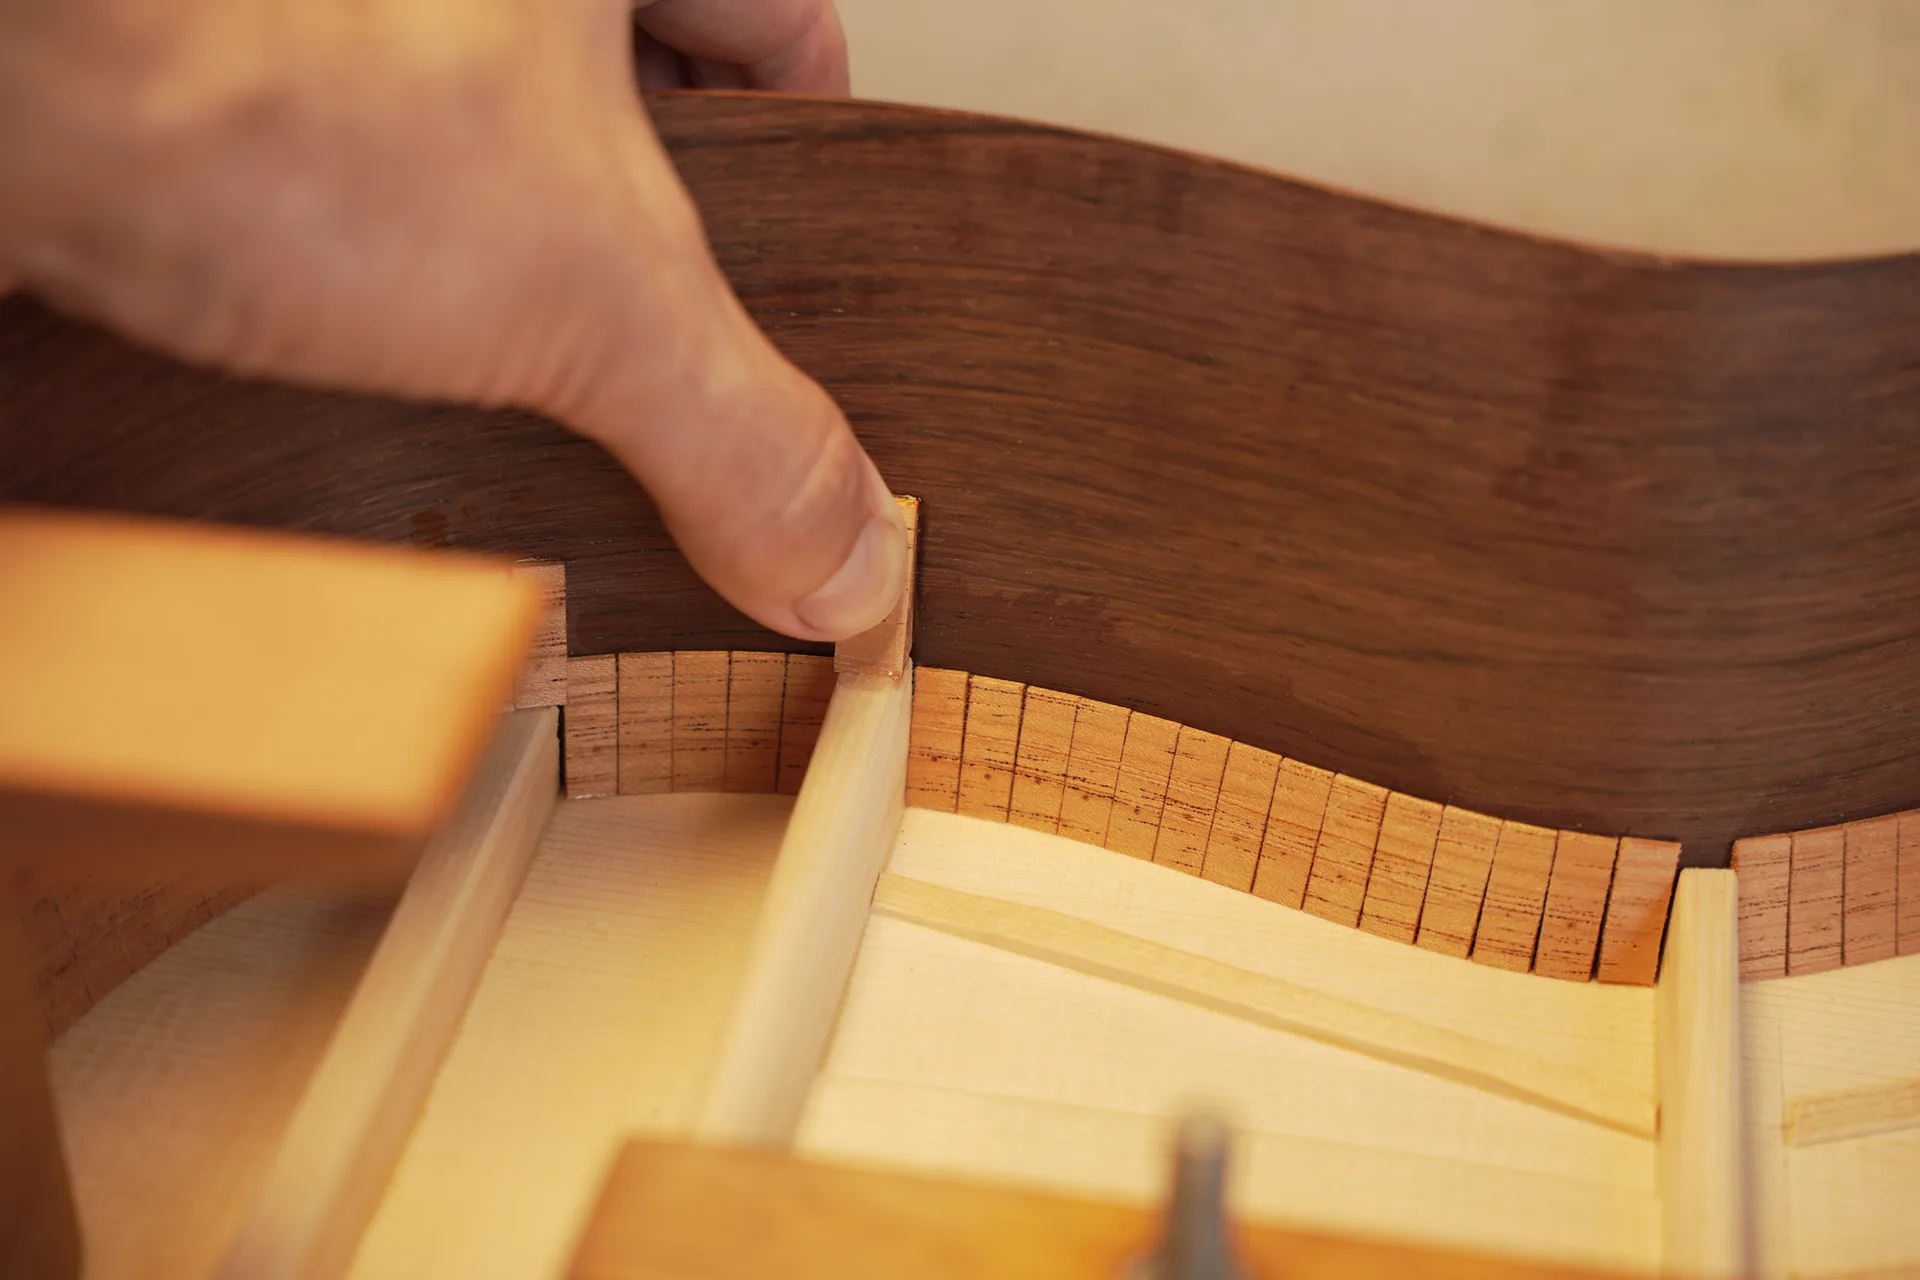
Each piece must be fitted carefully and glued without excessive force.
Step 16
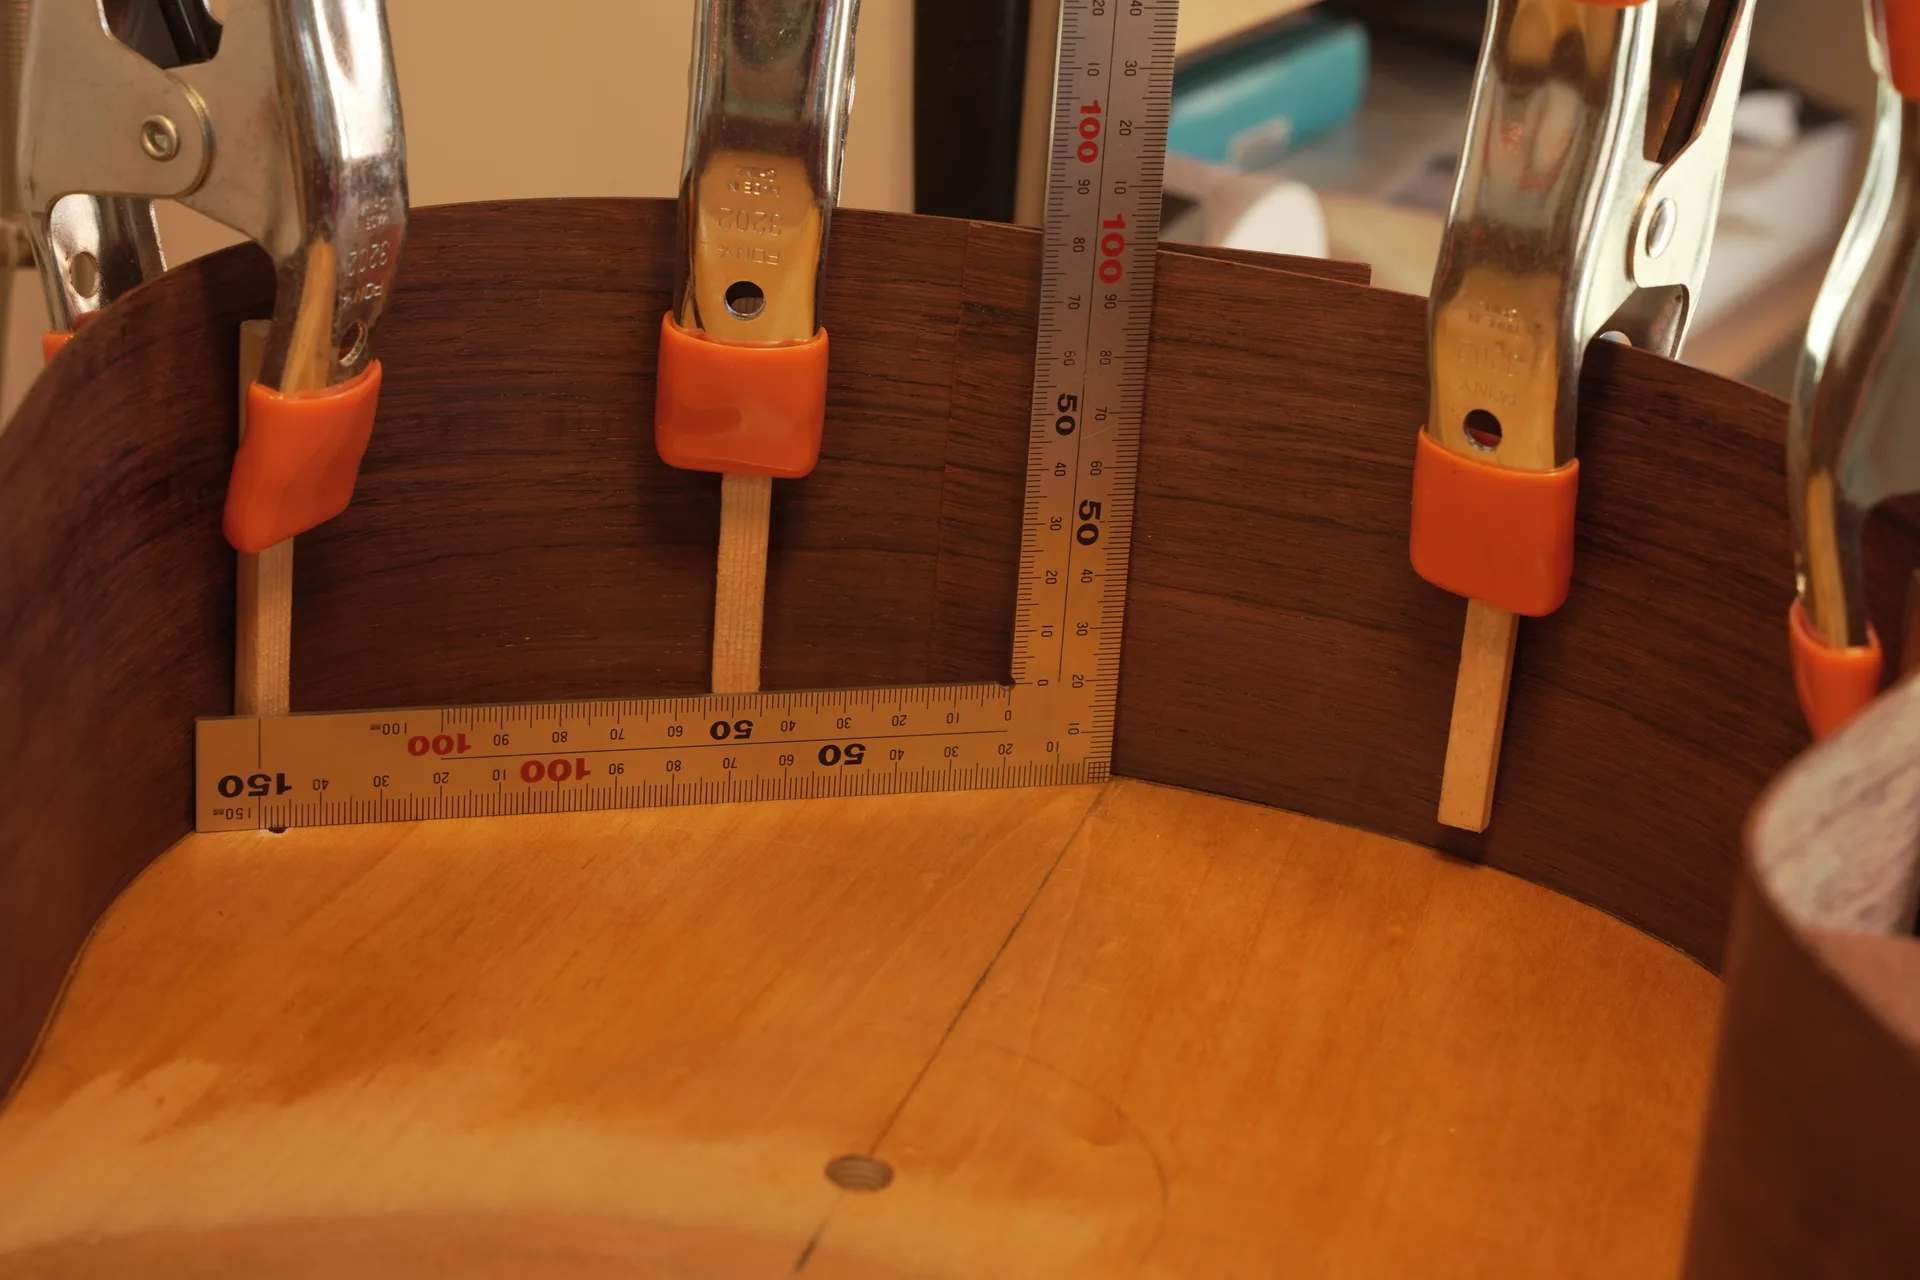
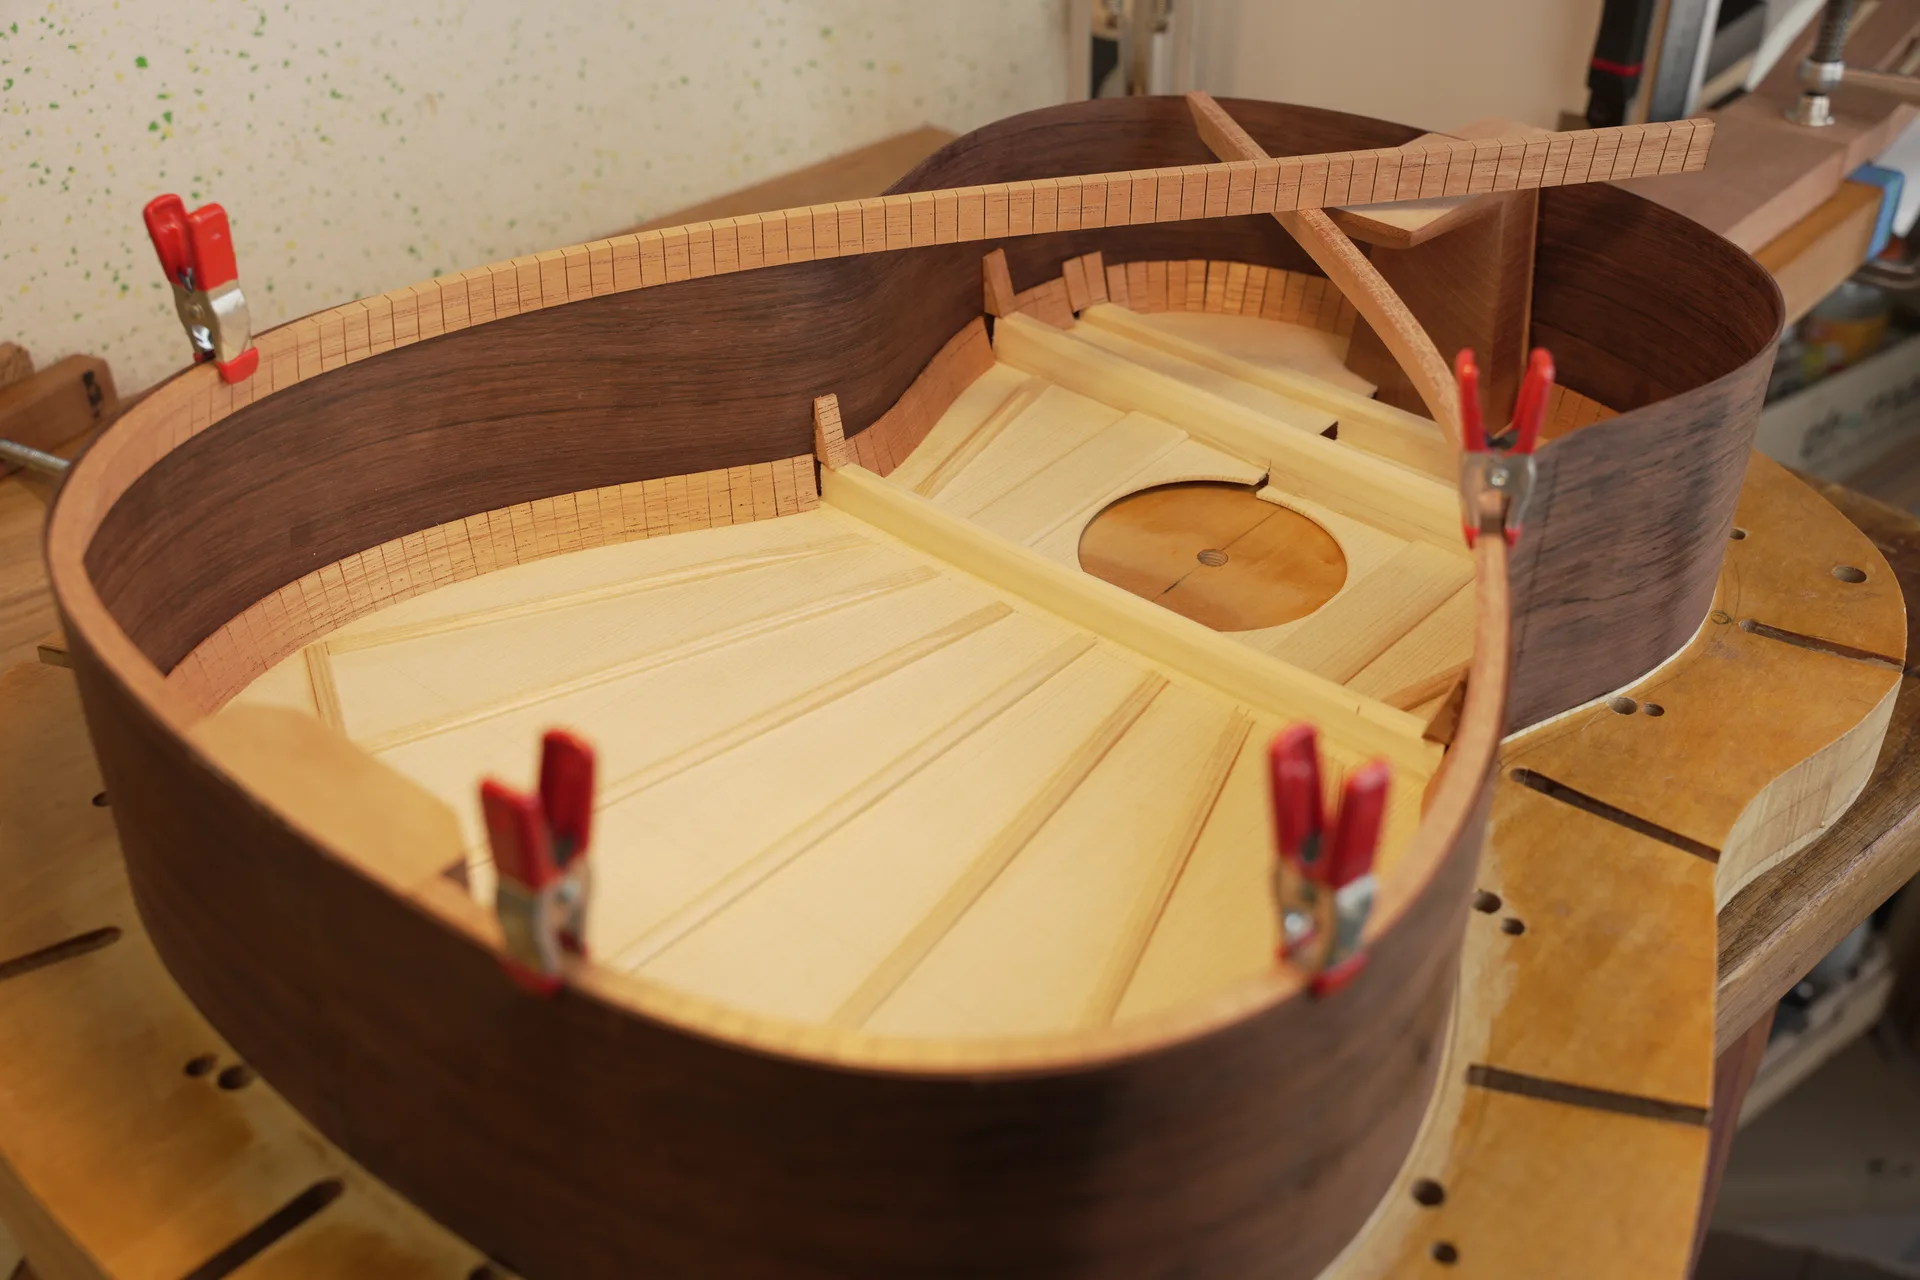
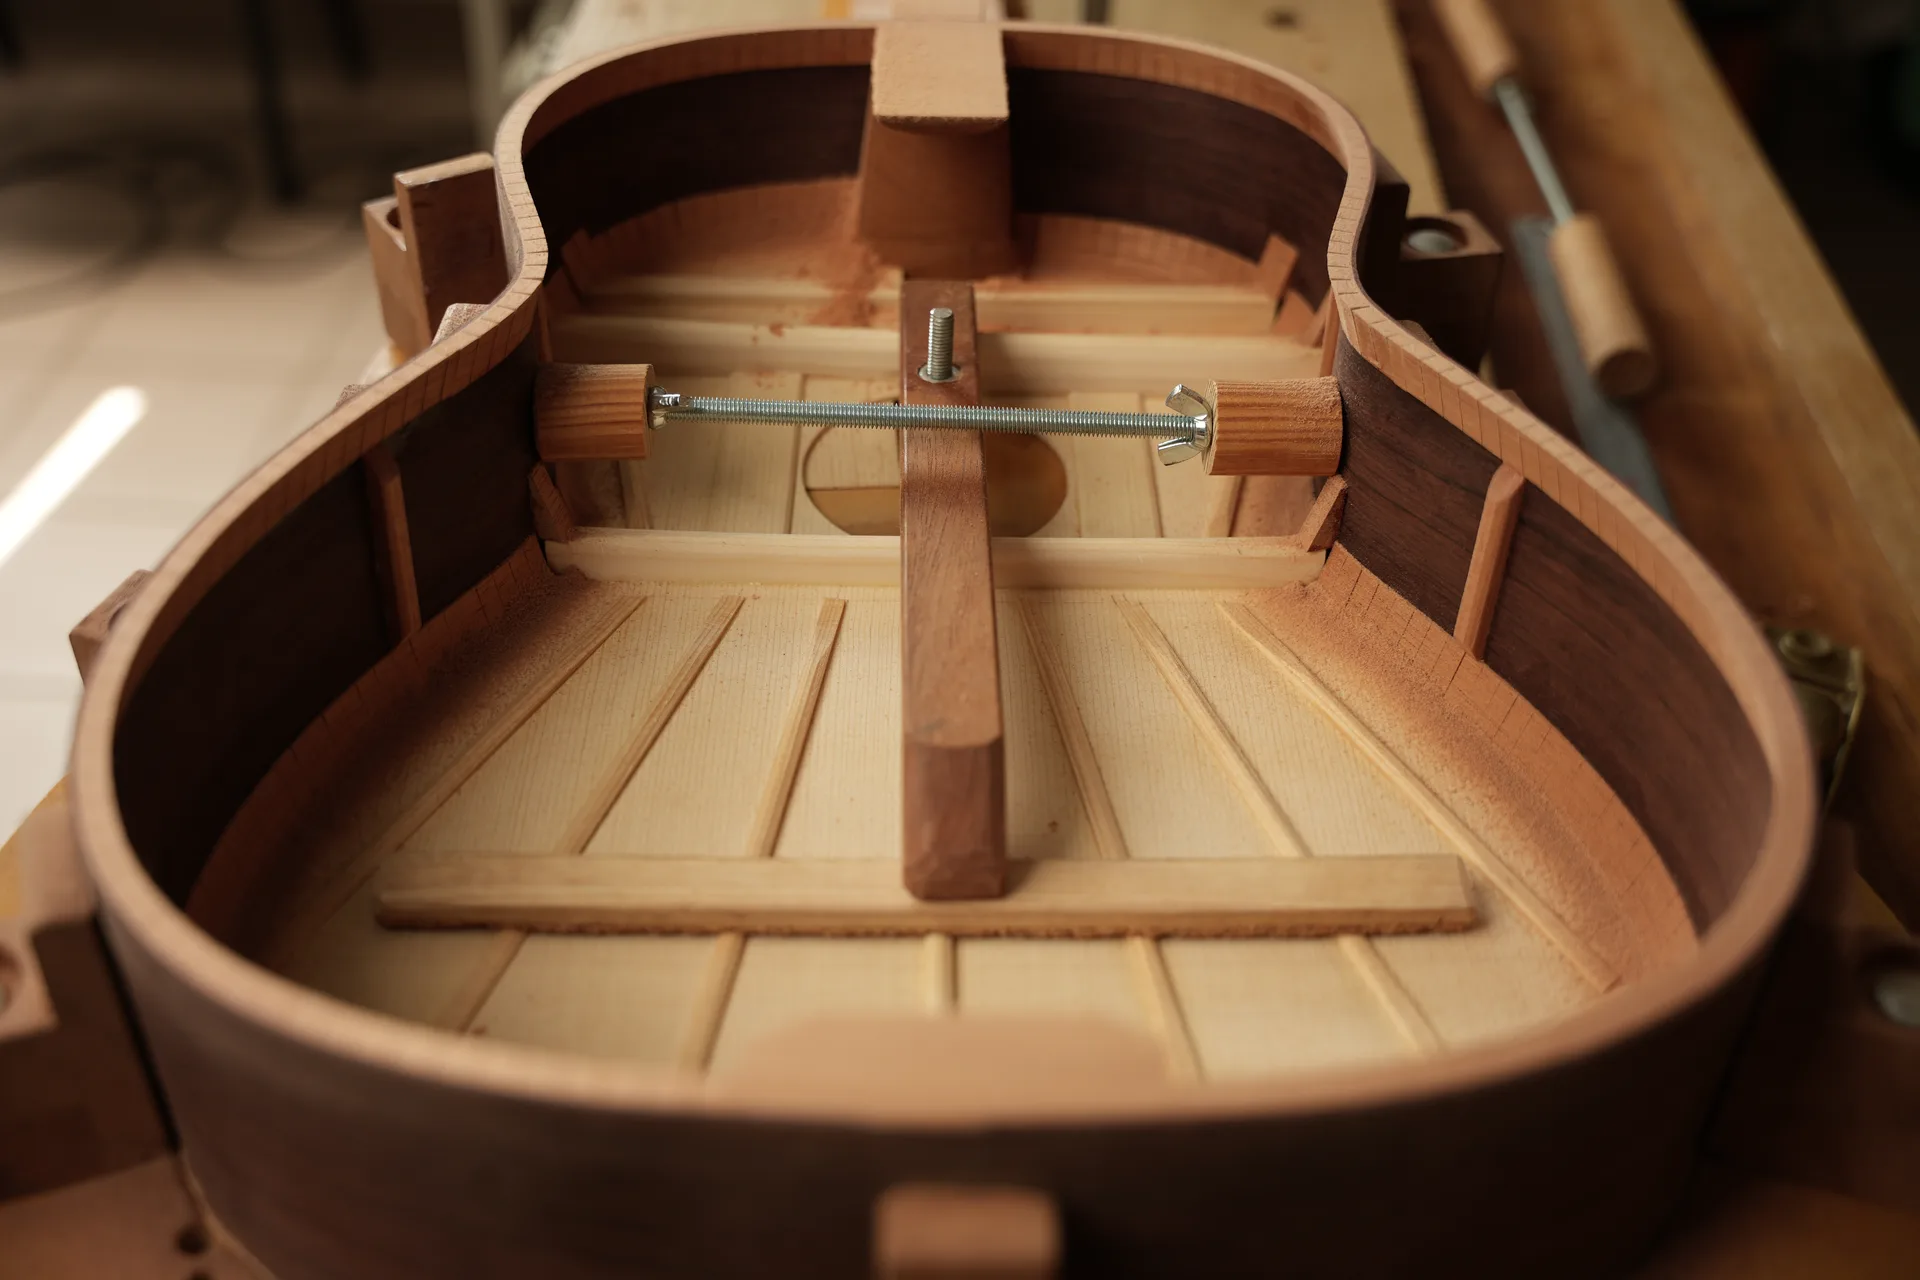
The top braces are anchored to the sides with small blocks.
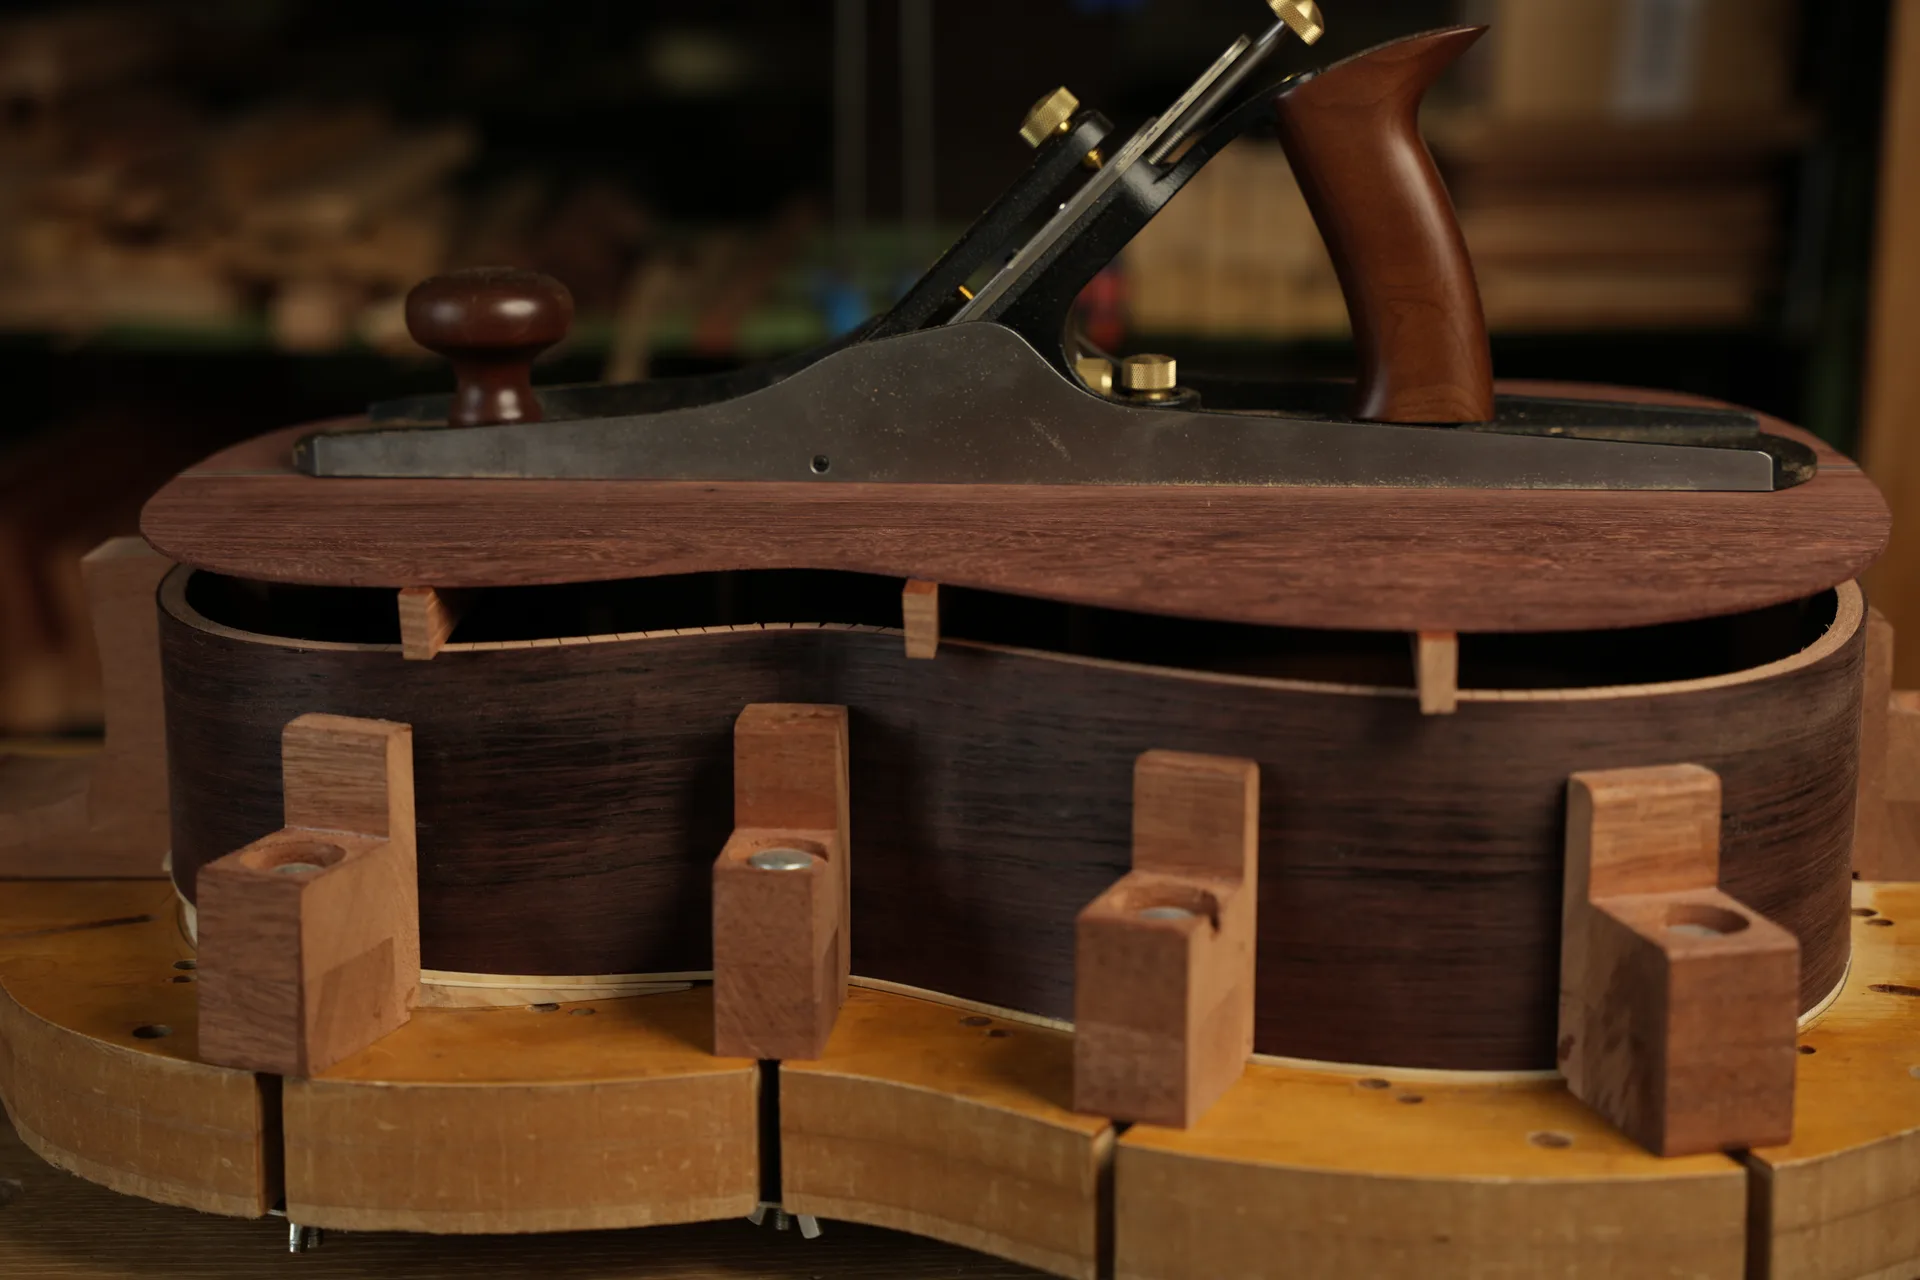
Step 17
After shaping the sides with a small plane, the linings are glued in place. Like the individual blocks, they reinforce the joint between the sides and the back, and provide material for installing the binding.
Step 18
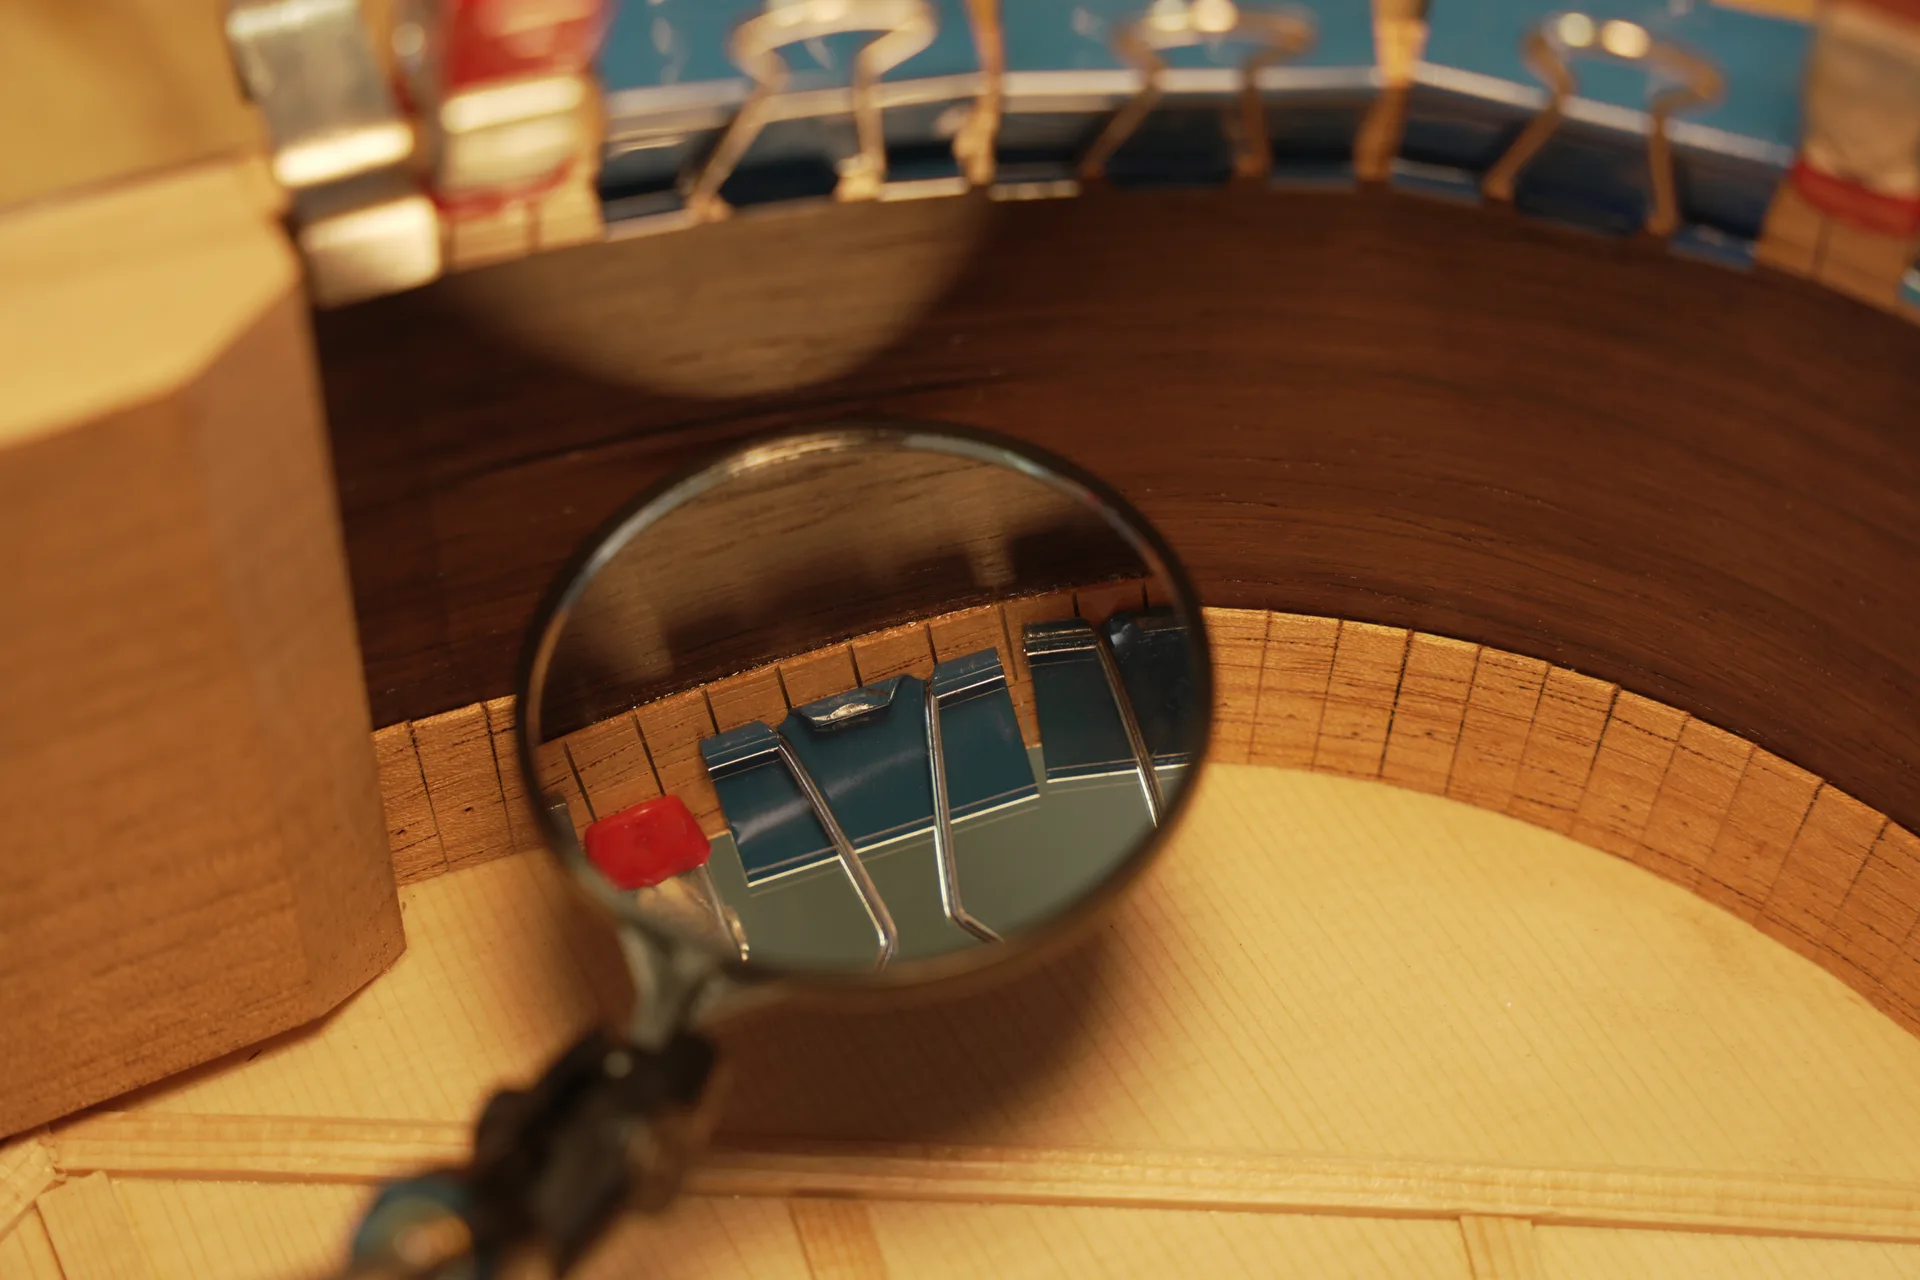
Binder clips conform well to the shape, and the metal helps transfer heat to keep the glue warm. The quality of the glue joints is checked using a mirror.
Step 19
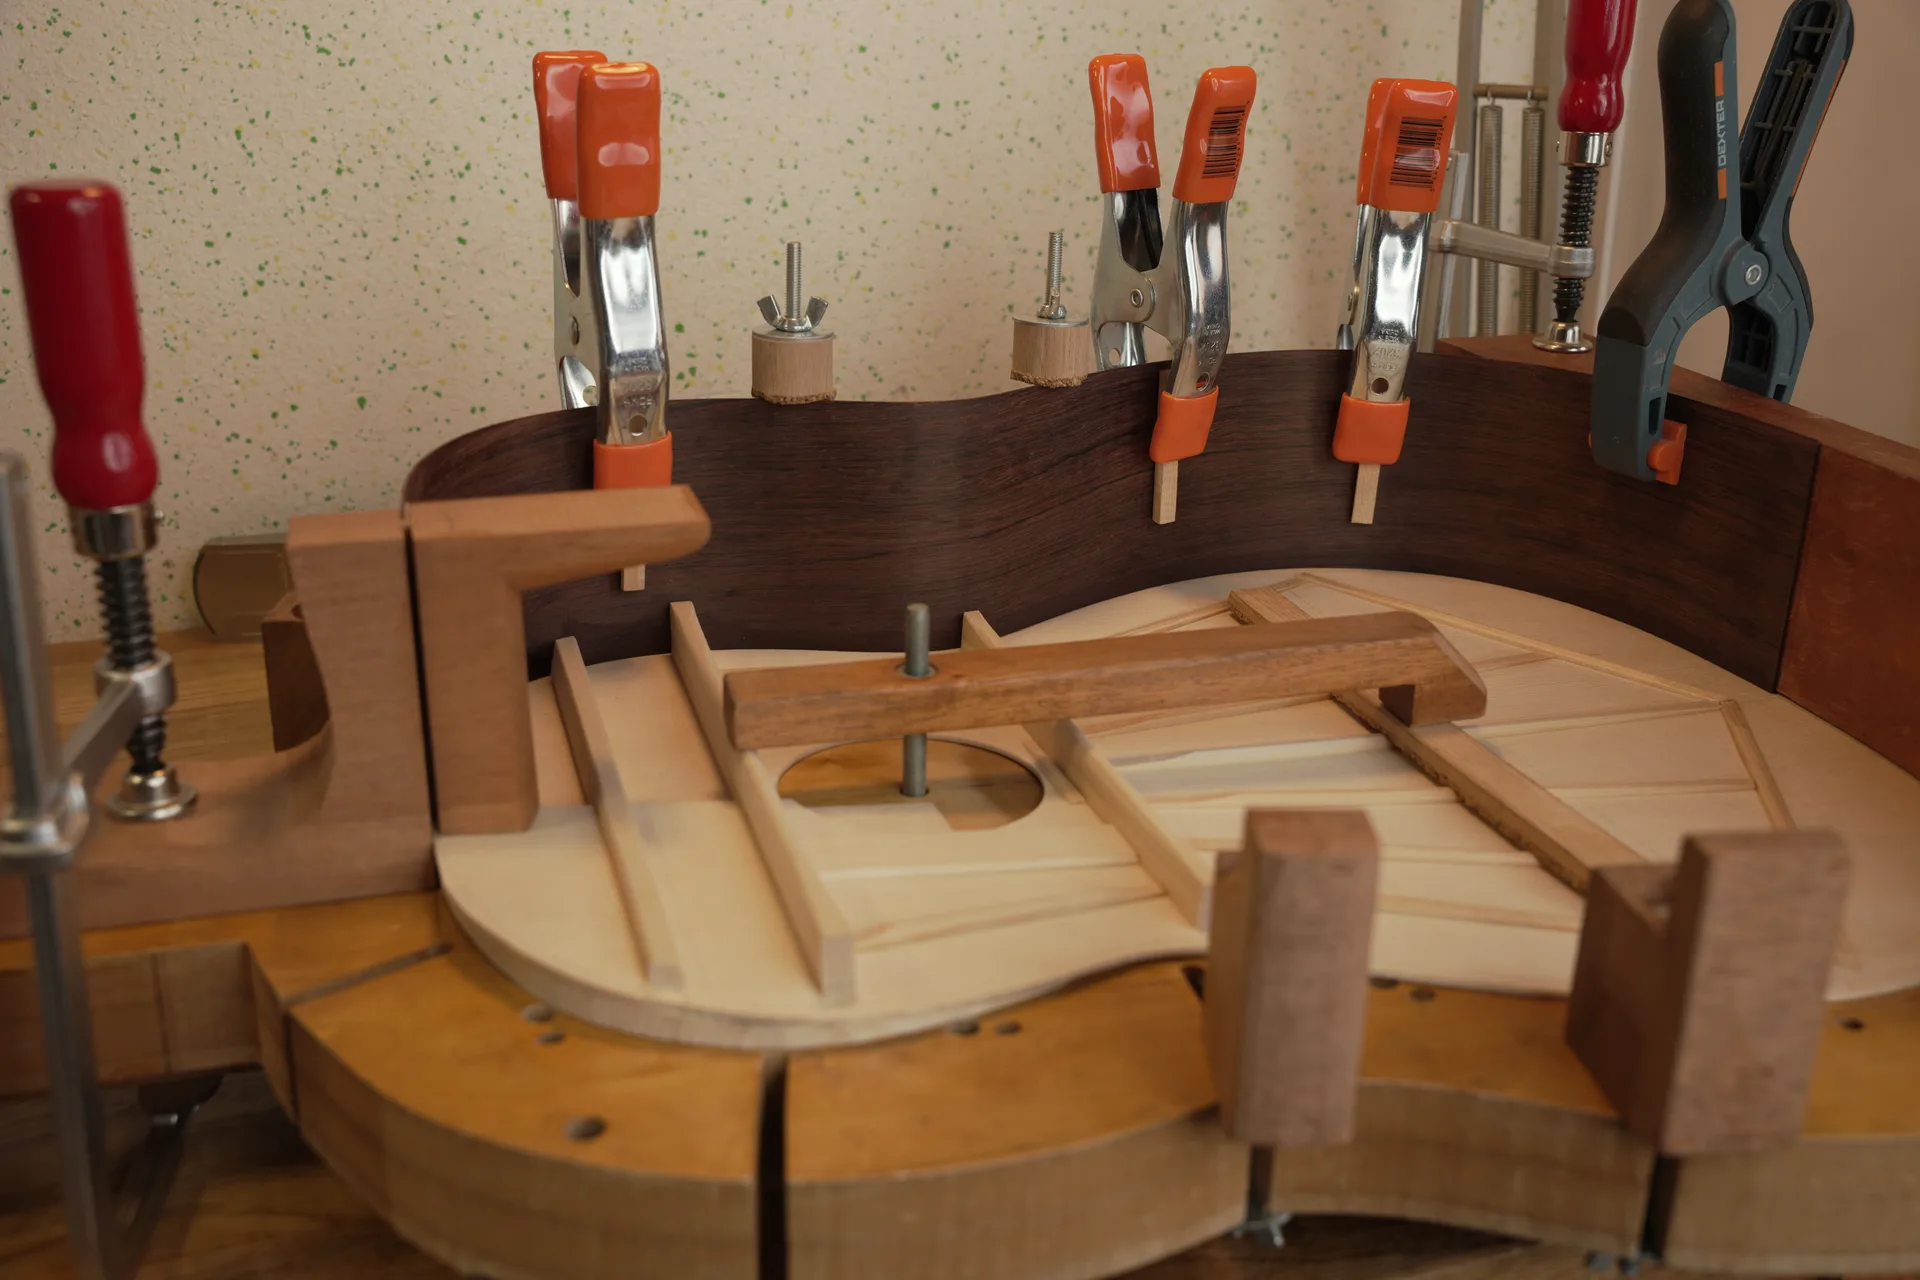
To create the correct curvature on the back bracing, radius dishes covered with sandpaper are used. The washer technique marks the curve; then a plane and sandpaper finish the work.
Step 20
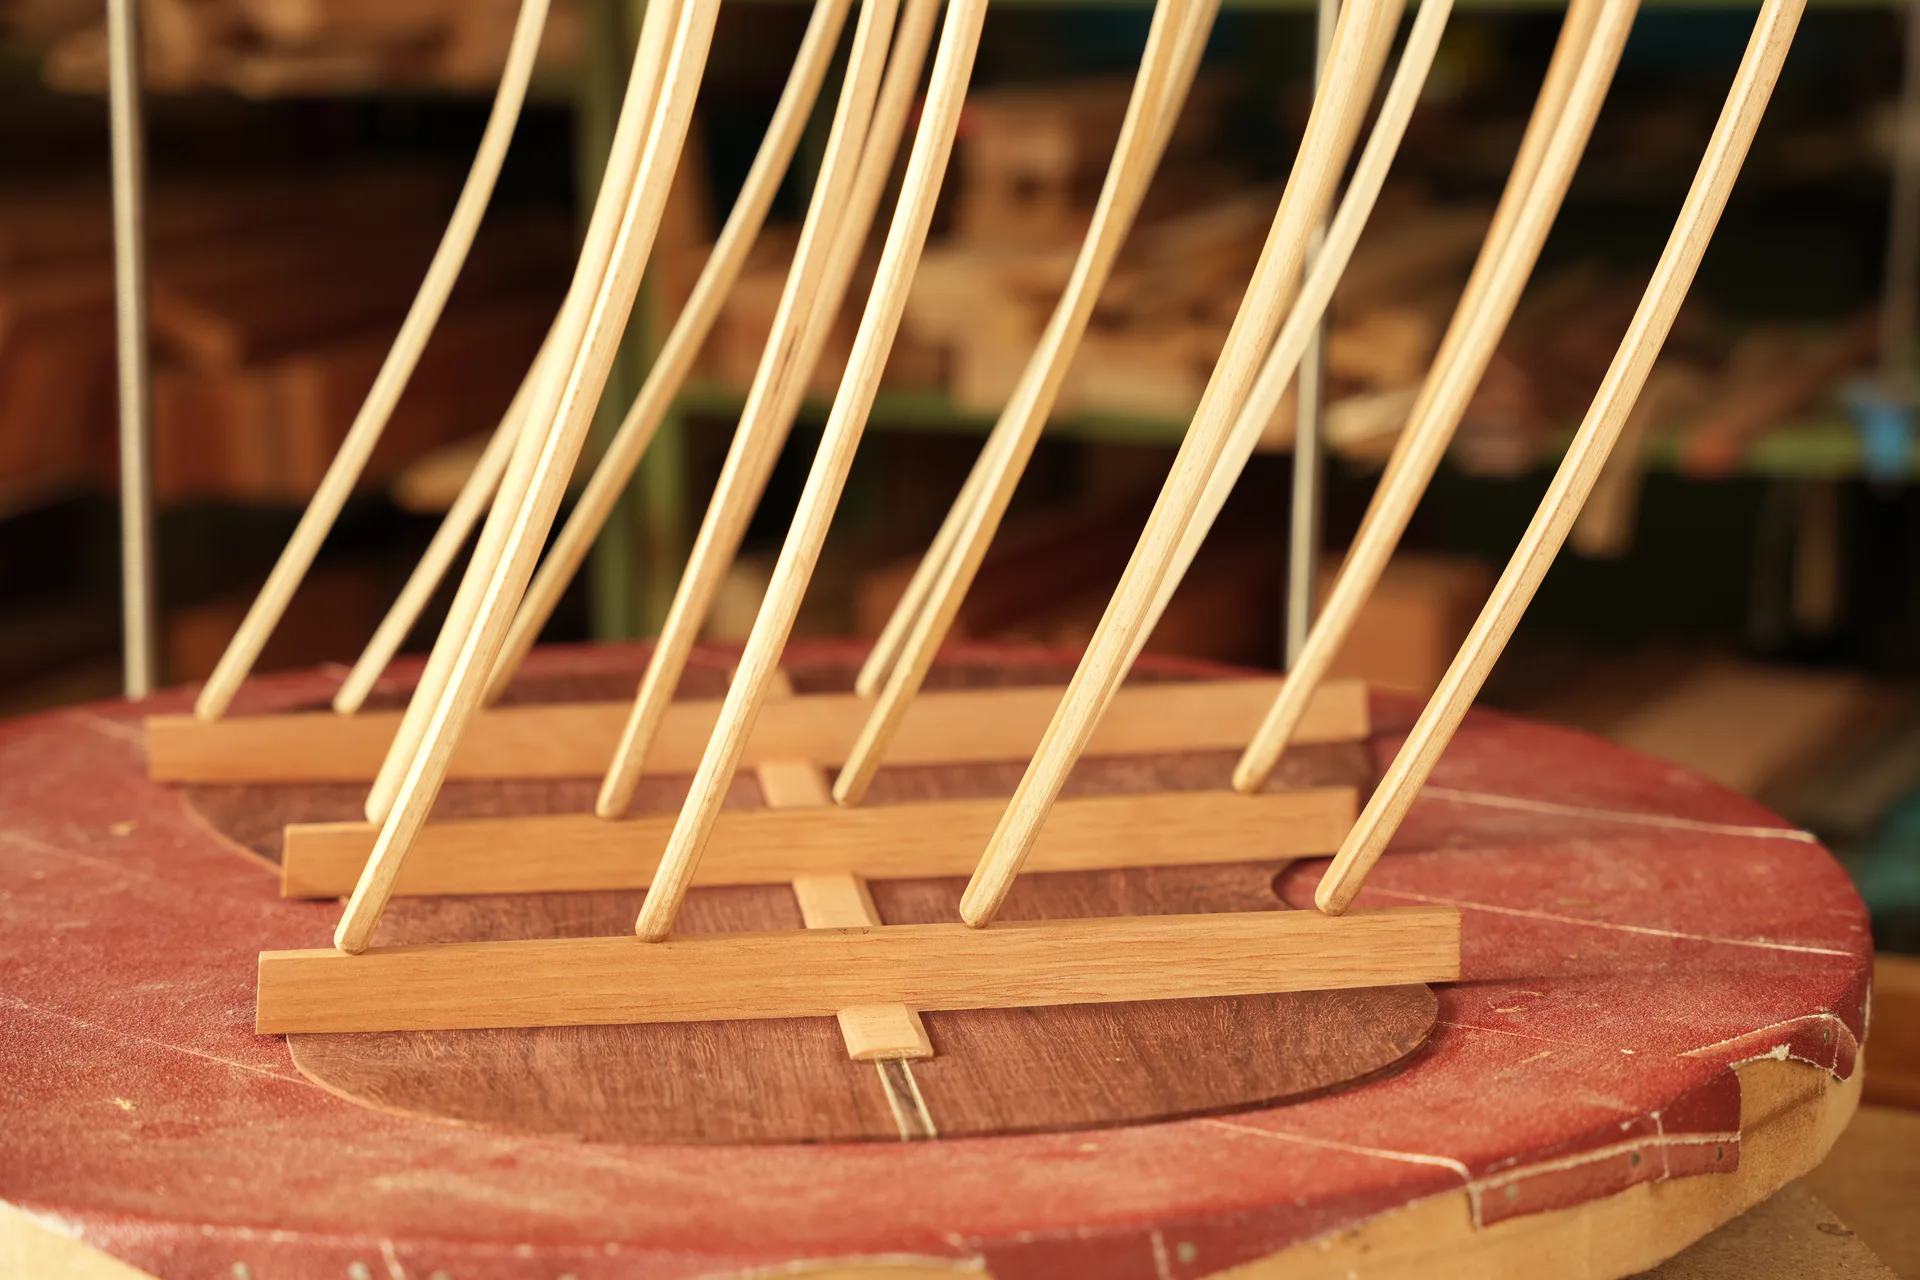
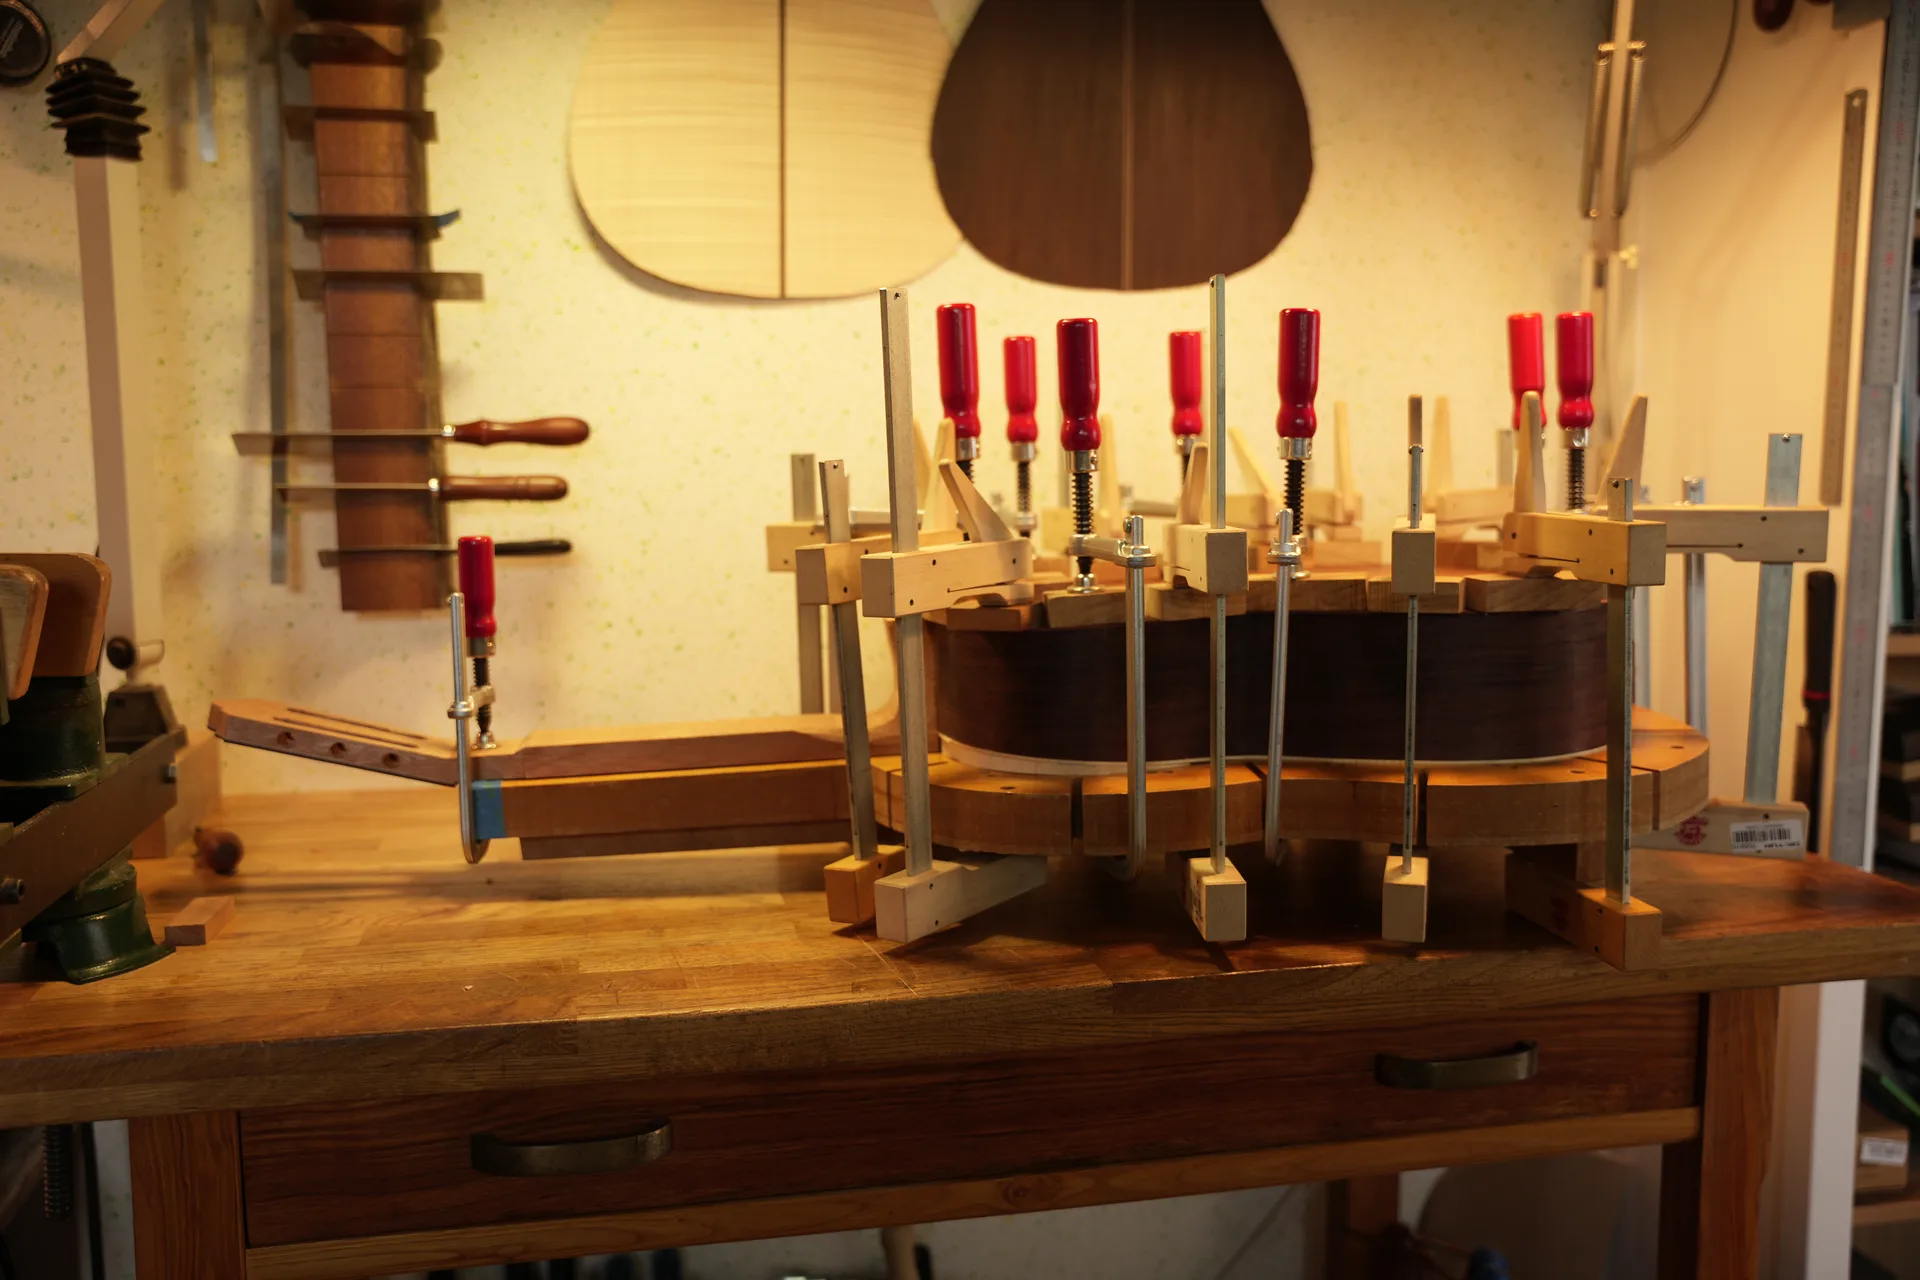
The braces are glued using hot glue and clamped with a go-bar deck.
Step 21
The same radius dish is used to shape the surface of each brace that will contact the back.
Step 22
The process is complete when wood dust appears evenly along the entire perimeter.
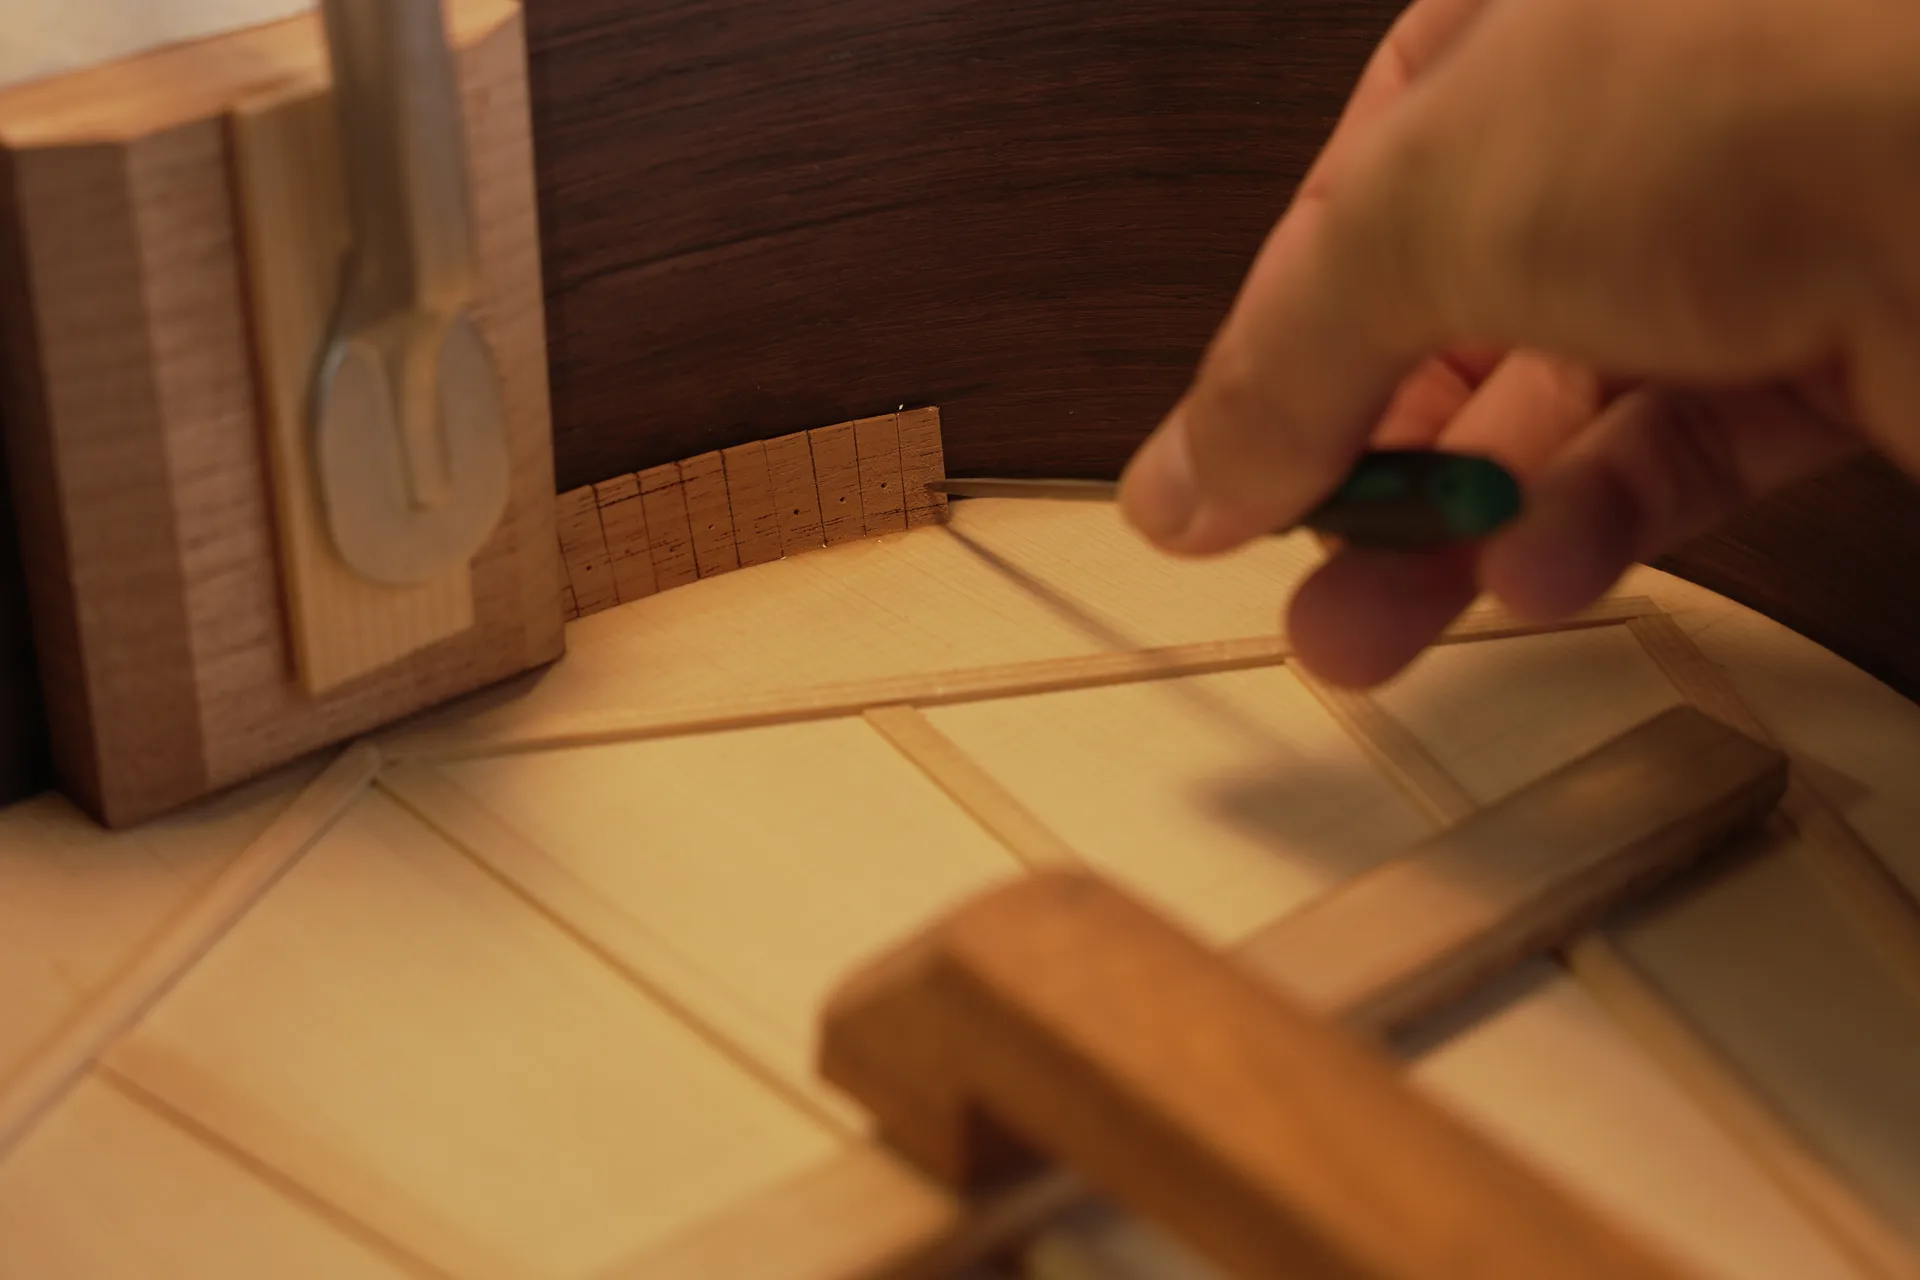
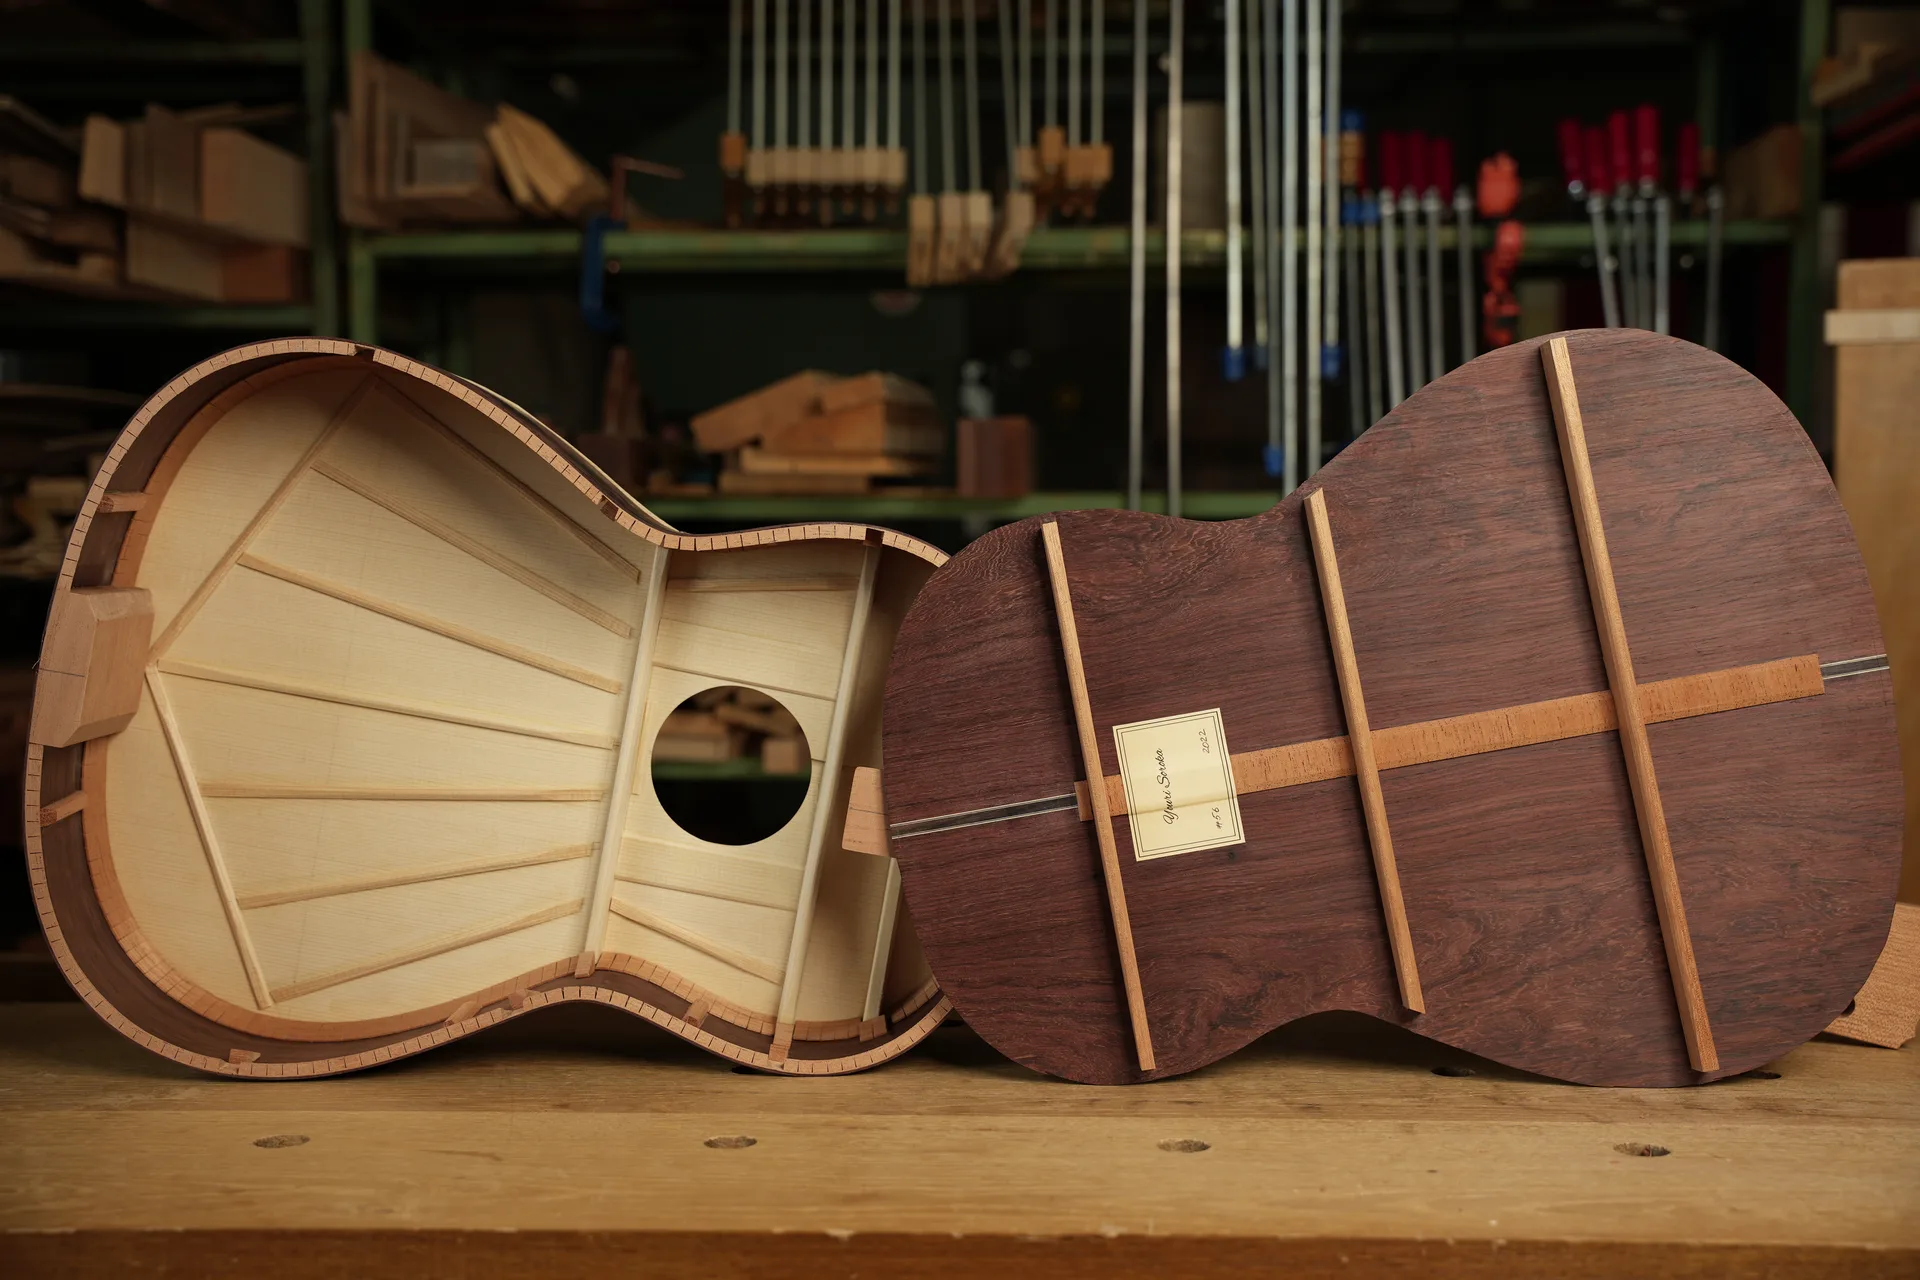
Step 23
Fitting the back begins by positioning it along the central axis. A weight prevents movement while the brace positions are marked with a knife.
Step 24
Once all adjustments are complete, the back is ready to be glued. The same humidity conditions must be maintained as during the earlier stages of bracing and assembly.
Step 25
The final step. Gluing the back gives full rigidity to the structure, which until now has remained quite flexible.